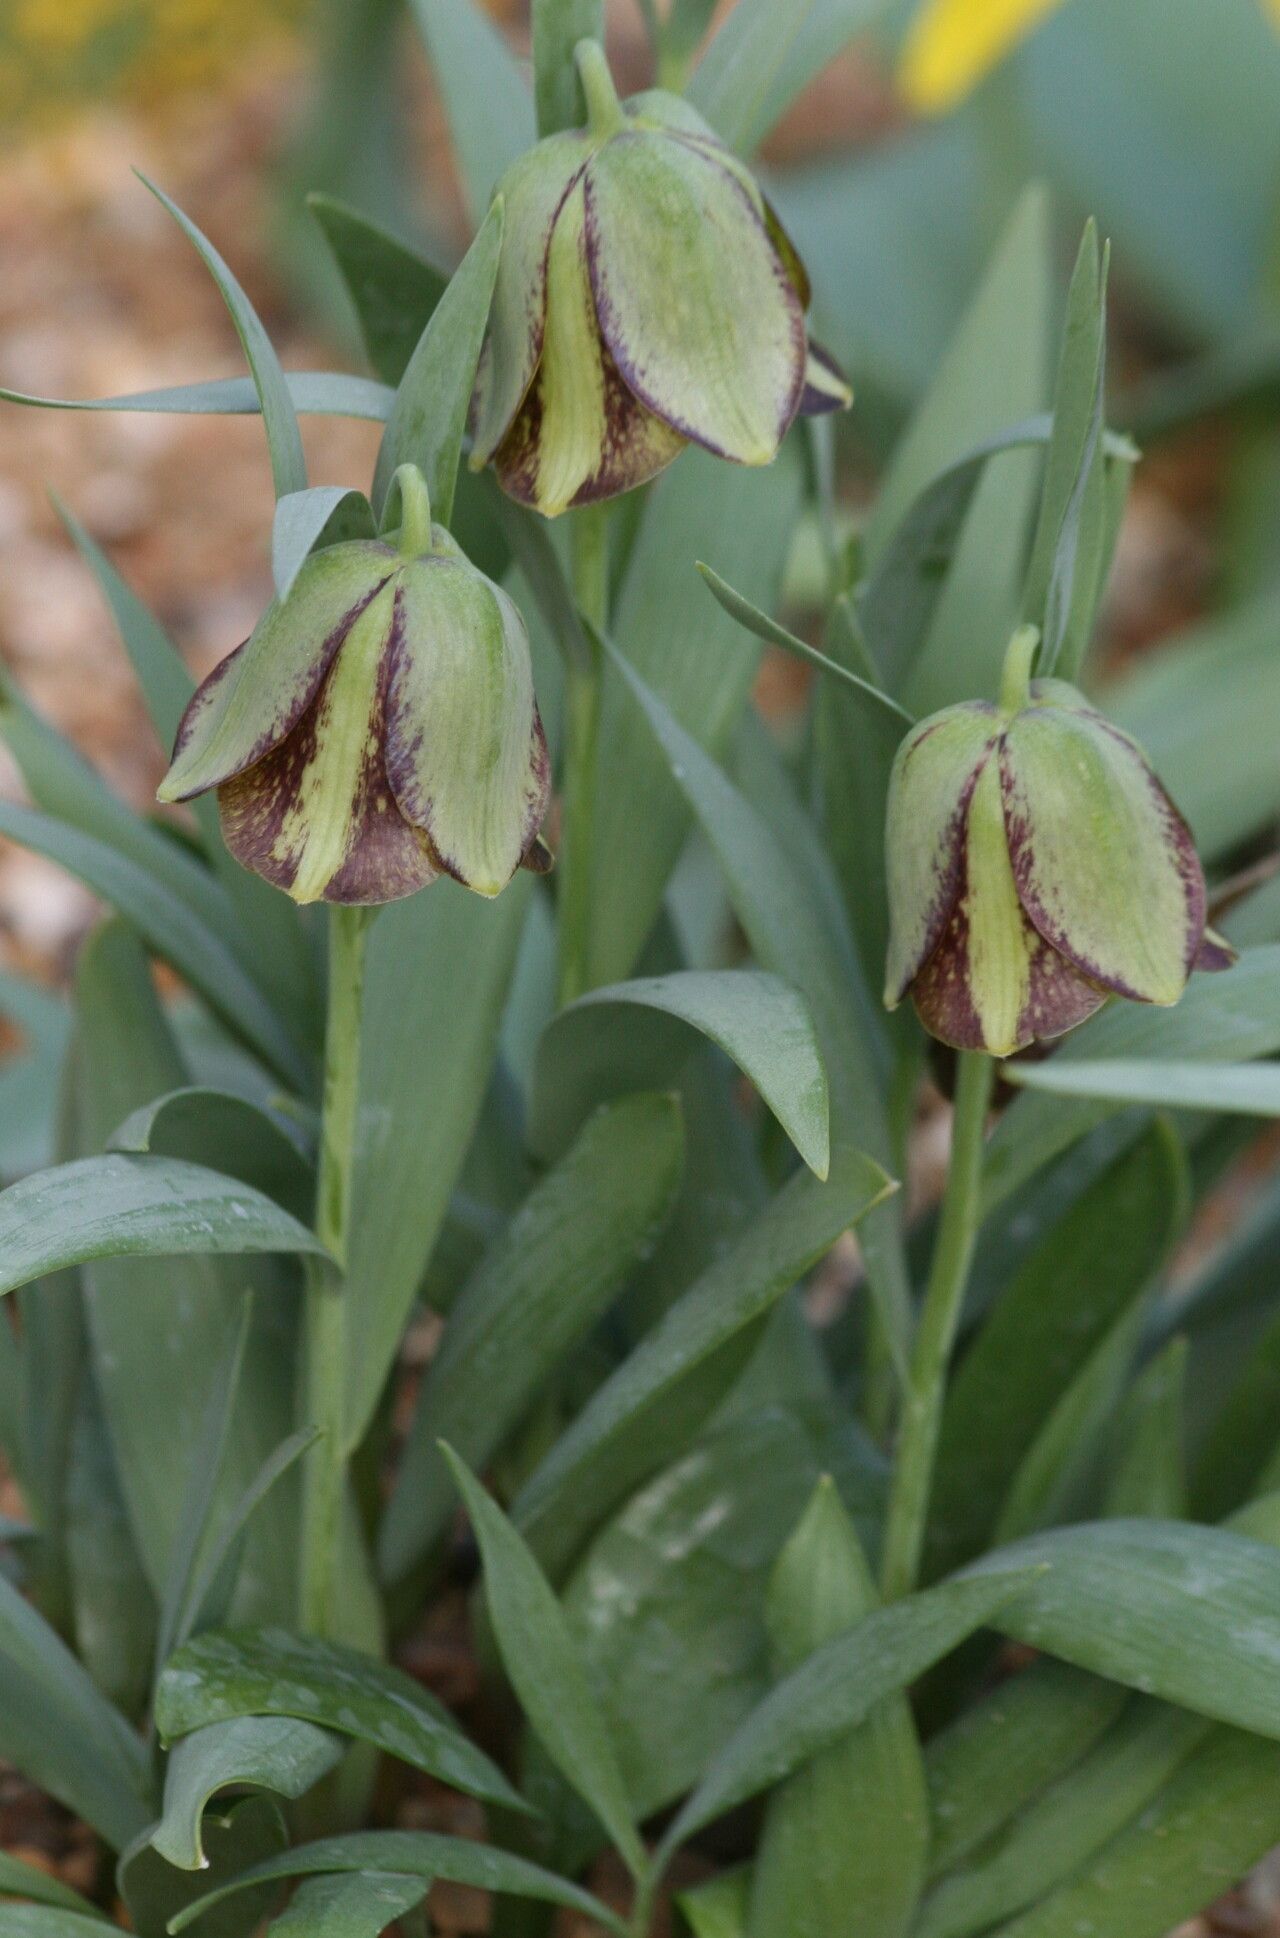
Oh, hello there! Come on in from the garden, and let’s chat about a truly special bloom: Fritillaria davisii. If you’ve ever seen its elegant, bell-shaped flowers nodding in the breeze, you know why it captivates us. There’s something so unique about those deep, dusky purples, often with a delicate speckled pattern. Propagating them is a wonderfully rewarding endeavor, a chance to really connect with these beauties and multiply their charm. Now, I’ll be honest, Fritillaria davisii isn’t the absolute easiest plant for a complete beginner to propagate, but with a little patience and the right approach, you’ll absolutely have success.
The Best Time to Start
Timing is everything, isn’t it? For Fritillaria davisii, the sweet spot for propagation is right after it finishes flowering and begins to go dormant. You’ll notice the foliage starting to yellow and die back naturally. This is the signal that the plant is storing its energy underground, making it the perfect time to gently harvest what you need for propagation. Trying to do it while it’s in full growth will likely stress the plant and reduce your chances of success.
Supplies You’ll Need
Before we dive in, let’s gather our tools. Think of this as your propagation starter kit!
- Sharp, sterile pruning shears or a clean knife: Essential for making clean cuts.
- Rooting hormone powder or gel: This gives your cuttings a little boost.
- A well-draining potting mix: I personally like a blend of coarse sand, perlite, and a good quality peat-free compost. You can also buy specific cactus or seed starting mixes.
- Small pots or seed trays: Clean, of course!
- Watering can with a fine rose: For gentle watering.
- Labels and a waterproof marker: Don’t forget to label what you’ve propagated!
- (Optional) A shallow tray or propagation mat: If you want to provide a little bottom warmth later on.
Propagation Methods
Fritillaria davisii is best propagated from offsets, which are essentially little baby bulbs that the parent plant produces. This is where our focus will be.
- Digging Up the Parent Plant: Gently excavate the parent plant from its spot in the garden as soon as you see the foliage starting to die back. Be careful not to damage the bulb itself.
- Locating the Offsets: Once you have the bulb out, carefully brush away the excess soil. You’ll likely see smaller bulbs clustered around the base of the main, mature bulb. These are your offsets!
- Separating the Offsets: Using your fingers or a clean, small knife, gently twist or cut the offsets away from the parent bulb. Try to ensure each offset has at least a tiny bit of its own basal plate (where the roots will grow from).
- Drying the Offsets: This is a crucial step to prevent rot. Place the separated offsets on a tray or paper towels in a warm, dry, well-ventilated spot for a few days to a week. They should form a protective callus over the cut surface.
- Planting the Offsets: Fill your clean pots or trays with your well-draining mix. Make a small hole in the center and place the offset in it. The top of the offset should be roughly level with the soil surface, or just slightly below. Don’t bury them too deeply.
- Initial Watering: Give the newly planted offsets a light watering. You want the soil to be moist, but not waterlogged.
The “Secret Sauce” (Pro Tips)
Here are a couple of things I’ve learned over the years that really make a difference:
- Don’t Rush the Separation: If the offsets are very small and still tightly attached, it’s sometimes better to pot up the entire clump and let them grow on for another season. You can then separate them more easily when they are larger the following year.
- Think “Dry Cold Sleep”: After planting your offsets, find a cool, dry place to store them over winter. An unheated garage, a cool basement, or even a sheltered cold frame works beautifully. They need a period of dormancy.
- Bottom Heat for the Brave: While not strictly necessary, providing a little gentle bottom heat (around 60-65°F or 15-18°C) when you first plant the offsets can encourage faster root development. Just be sure the soil doesn’t dry out too quickly with the added warmth.
Aftercare & Troubleshooting
Once your offsets are planted, resist the urge to constantly fuss over them. Keep them in that cool, dry spot through winter. Come spring, when you see signs of new growth (a tiny shoot emerging from the soil), that’s when you can move them to a brighter location with more light, but still avoid direct, harsh sun. Water them sparingly at first, increasing as they grow.
The most common issue you’ll encounter is rot. If you see a mushy, discolored offset, it’s usually a sign of too much moisture. Sadly, there’s not much to do once rot sets in, so prevention is key. Always err on the side of caution with watering, especially when your offsets are dormant. Another sign of trouble is a complete lack of growth after a long time; this can occasionally happen if the offset was too immature or the conditions weren’t quite right.
An Encouraging Closing
Propagating Fritillaria davisii is a journey, and like all good garden journeys, it’s filled with learning and a good dose of anticipation. Be patient, trust your instincts, and don’t be discouraged if not every offset flourishes. The satisfaction of seeing those first delicate leaves unfurl on a plant you helped create is truly immense. Happy propagating!
Resource:
https://identify.plantnet.org/k-world-flora/species/Fritillaria%20davisii%20Turrill/data