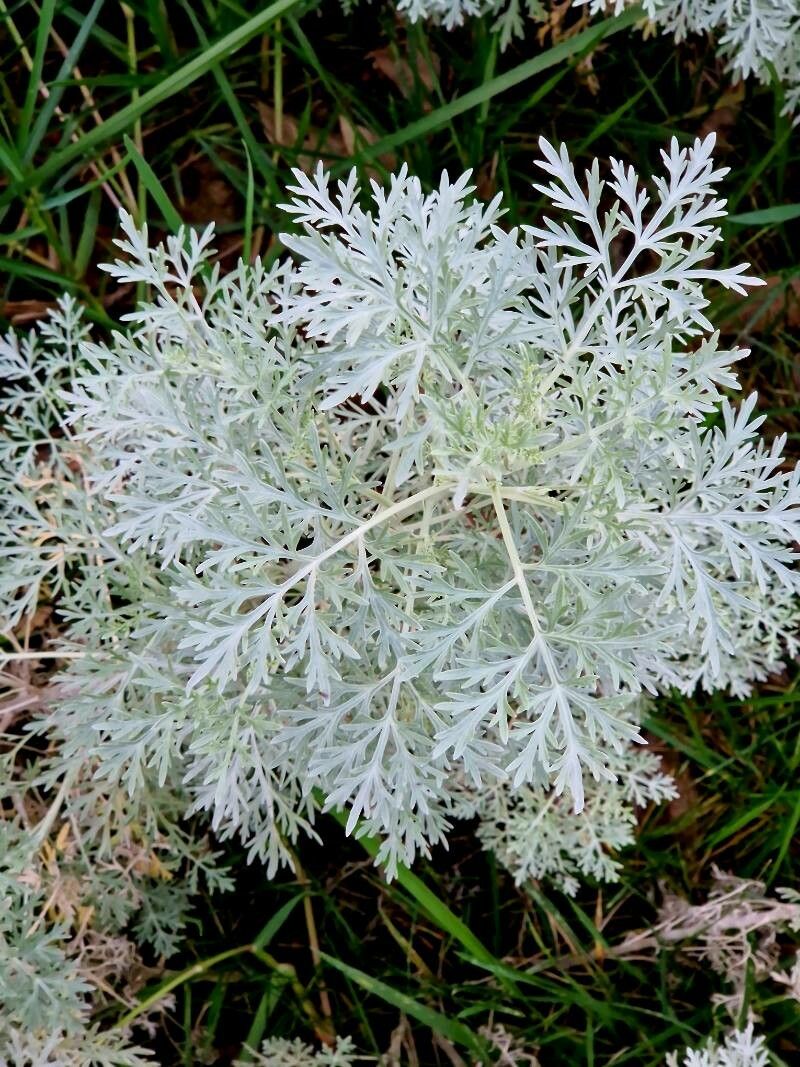
Well hello there, fellow garden enthusiasts! It’s wonderful to connect with you today. We’re going to talk about a plant that brings a beautiful silvery elegance to any garden: Artemisia arborescens, also known as tree wormwood. Its feathery, aromatic foliage is simply divine, and propagating it yourself is incredibly rewarding. It’s a joy to watch a tiny cutting transform into a thriving plant that you can then share with friends or fill those empty pots. And for those of you just dipping your toes into propagation? You’ll be happy to know Artemisia arborescens is quite forgiving, making it a fantastic choice for beginners.
The Best Time to Start
When it comes to getting the most successful start with your Artemisia arborescens, I find that late spring to early summer is your golden ticket. This is when the plant is actively growing and full of vigor. You want to take cuttings from healthy, non-flowering stems. Think of this as the plant’s prime time, full of youthful energy ready to sprout new roots. Waiting until after the initial spring growth spurt ensures you’re not stressing an already established plant and are working with the best possible material.
Supplies You’ll Need
Before we get our hands dirty, let’s gather our trusty tools. Here’s what you’ll want to have on hand:
- Sharp Pruning Shears or a Craft Knife: Clean cuts are crucial for preventing disease.
- Rooting Hormone (Optional but Recommended): This can significantly boost your success rates, especially for those wanting a little extra help. Clonex is a popular choice.
- Potting Mix: A well-draining mix is essential. I like to use a blend of perlite, peat moss, and a bit of compost. You can also buy specialized seed-starting or cutting mixes.
- Small Pots or a Propagation Tray: Clean containers are a must! For Artemisia, small 4-inch pots work beautifully.
- Trowel or Spoon: For gently filling pots.
- Plastic Bag or Clear Cling Film: To create a mini-greenhouse effect.
- Labels and a Marker: Don’t forget to label your cuttings!
Propagation Methods
We’ll focus on the most straightforward and effective way to propagate Artemisia arborescens: stem cuttings. This method is wonderfully reliable.
- Select Your Cuttings: On a bright, sunny morning, identify healthy, semi-hardwood stems on your mother plant. These are stems that have started to firm up but are still somewhat flexible. Avoid woody, old growth or very soft, green tips. You’re looking for stems that are about 4-6 inches long.
- Make the Cut: Using your clean, sharp pruning shears or a craft knife, make a clean cut just below a leaf node (where a leaf attaches to the stem). This is a prime spot for root formation.
- Prepare the Cuttings: Gently remove the leaves from the bottom half of the cutting. You want to expose at least two leaf nodes. If the remaining leaves are very large, you can snip them in half to reduce water loss through transpiration.
- Apply Rooting Hormone (If Using): Dip the cut end of each stem into your rooting hormone powder or gel, tap off any excess.
- Plant Your Cuttings: Fill your clean pots with your prepared potting mix. Make a small hole in the center of the mix with your finger or a pencil. Insert the cut end of the stem into the hole, ensuring at least one leaf node is buried in the soil. Gently firm the soil around the stem.
- Water In: Water the soil thoroughly until it’s evenly moist but not waterlogged.
- Create a Greenhouse: Place a clear plastic bag over the pot, securing it with a rubber band around the rim, or cover the entire tray with cling film. This will create a humid environment, which is key for successful rooting. Ensure the plastic doesn’t directly touch the leaves.
The “Secret Sauce” (Pro Tips)
Here are a couple of little tricks I’ve learned over the years that can really help your Artemisia cuttings thrive:
- Bottom Heat is Your Friend: If you have space, placing your pots on a gentle heat mat can significantly speed up root development. It mimics the warmth of the soil in summer and gives those roots a little nudge to get going. Just be careful not to overheat!
- Don’t Drown Them: While humidity is vital, overwatering is the kiss of death for cuttings. The goal is consistently moist soil, not soggy. If you see water pooling, gently tip the pot to drain excess. You want happy roots, not root rot!
Aftercare & Troubleshooting
Once your cuttings are planted, find a bright spot for them – think indirect sunlight. Too much direct sun can scorch tender new growth. Keep an eye on the moisture levels and mist the inside of the plastic periodically to maintain humidity.
You’ll know your cuttings are rooting when you see new growth appearing at the top or feel a gentle resistance when you lightly tug on the stem. This usually takes anywhere from 3 to 6 weeks. Once they’ve established a good root system, you can gently remove the plastic and begin to gradually acclimate them to normal conditions by taking the bag off for a few hours each day. Eventually, you can transplant them into their own individual pots.
If you notice your cuttings wilting and never recovering, or if the stems turn black and mushy, that’s a clear sign of rot, usually due to overwatering or poor drainage. If this happens, sadly, that particular cutting is likely lost. Don’t be disheartened! Just pull it out, check your watering habits, and try again with fresh cuttings.
A Encouraging Closing
Taking cuttings can feel a bit like a science experiment, but it’s also a profoundly rewarding way to connect with the plant world. Be patient with your little Artemisia arborescens cuttings. They’re working hard to grow new roots, and sometimes it takes them a little time. Enjoy the process, celebrate every tiny bit of success, and soon you’ll have a whole new collection of these beautiful, silvery shrubs to fill your garden with. Happy propagating!
Resource:
https://identify.plantnet.org/k-world-flora/species/Artemisia%20arborescens%20L./data