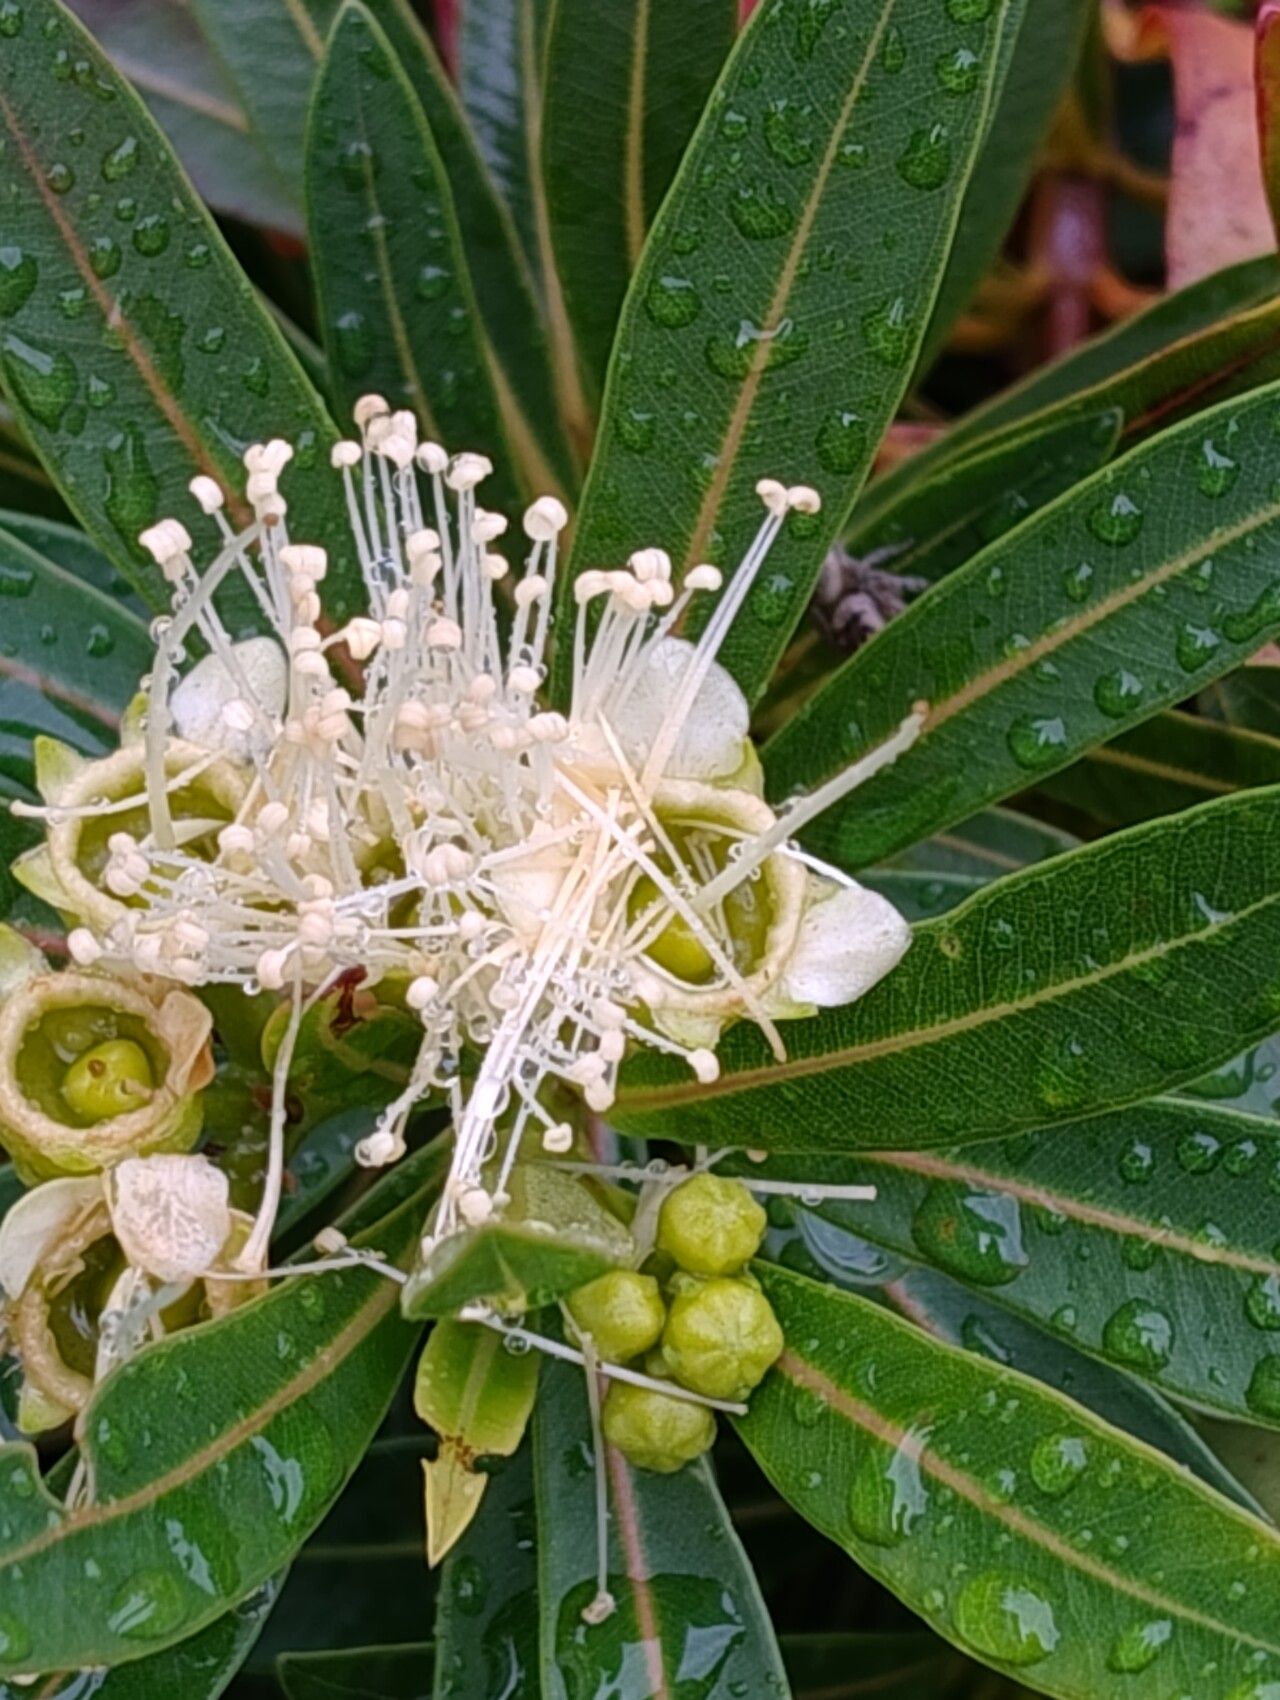
Hello, fellow plant lovers! Today, we’re diving into the wonderful world of Xanthostemon verticillatus, also known as the Dwarf Pincushion Flower or sometimes the Little Cardwell Lily. If you’ve ever seen this beauty with its delicate, bottlebrush-like blooms, you know exactly why it’s such a charmer. Its vibrant flowers bring an explosion of color and a touch of the exotic to any garden, and propagating it yourself? Well, that’s just pure gardening joy.
Is it easy for beginners? Honestly, it’s not the absolute easiest plant to start with, but with a little patient observation and the right steps, you’ll find it’s absolutely doable. And the reward of seeing those first tiny roots unfurl is well worth the effort!
The Best Time to Start
My favorite time to take cuttings from Xanthostemon verticillatus is when the plant is actively growing, usually in late spring or early summer, after it’s finished its main flush of flowering. You’re looking for young, semi-hardwood stems. These are stems that are not brand new and floppy, but not yet tough and woody. They have a bit of stiffness to them, but you can still easily bend them without them snapping. This stage offers the best balance of energy for rooting.
Supplies You’ll Need
To give your cuttings the best fighting chance, having these handy will make all the difference:
- Sharp, clean pruning shears or a craft knife: Essential for making clean cuts on your parent plant and stem cuttings.
- Rooting hormone (optional, but recommended): A powder or gel that can significantly boost root development.
- A well-draining potting mix: I like a blend of 1 part peat moss, 1 part perlite, and 1 part coarse sand. Some growers also use a mix specifically for cuttings.
- Small pots or seed trays: Clean ones are key to preventing disease!
- A clear plastic bag or propagator: To create a humid environment for your cuttings.
- Watering can or spray bottle: For gentle watering.
- Labels and a marker: To keep track of what you’ve planted and when.
Propagation Methods: Stem Cuttings
This is my go-to method for Xanthostemon verticillatus, and it’s generally the most successful.
- Take Your Cuttings: From your healthy mother plant, select those semi-hardwood stems. Aim for cuttings that are about 4-6 inches long. Make a clean cut just below a leaf node (where a leaf attaches to the stem). Remove the lower leaves from the cutting, leaving just the top few to photosynthesize.
- Apply Rooting Hormone (Optional): If you’re using rooting hormone, dip the cut end of each stem into it, tapping off any excess.
- Plant Your Cuttings: Fill your clean pots or trays with your well-draining potting mix. Make a small hole in the center of the soil with your finger or a pencil. Insert the cut end of your stem cutting into the hole, ensuring the leaf nodes where you removed leaves are below the soil surface. Gently firm the soil around the stem.
- Water Gently: Water the soil thoroughly but gently. You want it moist, but not waterlogged.
- Provide Humidity: This is crucial! Cover the pots with a clear plastic bag or place them in a propagator. Make sure the leaves of the cuttings do not touch the inside of the plastic bag. This creates a mini-greenhouse effect, keeping the humidity high, which prevents the cuttings from drying out before they can develop roots.
- Place in Bright, Indirect Light: Find a spot for your cuttings that receives plenty of bright, indirect light. Avoid direct sunlight, which can scorch the delicate cuttings. The temperature should be consistently warm, around 70-75°F (21-24°C).
The “Secret Sauce” (Pro Tips)
After years of coaxing fussy plants, I’ve picked up a few tricks that really make a difference:
- Cleanliness is Paramount: I can’t stress this enough. Any old soil or dirty tools can introduce diseases that will quickly kill your cuttings. Sterilize your tools with rubbing alcohol between cuts and use fresh, clean pots.
- Gentle but Consistent Moisture: While you want the soil to be moist, avoid soggy conditions. If the soil feels wet to the touch, hold off on watering. Overwatering is the quickest way to rot. I often use a spray bottle to mist the soil and leaves periodically if it starts to dry out, especially if not using a sealed propagator.
- Bottom Heat is Your Friend: If you have a bit of extra gear, placing your pots on a gentle heat mat can significantly speed up the rooting process. This mimics the warmth of spring soil and encourages root development from below.
Aftercare & Troubleshooting
Once you start seeing signs of new growth – tiny leaves unfurling or resistance when you gently tug on the cutting – you know roots are forming. This is a good sign!
- Acclimatization: Slowly introduce your new rooted cuttings to normal room conditions. Start by opening the plastic bag for a few hours each day, gradually increasing the time. Keep them in bright, indirect light.
- Transplanting: Once the roots have filled the small pot (you can check by gently tipping the pot or looking for roots emerging from drainage holes), it’s time to transplant them into slightly larger pots with a good quality potting mix. Continue to keep them in bright, indirect light and maintain consistent moisture.
- Troubleshooting Rot: The most common issue you’ll face is rot. If your cuttings turn black and mushy, or if you see mould growing on the soil, it’s usually a sign of overwatering and poor air circulation. Unfortunately, rotted cuttings are usually a lost cause, so it’s best to discard them and start again with fresh, clean material and ensure better drainage and adequate ventilation next time.
A Little Patience Goes a Long Way
Propagating plants is a journey, and sometimes a slow one. Don’t get discouraged if your first attempt doesn’t yield dozens of new plants. Be patient, observe your cuttings closely, and celebrate the successes, no matter how small. The satisfaction of nurturing a living thing from a tiny cutting is truly one of the greatest joys of gardening. Happy propagating!
Resource: