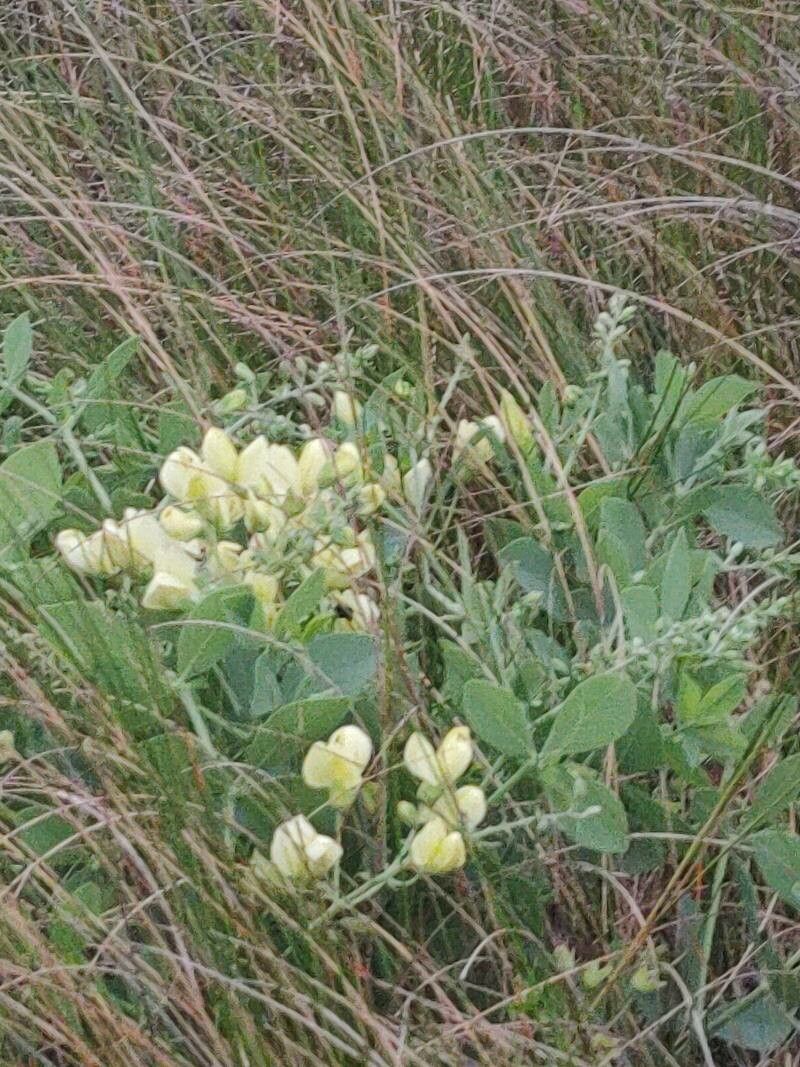
Oh, Baptisia nuttalliana! What a gem to have in the garden. Those lovely spikes of purple-blue flowers in late spring just sing of sunshine and cheerful days. More than just a pretty face, Baptisia, often called False Indigo, is a tough, long-lived perennial that really shines. Propagating it yourself? That’s a wonderfully rewarding project. It lets you expand your collection or share these beauties with friends. Now, truth be told, Baptisia can be a little bit particular about starting new plants, but with a bit of patience and the right approach, it’s definitely achievable, even for those just dipping their toes into propagation.
The Best Time to Start
My favorite time to get going with Baptisia propagation is spring, just as the plant is waking up. You want to catch it when it’s actively growing but before it gets too big and unwieldy. Early spring, before the flower buds really swell, is prime time for taking cuttings or dividing.
Supplies You’ll Need
Gathering your tools beforehand makes everything so much smoother. Here’s what I usually have on hand:
- Sterilized pruning shears or a sharp knife: For clean cuts that heal well.
- Rooting hormone powder or gel: This is a good idea, especially for cuttings.
- A well-draining potting mix: I like a blend of equal parts peat moss, perlite, and compost. For division, your existing garden soil amended with compost works too.
- Small pots or trays: Clean ones are a must to prevent disease.
- A plastic bag or propagation dome: To create a humid environment for cuttings.
- Watering can with a fine rose: For gentle watering.
- Labels and a marker: So you don’t forget what’s what!
Propagation Methods
For Baptisia, I’ve found the most reliable methods are stem cuttings and division. Water propagation is a bit hit-or-miss with these woody stems.
Stem Cuttings (Semi-hardwood)
This is my go-to for getting new Baptisia plants.
- Take cuttings: In early spring, select healthy, non-flowering shoots that are about 4-6 inches long. With your sterilized shears, make a clean cut just below a leaf node (where a leaf attaches to the stem). Remove the leaves from the bottom half of the cutting.
- Apply rooting hormone: Dip the cut end into your rooting hormone, tapping off any excess.
- Plant the cuttings: Fill your small pots with your well-draining potting mix. Make a hole with a pencil or your finger and insert the cutting, firming the soil gently around it. You can usually fit a few cuttings per pot.
- Water and cover: Water the soil thoroughly but gently. Then, cover the pots with a plastic bag or a propagation dome to maintain high humidity.
Division
If you have a mature Baptisia plant that’s looking a bit crowded or you just want more, division is a great option.
- Excavate the plant: In early spring, dig up the entire plant. It’s best to do this when the plant is dormant or just starting to grow. You might need a sturdy garden fork for this, as Baptisia has a strong taproot.
- Divide the root ball: Once the plant is out of the ground, you can see the clumps. Gently pull or use your spade to divide the root ball into sections. Aim for sections that have both roots and at least one or two strong shoots.
- Replant: Immediately replant the divisions in their new locations or in pots with fresh soil. Make sure the crown of the plant is at soil level. Water them in well.
The “Secret Sauce” (Pro Tips)
Here are a few tricks I’ve picked up over the years that make a difference:
- Cleanliness is king: Always, always use sterilized tools. Fungal diseases are the quickest way to sabotage your efforts. Wipe down your pruners with rubbing alcohol between cuts if you’re taking many.
- Bottom heat helps: If you’re using the cutting method and have a heat mat, placing your pots on it can really speed up root development. Baptisia roots appreciate a little warmth from below.
- Don’t overwater, but don’t let them dry out: This is a delicate balance. Keep the soil consistently moist but never soggy. Soggy soil is a fast track to rot, especially for cuttings.
Aftercare & Troubleshooting
Once your cuttings have rooted (you can check by giving them a very gentle tug; if there’s resistance, they’ve rooted!) or your divisions are in their new homes, continue to keep the soil consistently moist but not waterlogged. As they grow stronger, you can gradually introduce them to more direct sunlight.
The most common issue you might encounter is rot. If your cuttings turn mushy or black, it’s usually a sign of too much moisture and not enough air circulation. If you see this, pull out the affected cuttings, ensure your soil is draining well, and perhaps increase ventilation. For divisions, if a section seems to be failing, it might be an insufficient root system or too much stress. Don’t be discouraged; sometimes a few don’t make it.
Enjoy the Journey!
Propagating Baptisia nuttalliana is a wonderful way to connect with these plants and build your garden. Be patient with the process; nature has its own timeline. Watch for those first signs of new growth, celebrate every little success, and soon you’ll have more of these beautiful False Indigos to admire and share. Happy gardening!
Resource:
https://identify.plantnet.org/k-world-flora/species/Baptisia%20nuttalliana%20Small/data