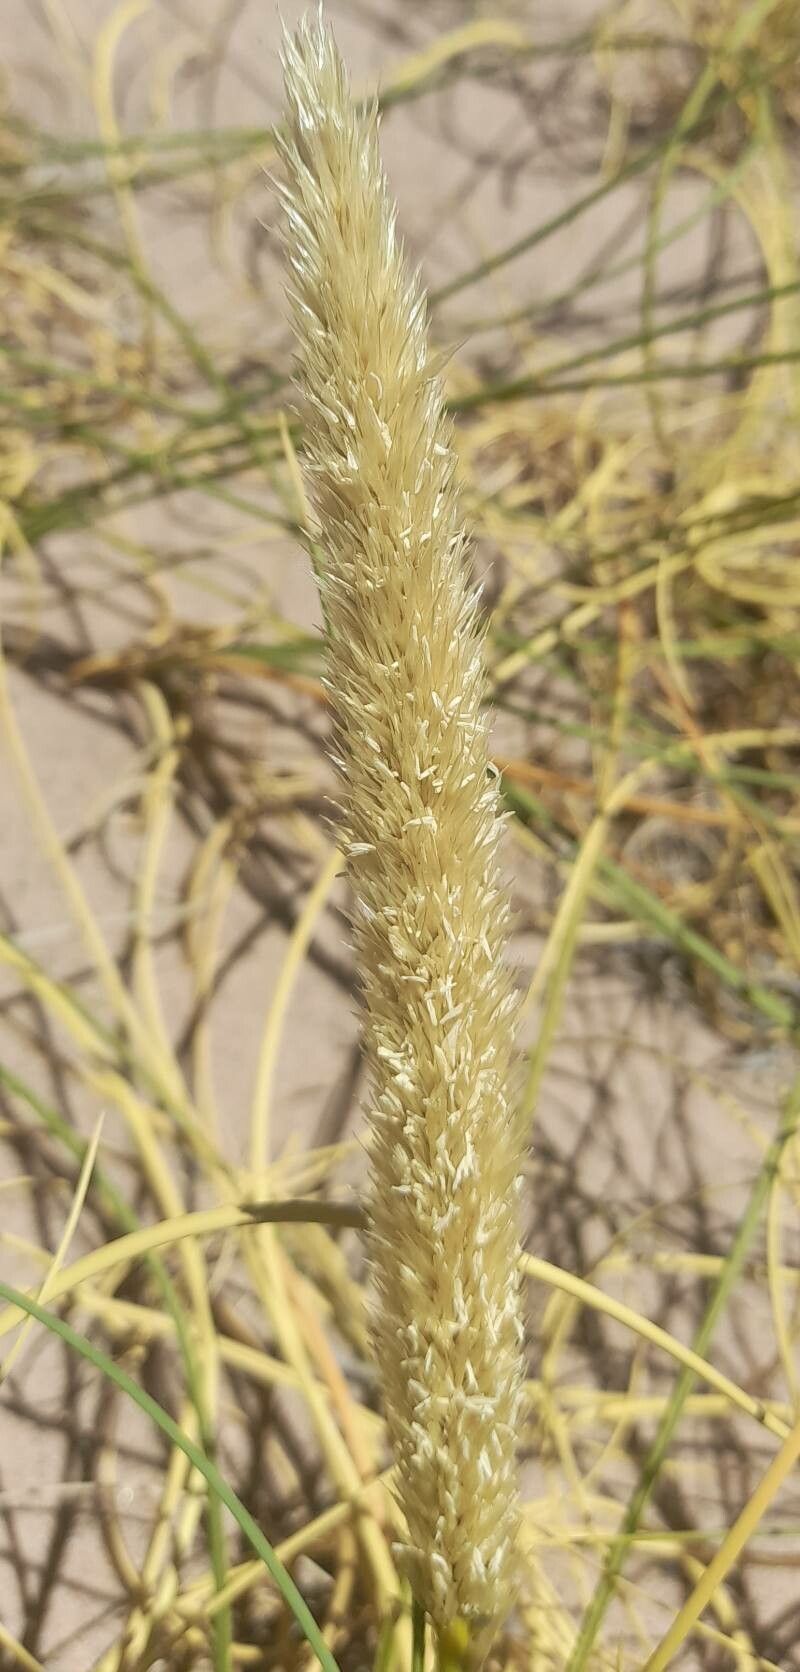
Hello there, fellow plant enthusiasts! I’m so excited to share a little bit about a plant that’s been bringing warmth and unique texture to my garden for years: Cinnagrostis vicunarum. You might know it better by its common name, ‘Little Bluestem’ or ‘Prairie Dropseed’ (though technically this is a different but closely related grass!). What I love about its botanical cousin, Cinnagrostis vicunarum, is its delicate, almost feathery foliage that turns a beautiful coppery-bronze as the season progresses. It adds such a lovely softness and movement to any planting.
Propagating these beauties can feel like a little bit of magic, and trust me, it’s incredibly rewarding. You get a whole new plant from just a piece of the original! For beginners, I’d say it’s moderately easy. It requires a bit of attention to detail, but with a few key steps, you’ll be well on your way to a mini-grassland of your own.
The Best Time to Start
My absolute favorite time to kick off propagation for Cinnagrostis vicunarum is late spring to early summer. This is when the plant is really hitting its stride, actively growing, and has plenty of energy to put into developing new roots. You want to catch it before the intense heat of mid-summer sets in, which can stress both the parent plant and your delicate cuttings.
Supplies You’ll Need
Gathering your tools beforehand makes the whole process smoother. Here’s what I always have on hand:
- Sharp pruning shears or a clean knife: For taking clean cuttings.
- Small pots or propagation trays: With drainage holes are essential.
- Well-draining potting mix: I often use a 50/50 blend of seed-starting mix and perlite or coarse sand. This ensures good aeration.
- Rooting hormone powder or gel: This isn’t strictly necessary, but it can give your cuttings a real boost.
- Plastic bags or a propagation dome: To create a humid environment.
- Watering can or spray bottle: For gentle watering.
- Labels: So you don’t forget what you planted where!
Propagation Methods
I find that stem cuttings are the most reliable and straightforward method for Cinnagrostis vicunarum. Here’s how I do it:
- Take Your Cuttings: In late spring or early summer, select healthy, vigorous stems from your mature plant. Use your sharp shears to cut stems that are about 4-6 inches long. Make the cut just below a leaf node (where a leaf emerges from the stem).
- Prepare the Cuttings: Gently remove the lower leaves from the cutting. You want to leave just a few leaves at the very top. This reduces water loss and directs the plant’s energy towards root development. If the leaves are large, I might even snip them in half to further reduce transpiration.
- Dip in Rooting Hormone: Lightly dip the cut end of each stem into your rooting hormone powder or gel. Tap off any excess. This step helps to encourage root formation.
- Plant the Cuttings: Fill your pots or trays with your prepared potting mix. Make a small hole with your finger or a pencil in the center of each pot. Carefully insert the cut end of the stem into the hole, ensuring the leaf nodes are below the soil surface. Gently firm the soil around the cutting.
- Water and Cover: Water the soil thoroughly but gently. You don’t want to disturb the cuttings. Now, cover the pots with a plastic bag or a propagation dome. This traps humidity, which is crucial for cuttings to root.
The “Secret Sauce” (Pro Tips)
After years of tinkering, I’ve picked up a few tricks that seem to make a difference:
- Avoid Direct Sun: While your cuttings need bright, indirect light, never place them in direct sunlight. The plastic cover can act like a mini-greenhouse, and direct sun will quickly cook your delicate cuttings. A bright, east-facing window or a spot under grow lights is perfect.
- Bottom Heat is Your Friend: If you can swing it, place your pots on a seedling heat mat. This gentle warmth from below encourages root growth significantly, especially in the cooler parts of spring. It mimics the soil temperatures the plant loves during its active growing season.
- Don’t Let Them Dry Out! This is the big one. Check the soil daily if you can. The potting mix should always feel evenly moist, but never waterlogged. If the plastic cover fogs up profusely, you might have too much humidity; just lift the cover for an hour to allow some air circulation.
Aftercare & Troubleshooting
Once your cuttings have been in their humid little homes for about 4-6 weeks, you should start to see signs of new growth. That’s your cue that roots are forming! You can gently tug on a cutting; if there’s resistance, you’ve got roots.
Once they’re rooted, it’s time to start acclimatizing them to the “real world.” Gradually remove the plastic cover over a week to ten days. Start by removing it for a few hours each day, slowly increasing the time until they can be left uncovered. Continue to water them regularly, allowing the top inch of soil to dry out between waterings.
The most common issue you might encounter is rot. If you see your cuttings wilting, turning black and mushy at the base, it’s likely rot. This is almost always caused by too much moisture and not enough airflow. If you catch it early, you might be able to save healthy parts of the stem, but often, it’s best to discard the infected material to prevent it from spreading. Ensure your potting mix is airy and never let them sit in standing water.
A Encouraging Closing
So there you have it! Propagating Cinnagrostis vicunarum is a wonderfully satisfying process. Remember to be patient; the roots take their time to develop. Enjoy the journey of nurturing these new plants, and before you know it, you’ll have more of these stunning grasses to share or plant throughout your own garden. Happy propagating!
Resource: