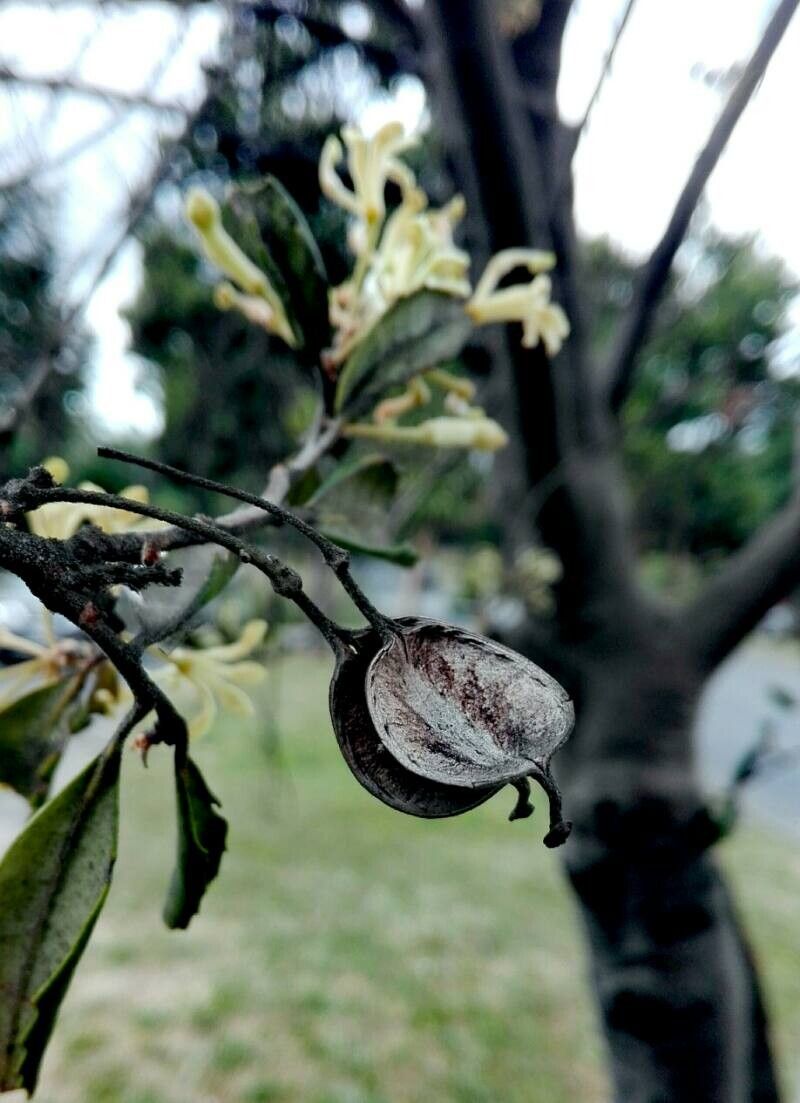
Hello, fellow garden enthusiasts! Today, I want to chat about a truly special plant that I’ve come to adore: Lomatia dentata. You might know it by its common name, Chilean Pine or perhaps one of its other regional names, and if you haven’t encountered it, picture a graceful evergreen with handsome, toothed leaves and delightful, often fragrant, flowers that attract all sorts of beneficial pollinators. It brings a touch of wild, untamed beauty to any garden, and honestly, watching a new one sprout from something I’ve nurtured myself is one of life’s simple joys. Now, let’s talk about getting more of these beauties.
The Best Time to Start
When it comes to Lomatia dentata, I’ve found that the early to mid-spring is your sweet spot. This is when the plant is really waking up from its winter slumber and bursting with fresh growth. Taking cuttings during this active growth period means they have the energy and vigor to root more quickly.
Supplies You’ll Need
Don’t let a long list intimidate you! We really only need a few essential items to get started:
- Sharp Pruning Shears or a Knife: Cleanliness is key here to prevent disease.
- Rooting Hormone: A good quality rooting hormone, either powdered or gel, will give your cuttings a significant boost.
- Potting Mix: A well-draining mix is crucial. I like to use a blend of peat moss, perlite, and a little bit of coarse sand. You can also buy specific seed-starting or propagation mixes.
- Small Pots or Trays: Clean pots are essential. I often reuse small plastic pots, making sure they’ve been washed thoroughly.
- Plastic Bags or a Propagator: To create a humid microclimate for your cuttings.
- Watering Can with a Fine Rose: For gentle watering.
Propagation Methods: Let’s Get Our Hands Dirty!
For Lomatia dentata, stem cuttings are generally the most reliable and straightforward method.
- Select Your Cuttings: In early spring, look for healthy, non-flowering shoots from the current year’s growth. These should be about 4-6 inches long. You want them to be somewhat woody but still flexible – think of a pencil in thickness.
- Make the Cut: Using your clean pruning shears or knife, make a clean cut just below a leaf node. This is where the plant’s natural rooting hormones are often concentrated.
- Prepare the Cutting: Gently remove the lower leaves from your cutting, leaving just a few at the top. This prevents the leaves from rotting when buried in the soil. If the few remaining leaves are very large, I sometimes give them a slight trim to reduce water loss.
- Apply Rooting Hormone: Dip the cut end of the stem into your rooting hormone, tap off any excess. This step, while optional for some plants, really gives your Lomatia cuttings a better chance.
- Potting Up: Fill your clean pots with your prepared potting mix. Make a small hole in the center with your finger or a pencil. Carefully insert the cutting into the hole, ensuring the hormone-coated end is in contact with the soil. Gently firm the soil around the base of the cutting.
- Watering: Water thoroughly until you see water draining from the bottom of the pot. You want the soil to be moist but not waterlogged.
- Create Humidity: This is where the plastic bag or propagator comes in. Place a clear plastic bag loosely over the pot, or close the lid of your propagator. This traps humidity, mimicking the natural environment where cuttings root more easily. You can use stakes to keep the plastic off the leaves.
The “Secret Sauce” (Pro Tips)
Over the years, I’ve picked up a few tricks that seem to make a difference:
- Bottom Heat is Your Friend: If you have a small propagator with a heating mat, use it! Consistent warmth from below really encourages root development. It tells the cutting, “Hey, it’s spring, time to grow roots!” just like the soil warming up in the garden.
- Don’t Overcrowd: Give your cuttings a little breathing room in their pots. Letting them touch isn’t the end of the world, but having some space means better air circulation, which can help prevent fungal issues.
- The “Tap Test”: Once you think your cuttings might have rooted (usually after 4-8 weeks), give them a gentle tug. If you feel resistance, you’ve got roots! If it pulls out easily, it hasn’t rooted yet, so give it more time and try again in a week or two.
Aftercare & Troubleshooting
Once you see new growth appearing on your cuttings, or they’ve passed the “tap test,” it’s a good sign that roots have formed. Now, it’s time to start transitioning them.
- Gradually Acclimatize: If you’ve used a plastic bag, gradually open it up over a few days, allowing the cuttings to get used to the lower humidity.
- Keep Them Moist: Continue to water them consistently, but still avoid waterlogging. The soil should be moist to the touch.
- Light Requirements: Place your newly rooted plants in a bright, but indirect light location. Direct sun can be too harsh for their tender new leaves.
- Watch for Rot: The most common issue you’ll encounter is rot. If a cutting turns black and mushy, it’s rotten. This is usually due to overwatering or poor drainage. If you see this, remove the affected cutting immediately to prevent it from spreading. Fungal gnats can also be a sign of too much moisture.
- Patience is Key: Sometimes, cuttings just take their sweet time. If a cutting looks healthy but isn’t showing signs of rooting after a couple of months, don’t give up just yet. Keep it in a bright spot and maintain consistent moisture.
Happy Gardening!
Propagating Lomatia dentata is a wonderfully rewarding process. It takes a bit of patience, a keen eye, and a willingness to experiment, but the payoff of creating new life from a single cutting is truly magical. Don’t be discouraged if your first attempts aren’t perfect – that’s part of the learning curve! Just keep at it, enjoy the journey, and soon you’ll have a small forest of your own Chilean Pines to admire and share. Happy propagating!
Resource:
https://identify.plantnet.org/k-world-flora/species/Lomatia%20dentata%20R.Br./data