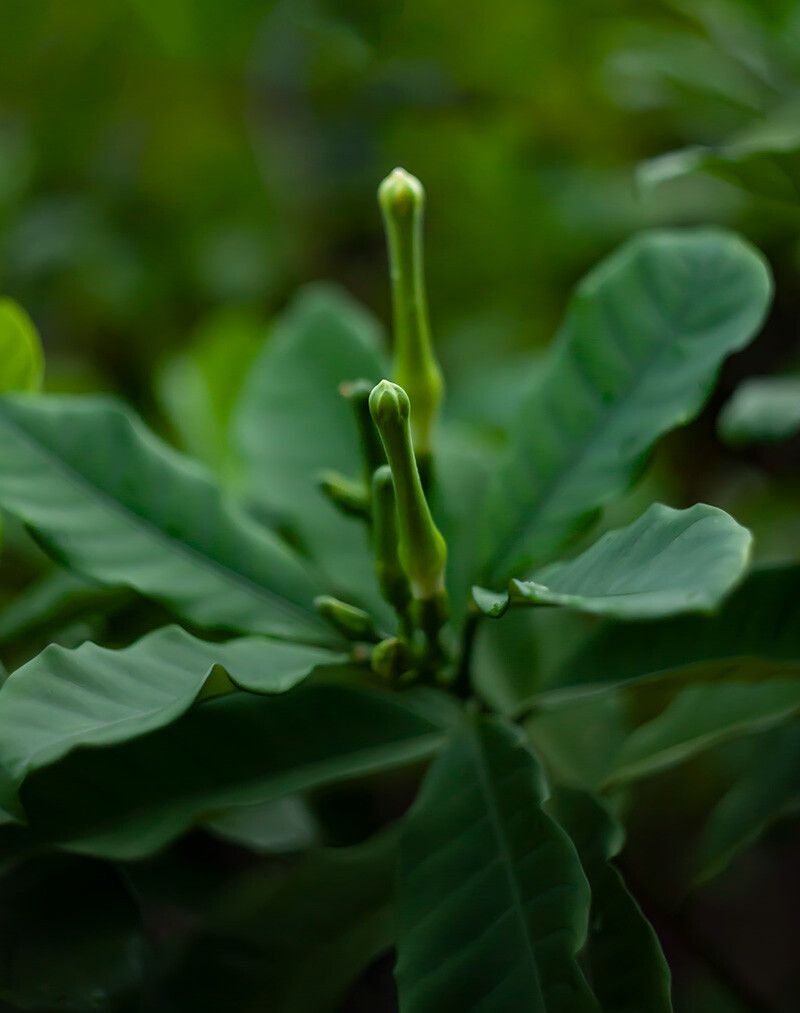
Hello, fellow plant lovers! Today, we’re diving into the delightful world of propagating Tabernaemontana pachysiphon, also known as the fragrant bush or, in some circles, the Crape Jasmine. If you’ve ever been captivated by its glossy, deep green leaves and the intoxicatingly sweet perfume of its white, pinwheel-shaped flowers, you’re not alone! Growing new plants from existing ones is one of the most rewarding journeys a gardener can embark on. It’s a way to share the beauty, expand your collection, or simply feel that little spark of accomplishment.
Now, I won’t lie and say Tabernaemontana pachysiphon is as straightforward as a Pothos for a total novice. It can be a little finicky. But with a bit of patience and these handy tips, I’m confident you can have great success propagating this beautiful shrub.
The Best Time to Start
When is the magic window for taking cuttings? For most tropical plants like our Crape Jasmine, late spring to early summer is your golden ticket. This is when the plant is actively growing, brimming with youthful energy. You’re looking for stems that are slightly woody but still flexible – the kind that snap cleanly with a gentle bend, rather than just bending limply. Avoid very new, soft, green shoots and overly mature, hard wood.
Supplies You’ll Need
Gathering your tools beforehand makes the whole process much smoother. Here’s what I always have on hand:
- Sharp pruning shears or a clean, sharp knife: For making clean cuts. Sterilize them with rubbing alcohol between cuts, especially if you’re taking many.
- Rooting hormone (optional but recommended): This can significantly boost your success rate. Look for one containing IBA.
- Well-draining potting mix: A good blend of peat moss, perlite, and a bit of compost works wonders. You can also buy a specialized seed-starting or propagation mix.
- Small pots or trays: Clean pots, at least 3-4 inches deep, are ideal for giving those new roots space.
- Plastic bags or a propagation dome: To create a humid environment for your cuttings.
- Water: For misting and keeping the soil lightly moist.
- Optional: A heat mat: This is a real game-changer for encouraging root development.
Propagation Methods
While you can try water propagation with these, I find stem cuttings give the most reliable results. Let’s walk through it.
- Select Your Cuttings: Find those perfect stems I mentioned earlier – semi-hardwood, that snap cleanly. Aim for cuttings that are 6-8 inches long.
- Prepare the Cuttings: Carefully remove any leaves from the lower half to two-thirds of the stem. This prevents them from rotting in the soil and encourages the plant to put its energy into root production. Leave just a few sets of leaves at the very top. If the remaining leaves are very large, you can cut them in half horizontally to reduce water loss through transpiration.
- Apply Rooting Hormone (if using): Dip the cut end of each stem into your rooting hormone powder or gel, tapping off any excess.
- Plant Your Cuttings: Fill your clean pots with your prepared potting mix. Make a small hole in the center of each pot with your finger or a pencil. Insert the treated end of your cutting into the hole, ensuring it’s deep enough to stand upright. Gently firm the soil around the base of the cutting.
- Water and Cover: Water the soil thoroughly but gently. You want it to be evenly moist, not waterlogged. Place the pots into a plastic bag, tying it loosely at the top, or cover them with a clear plastic propagation dome. This traps humidity, which is crucial for stem cuttings to root.
The “Secret Sauce” (Pro Tips)
Here are a couple of things I’ve learned over the years that really make a difference:
- Bottom Heat is Your Friend: If you can get your hands on a heat mat, place your pots on it. This gentle warmth from below mimics ideal growing conditions and really encourages those roots to sprout much faster. I find it cuts down rooting time considerably!
- Don’t Let Leaves Touch the Bag: When you cover your cuttings with a plastic bag, make sure none of the remaining leaves are pressing against the plastic. If they do, they can develop fungal spots or rot, which we absolutely want to avoid. Adjust the bag or trim the leaves if necessary.
Aftercare & Troubleshooting
Once your cuttings are planted, they need a good dose of patience and consistent care.
- Placement: Keep them in a bright, indirect light location. Avoid direct sun, which can scorch them and dry out the humidity dome too quickly.
- Humidity: Check the moisture in the bag or dome every few days. If it looks dry, give it a light sp mist of water. The soil should remain consistently moist but never soggy.
- Rooting Check: It can take anywhere from 4 weeks to a couple of months for roots to develop. You can gently tug on a cutting; if there’s resistance, you’ve got roots! You might also see tiny new leaves emerging at the top – another good sign.
- Troubleshooting: The most common culprit for failure is rot. This usually happens if the soil is too wet and there isn’t enough airflow. Yellowing leaves can also be a sign of overwatering or poor drainage. If you see signs of rot (black, mushy stems), unfortunately, that cutting is likely lost. Don’t be discouraged – just try again!
A Little Encouragement to Close
Propagating plants is an act of faith and observation. You’re nurturing tiny bits of life, and there’s incredible magic in watching them take hold and grow. Be patient with your Tabernaemontana pachysiphon cuttings. Even if your first attempts aren’t perfect, learn from them. The process itself is incredibly rewarding, and soon you’ll be surrounded by your own beautiful, fragrant Crape Jasmines. Happy propagating!
Resource:
https://identify.plantnet.org/k-world-flora/species/Tabernaemontana%20pachysiphon%20Stapf/data