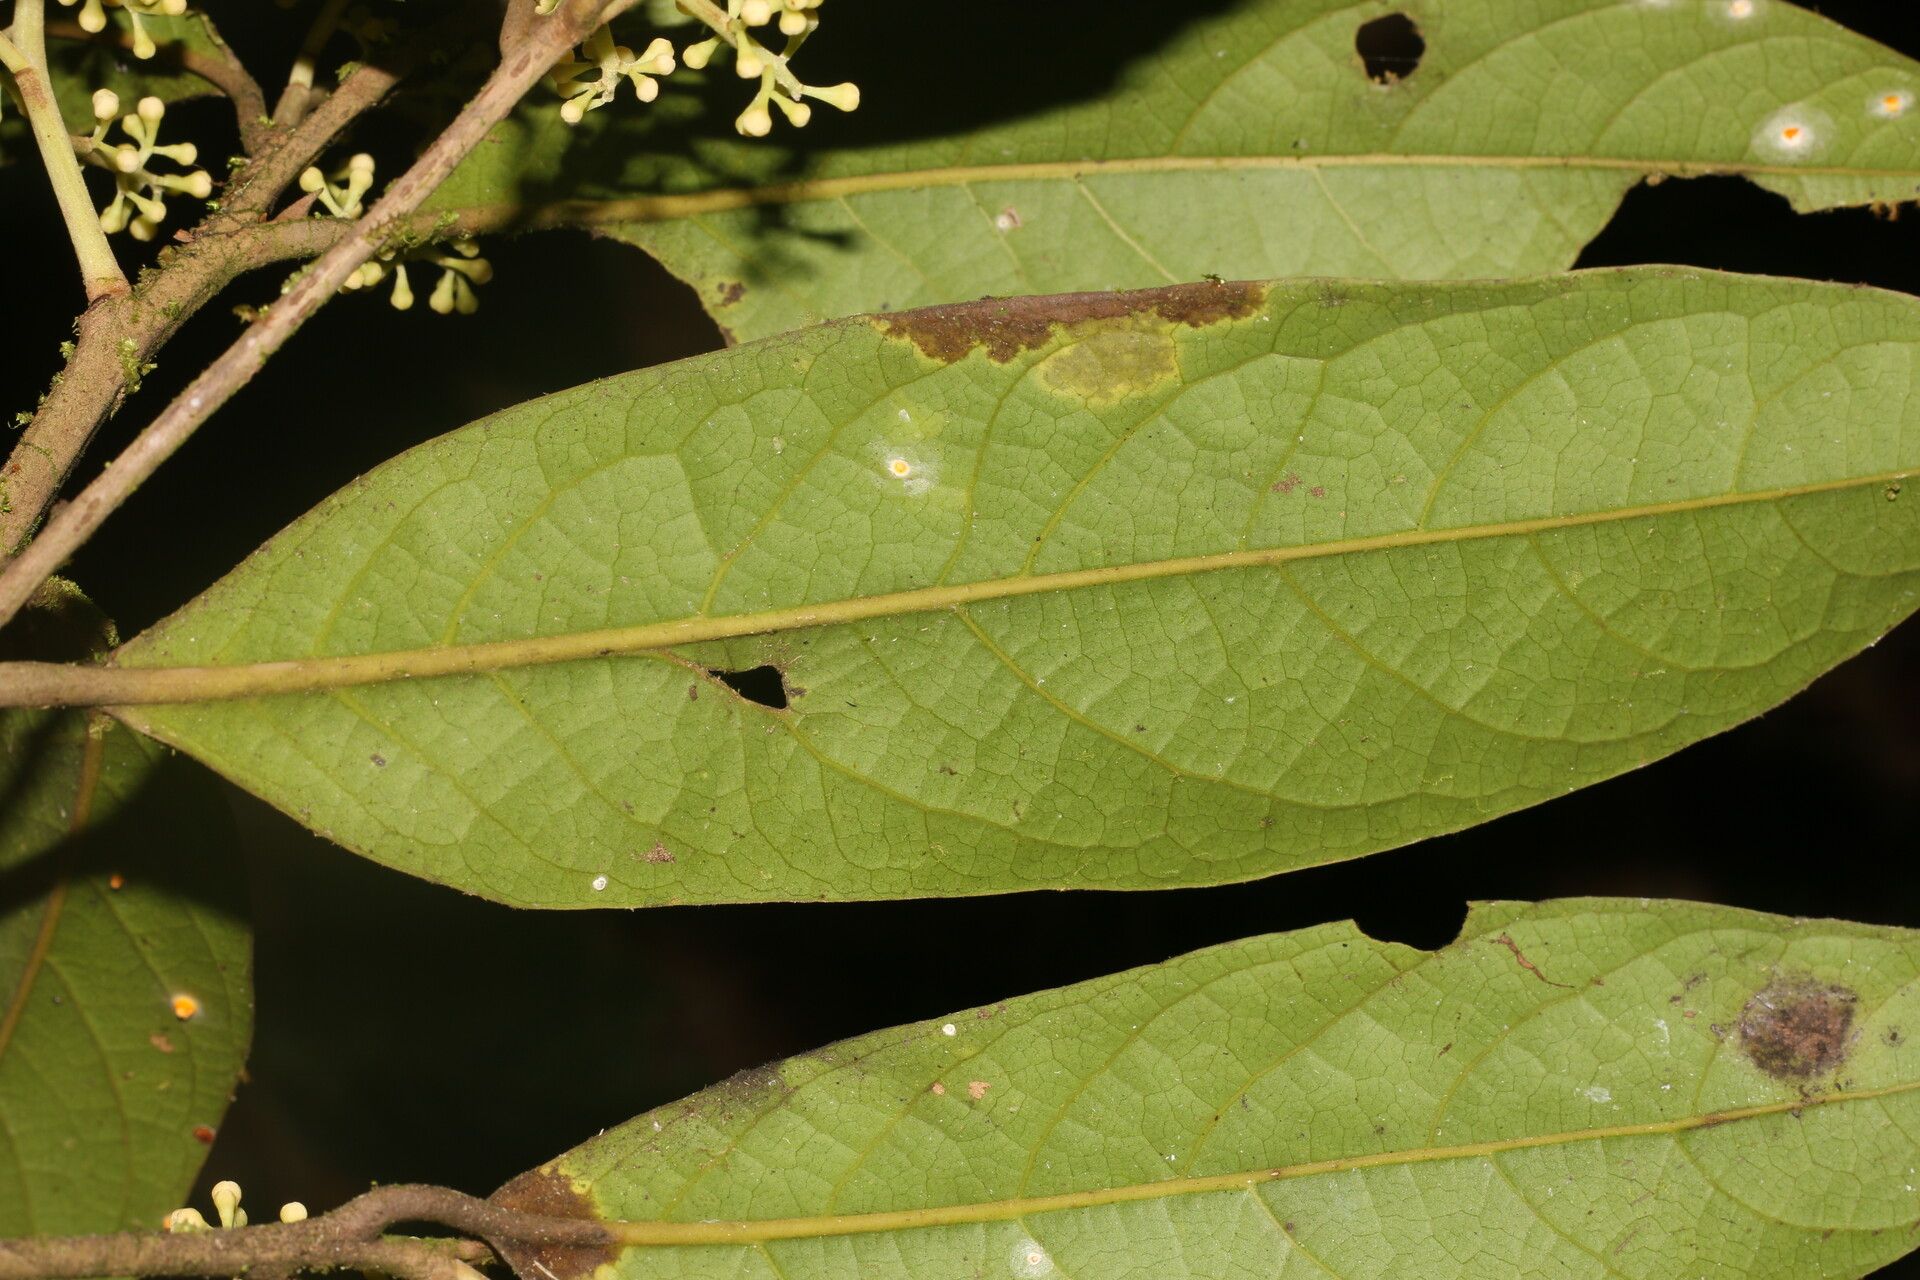
Hey there, fellow plant lovers! I’m so excited to chat with you today about one of my absolute favorite trees, Ocotea leucoxylon, also known as the White-wood or Amazonian Oak. If you’re looking for a gorgeous tree with beautiful foliage and a lovely, spreading habit, you’re in for a treat. And the best part? You can bring more of this beauty into your garden by propagating it yourself!
Now, let’s be honest, Ocotea leucoxylon isn’t the absolute easiest plant to start from scratch for a total beginner. It can be a little finicky. But don’t let that discourage you! With a bit of care and the right approach, you’ll be rewarded with a whole new generation of these magnificent trees. It’s a journey, for sure, but so incredibly worth it.
The Best Time to Start
The sweet spot for propagating Ocotea leucoxylon is generally during its active growing season, which typically falls in the late spring or early summer. This is when the plant has plenty of energy stored up, making it more receptive to rooting. You’re looking for new, supple growth, often referred to as “softwood” or “semi-hardwood” cuttings. Avoid trying to propagate from old, woody stems or during the dormant period.
Supplies You’ll Need
Gathering your supplies beforehand makes the whole process much smoother. Here’s what I usually have on hand:
- Sharp Pruning Shears or a Clean Knife: For making clean cuts.
- Rooting Hormone: A powder or gel really helps boost your success rate.
- Well-Draining Potting Mix: I like a blend of perlite, peat moss, and perhaps some coarse sand. You want something that allows water to drain away quickly.
- Small Pots or Propagation Trays: Sterilized, of course.
- Plastic Bags or a Propagator Dome: To create a humid environment.
- Watering Can with a Fine Rose: For gentle watering.
- Labels: To keep track of what you’ve planted and when!
Propagation Methods
While you might find information on other methods, stem cuttings have been my most reliable way to propagate Ocotea leucoxylon. Here’s how I do it:
- Select Your Cuttings: Choose healthy stems that are about 6-8 inches long and have at least a few sets of leaves. Look for stems that are bending slightly – not stiff and woody, but also not completely floppy.
- Prepare the Cuttings: Using your sharp shears or knife, make a clean cut just below a leaf node (where a leaf attaches to the stem). This is where the magic of rooting usually happens. Carefully remove the lower leaves, leaving just a few at the top. You can even take a sharp knife and make a shallow slit up the bottom inch of the stem – this increases the surface area for the rooting hormone to adhere to.
- Apply Rooting Hormone: Dip the cut end of the stem into your chosen rooting hormone. Make sure it’s coated well. Tap off any excess.
- Planting: Fill your small pots or trays with your moistened, well-draining potting mix. Make a hole in the center with your finger or a pencil, and carefully insert the prepared cutting, ensuring the leaves aren’t buried. Gently firm the soil around the base of the cutting.
- Create Humidity: This is crucial! Water the soil gently. Then, cover the pot with a clear plastic bag, securing it around the rim with a rubber band, or place it under a propagator dome. This traps humidity, which is essential for cuttings to root.
The “Secret Sauce” (Pro Tips)
Here are a couple of things I’ve learned over the years that really make a difference:
- Bottom Heat is Your Friend: If you have an old seedling heat mat, now’s the time to use it! Placing your pots on a heat mat provides gentle, consistent warmth to the soil. This encourages root development much faster than cooler soil temperatures. It’s like giving your cuttings a cozy, warm bath specifically for their roots.
- Don’t Let Those Leaves Touch Water: Once your cuttings are planted, resist the urge to have the remaining leaves directly touching the surface of the potting mix. If they get too wet and sit there, they can easily start to rot, which is the last thing you want.
Aftercare & Troubleshooting
Once your cuttings are planted, move them to a bright location that receives indirect light. Keep the soil consistently moist but not waterlogged. You’ll want to open the plastic bag for a few minutes each day to allow for some air circulation and prevent mold.
You’ll know your cuttings have rooted when you see new leaf growth or feel a slight resistance when you gently tug on the stem. This can take anywhere from 4 to 12 weeks, sometimes longer! Be patient.
The biggest pitfall you’ll likely face is rot. If you notice your cuttings turning mushy, black, or falling over, it’s usually a sign of too much moisture and not enough air circulation. Don’t be afraid to discard any that have rotted and try again. It’s all part of the learning process!
A Encouraging Closing
Propagating Ocotea leucoxylon might require a little extra effort, but the satisfaction of watching a new tree sprout from a small cutting is incredibly rewarding. Remember to be patient, observe your cuttings closely, and celebrate every little sign of progress. Happy gardening, and may your propagation endeavors be fruitful!
Resource:
https://identify.plantnet.org/k-world-flora/species/Ocotea%20leucoxylon%20(Sw.)%20Laness./data