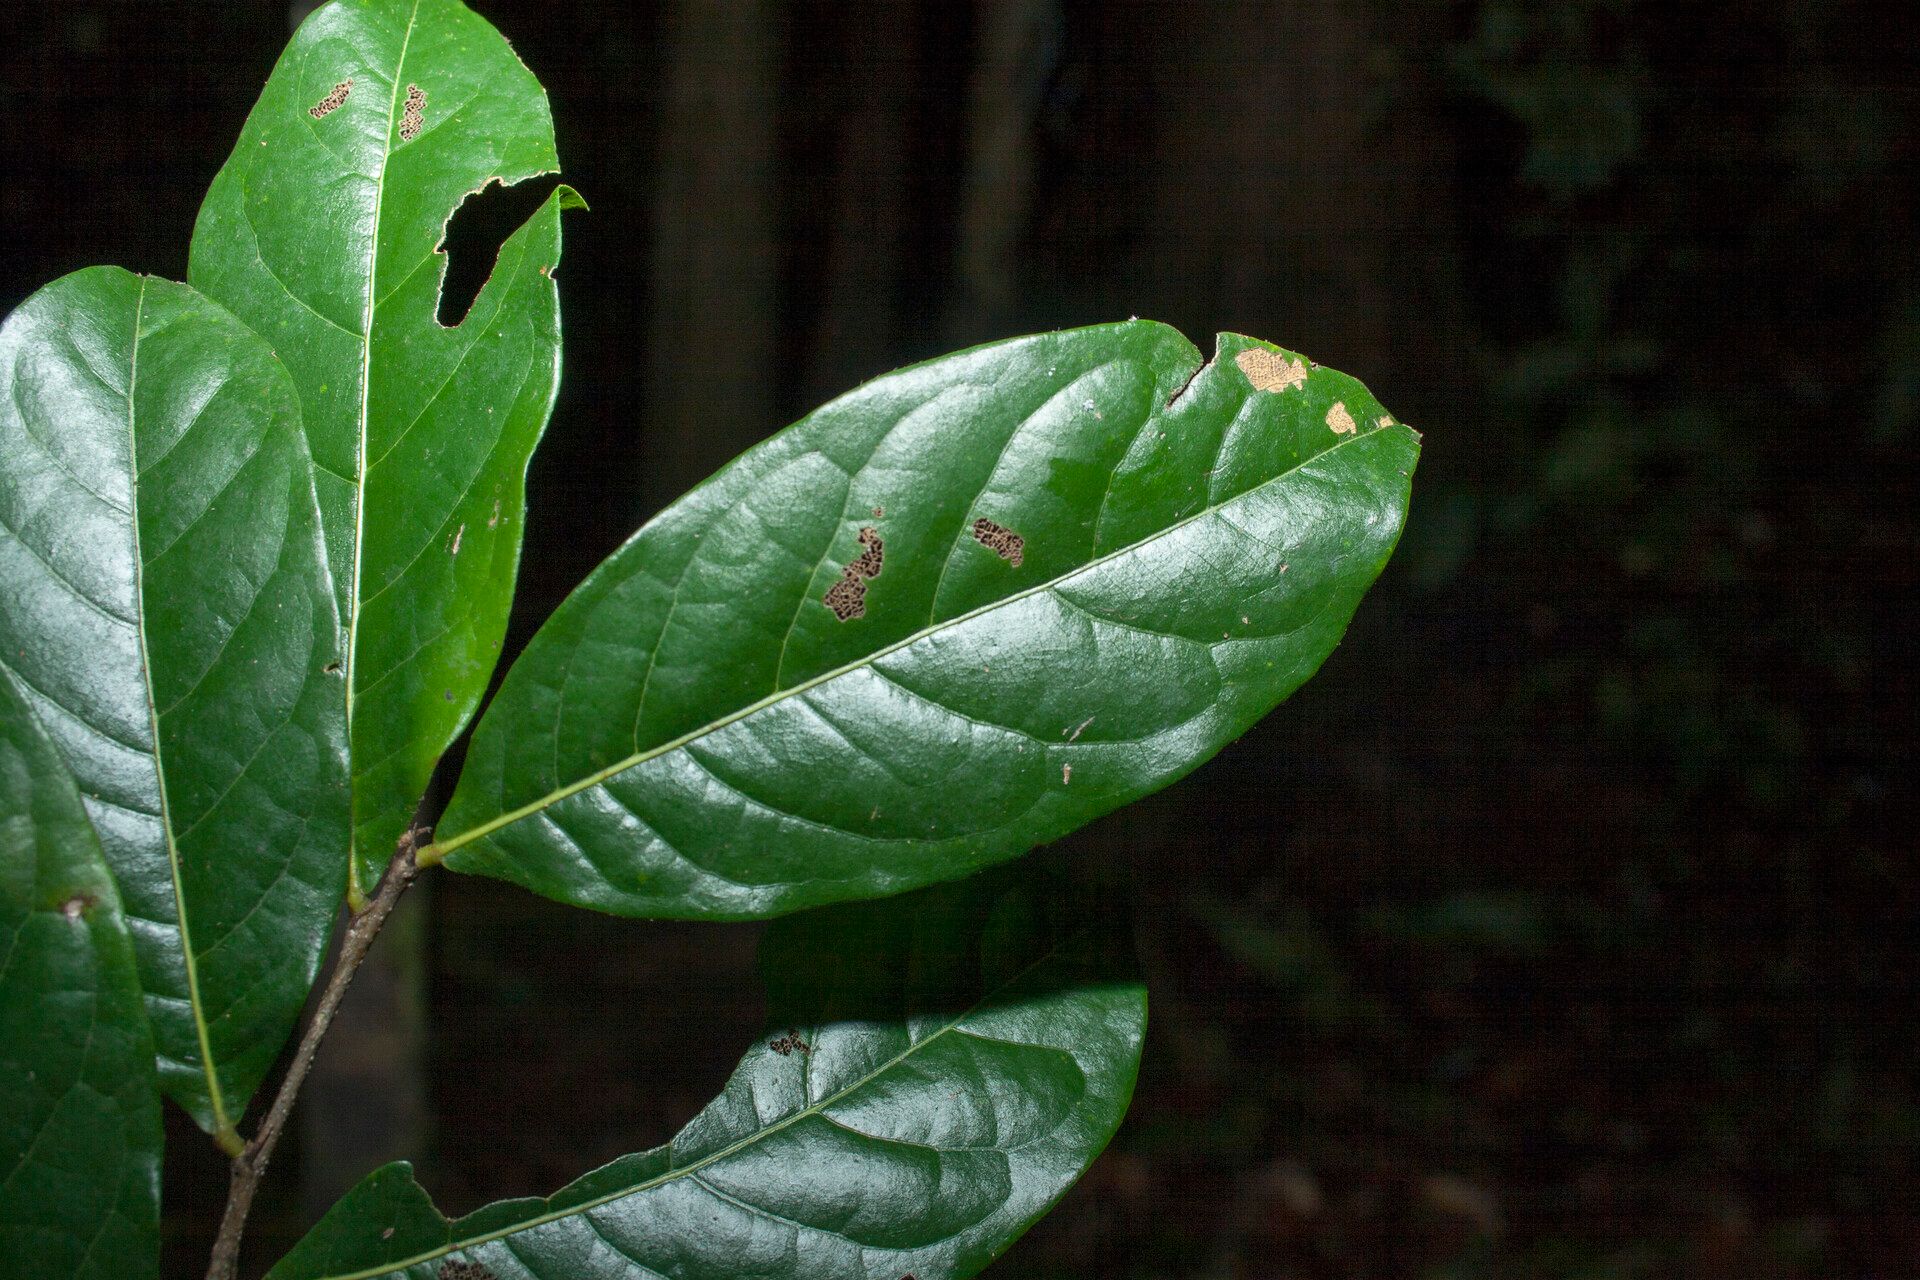
Oh, Hirtella davisii! That’s a delightful choice for propagation. You’ve picked a plant that brings such lovely texture and structure to a garden, and watching it grow from a tiny cutting is truly one of life’s simple pleasures. I find it incredibly rewarding to nurture these little ones, and honestly, it’s not as intimidating as some folks might think. We’ll get you set up for success!
The Best Time to Start
For Hirtella davisii, your absolute best bet is late spring or early summer. This is when the plant is actively growing and has plenty of energy to put into developing new roots. You want to take cuttings from stems that are semi-hardwood, meaning they have started to firm up but aren’t completely woody. Think of it as being in that perfect stage between brand new, floppy growth and old, stiff branches.
Supplies You’ll Need
Gathering your tools beforehand makes everything so much smoother. Here’s what I usually have on hand:
- Sharp pruning shears or a clean, sharp knife: Make sure they’re sterilized to prevent disease. A quick dip in rubbing alcohol works wonders.
- Potting mix: A good, airy mix is key. I often use a blend of perlite, peat moss, and a little bit of compost. You want something that drains well but still holds some moisture. Aim for about a 50/50 perlite and peat moss ratio, or a good quality cutting mix.
- Small pots or trays: Clean pots with drainage holes are essential. Seedling trays or small nursery pots (around 3-4 inches) are perfect.
- Rooting hormone (optional but recommended): This isn’t strictly necessary for all plants, but it can significantly increase your success rate and speed up rooting. A powder or gel form works well.
- Plastic bags or a clear propagator: We need to create a humid environment for our cuttings.
- Water: For misting and watering.
Propagation Methods
Let’s get our hands dirty! The most straightforward way to multiply your Hirtella davisii is through stem cuttings.
- Take Your Cuttings: Find a healthy stem on your Hirtella davisii plant. Using your sterilized shears, cut a piece that is about 4-6 inches long. Make your cut just below a leaf node – that’s where new roots are most likely to form. Remove the leaves from the bottom half of the cutting. You can leave the top 2-3 leaves on, but if they’re very large, I often snip them in half to reduce water loss.
- Prepare for Rooting: Dip the cut end of the stem into your rooting hormone, tapping off any excess. This helps to stimulate root development.
- Plant Your Cuttings: Fill your small pots with your well-draining potting mix. Make a small hole in the center of the soil with your finger or a pencil. Gently insert the prepared cutting into the hole, ensuring the nodes where you removed leaves are below the soil surface. Firm the soil around the cutting to provide support.
- Create a Humid Environment: Water the soil gently after planting. Then, cover the pot with a clear plastic bag or place it inside a propagator. If using a bag, you might need to prop it up with a few stakes so it doesn’t touch the foliage. This traps moisture and creates the humid microclimate your cuttings need.
- Place in Suitable Light: Find a bright spot for your cuttings, but avoid direct sunlight, which can scorch them. A bright windowsill or under grow lights is ideal.
The “Secret Sauce”
Here are a couple of my little tricks that often make a big difference:
- Bottom Heat: If you’re a bit of a gadget person or have trouble keeping things consistently warm, a seedling heat mat can be a game-changer. A gentle warmth from below encourages faster root development. Just place your pots on top of it.
- Don’t Drench, Just Damp: While we need humidity, soggy soil is the enemy of cuttings. You want the potting mix to be consistently moist, like a wrung-out sponge, but never waterlogged. Overwatering is a fast track to rot.
Aftercare & Troubleshooting
Once your cuttings are planted, patience is key! Check the soil moisture regularly and water lightly if it feels dry. You might also want to mist the leaves every so often, especially if you’re not using a propagator.
You’ll know your cutting has rooted when you see new leaf growth or feel a gentle resistance when you tug lightly on the stem. This can take anywhere from 4-8 weeks, sometimes longer.
The most common sign of failure is rotting. If your cutting turns black and mushy, it’s unfortunately a goner. This is usually due to too much moisture and not enough air circulation. If you see mold on the soil, increase ventilation slightly.
A Encouraging Closing
Propagating plants is a journey, and sometimes things don’t work out on the first try. Don’t be discouraged! Every cutting you take is an experiment, and each one teaches you something new. Take your time, enjoy the process of nurturing these little life forms, and soon you’ll have a beautiful collection of Hirtella davisii to enjoy. Happy planting!
Resource:
https://identify.plantnet.org/k-world-flora/species/Hirtella%20davisii%20Sandwith/data