Hey there, fellow garden lovers!
There’s something incredibly satisfying about coaxing new life from existing plants. It’s like sharing a secret with nature, and getting a whole new splash of color for your rock garden or borders for free? Well, that’s just pure gardening joy. Today, we’re diving into the wonderful world of propagating Aubrieta deltoidea, often called “Rock Cress.”
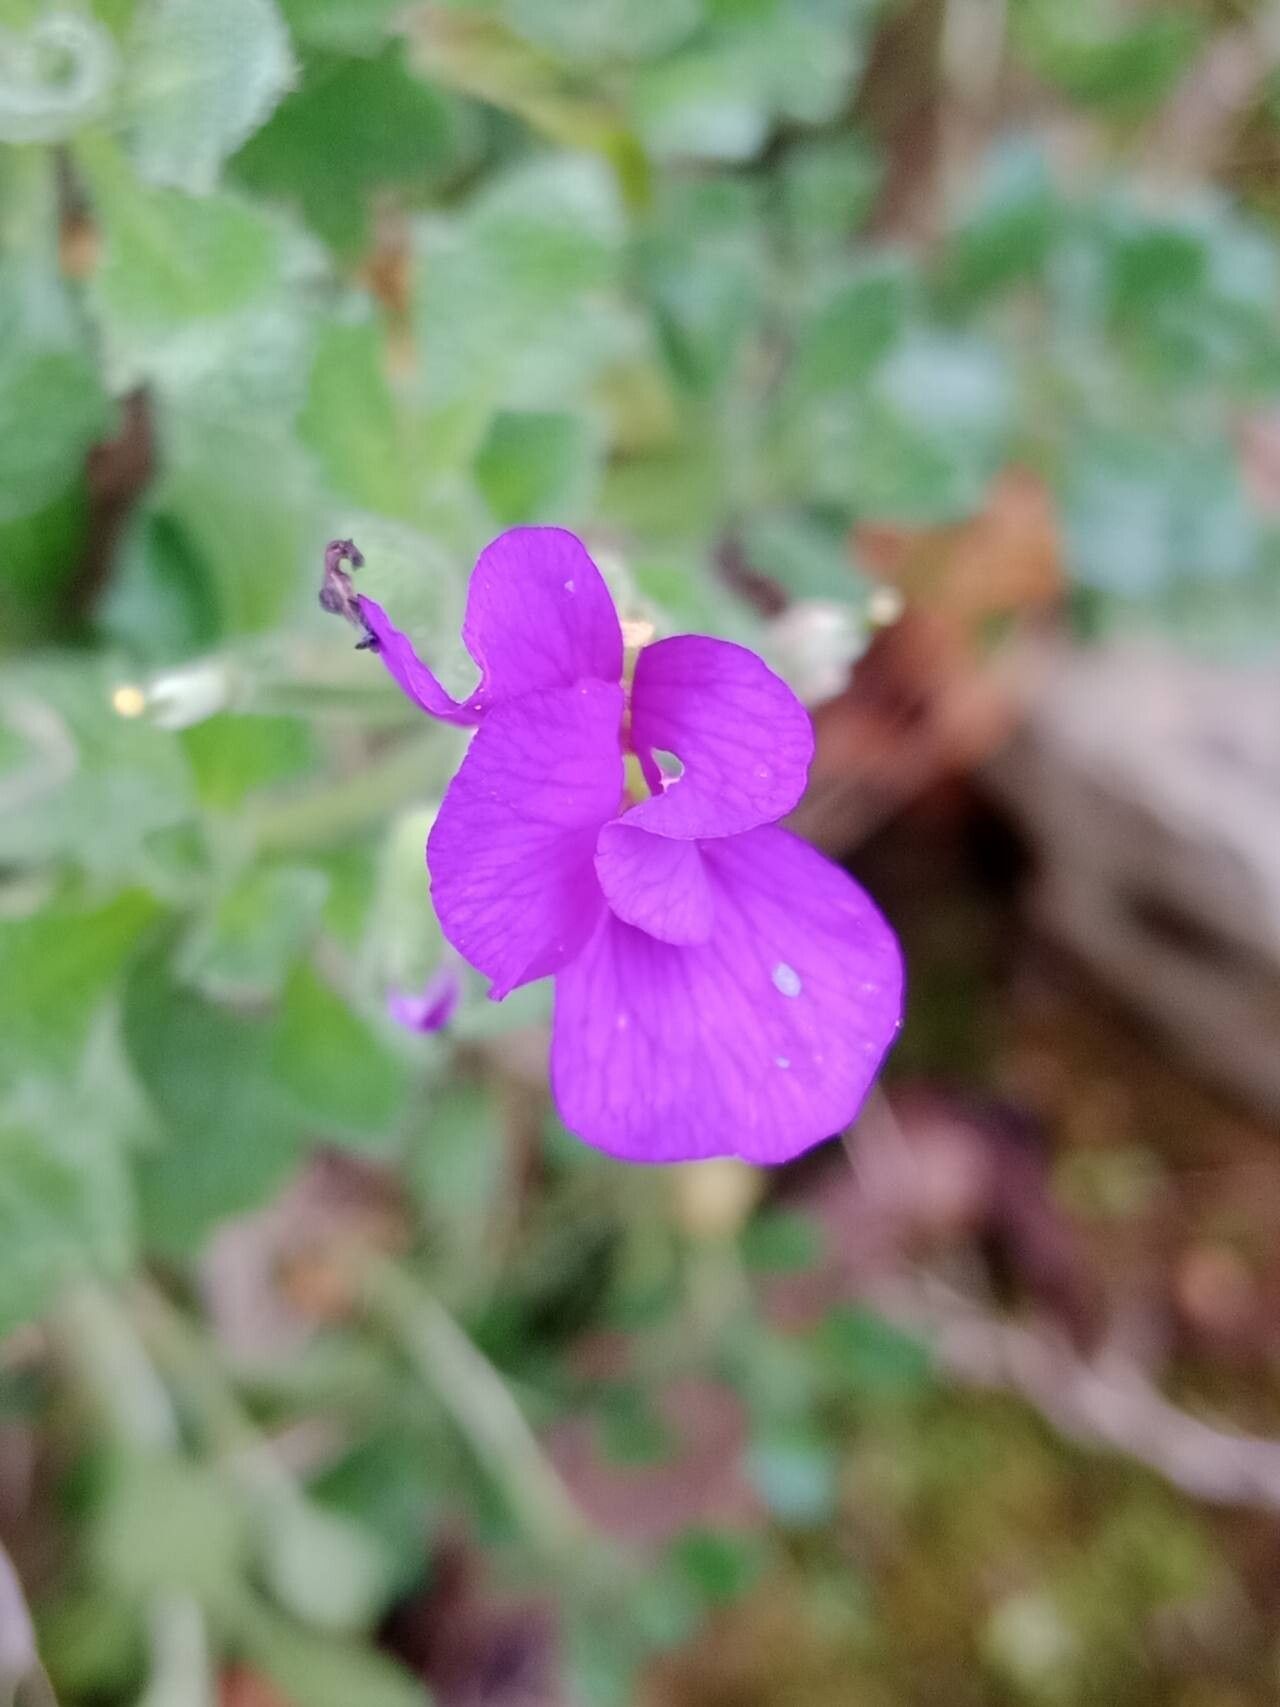
Aubrieta is that delightful creeper that bursts into a carpet of vibrant purple, pink, or blue flowers in early spring. It’s the perfect plant to spill over walls, tuck into crevices, or edge a pathway. If you’ve ever admired a neighbor’s overflowing Aubrieta and wished you had more, this guide is for you! And guess what? It’s a wonderfully straightforward plant to propagate, even if you’re just starting out on your gardening journey.
The Best Time to Start
For the highest success rate with Aubrieta, late spring or early summer, right after it finishes its spectacular bloom, is your golden window. The plant is actively growing then, and the young shoots will have plenty of energy to heal and root nicely. You can also try taking cuttings in early autumn, but spring cuttings generally establish faster.
Supplies You’ll Need
Here’s what you’ll want to have on hand:
- Sharp pruning shears or a clean, sharp knife: For making neat cuts.
- Rooting hormone (optional but helpful): A powder or gel that encourages root development.
- Well-draining potting mix: A 50/50 blend of potting soil and perlite or coarse sand is ideal. Avoid heavy, moisture-retentive mixes.
- Small pots or seed trays: Clean ones, please!
- Plastic bags or a propagator: To create a humid environment.
- Watering can with a fine rose or spray bottle: For gentle watering.
Propagation Methods
Aubrieta is happy to be multiplied by a couple of easy methods.
Stem Cuttings: My Favorite Way
This is my go-to for Aubrieta because it’s so effective.
- Select your stems: Look for healthy, non-flowering shoots from your mature plant. You want stems that are still somewhat flexible but not flimsy, about 3-4 inches long.
- Make the cut: Using your clean shears, take cuttings just below a leaf node (where a leaf joins the stem). This is where roots are most likely to form.
- Prepare the cuttings: Gently remove the lower leaves from the cutting. You want to leave just a couple of leaves at the very tip.
- Dip in hormone (optional): If you’re using rooting hormone, dip the cut end into the powder or gel. Tap off any excess.
- Plant your cuttings: Fill your small pots with your prepared, moist potting mix. Make a small hole with a pencil or your finger, and insert the cutting, burying the leafless part of the stem. Gently firm the soil around it.
- Create humidity: Water the soil gently, then place the pot into a plastic bag or propagator. Seal it to keep the humidity in. You can prop the bag up with sticks so it doesn’t touch the leaves.
Division: A Two-in-One Deal
If your Aubrieta has gotten quite large and is looking a little woody in the center, it’s a perfect candidate for division.
- Dig it up: In spring or autumn, carefully dig up the entire plant.
- Separate the sections: Gently pull the root ball apart into smaller sections. Ideally, each section should have a good amount of roots and some leafy growth. You might need to use a clean spade or knife to help if it’s very dense.
- Replant: Immediately replant the divisions in their new homes – either back into your garden or into pots to grow on. Water them well.
The “Secret Sauce” (Pro Tips)
Here are a couple of little tricks I’ve picked up over the years that really help:
- Don’t drown your cuttings: While humidity is key, don’t let the leaves sit in standing water inside the propagator. This is a fast track to rot. The idea is moist conditions, not soggy ones. If you see condensation pooling heavily, open the bag for a few hours to let it air out.
- Bottom heat is your friend: If you can, placing your cuttings on a heated propagator mat can significantly speed up rooting. Aubrieta roots readily, but a little warmth encourages those roots to get going quicker. It’s like giving them a cozy little spa day.
Aftercare & Troubleshooting
Once your cuttings have been planted and misted, place them in a bright spot, but out of direct sunlight. Check the soil regularly; it should feel consistently moist but not waterlogged.
You’ll know your cuttings are rooting when you see new leaf growth, or if you gently tug on a cutting and feel some resistance. This can take anywhere from three weeks to two months. Once they have a good root system, you can carefully remove them from the bag and keep them in their pots, watering as needed. Gradually acclimate them to drier air before planting them in their permanent home.
The most common issue you might face is rot. This happens when cuttings are too wet and lack good air circulation. If you see your cutting turning black and mushy, unfortunately, it’s best to discard it and start again, making sure to improve your watering and ventilation next time.
A Encouraging Closing
Propagating Aubrieta is a patient gardener’s reward. Don’t get discouraged if a few don’t make it; that’s just part of the learning curve. Enjoy the process of nurturing these little snippets of life. Soon enough, you’ll have a whole new collection of this cheerful bloomer to share the love with – or just to blanket your own garden in glorious spring color! Happy propagating!
Resource:
https://identify.plantnet.org/k-world-flora/species/Aubrieta%20deltoidea%20(L.)%20DC./data