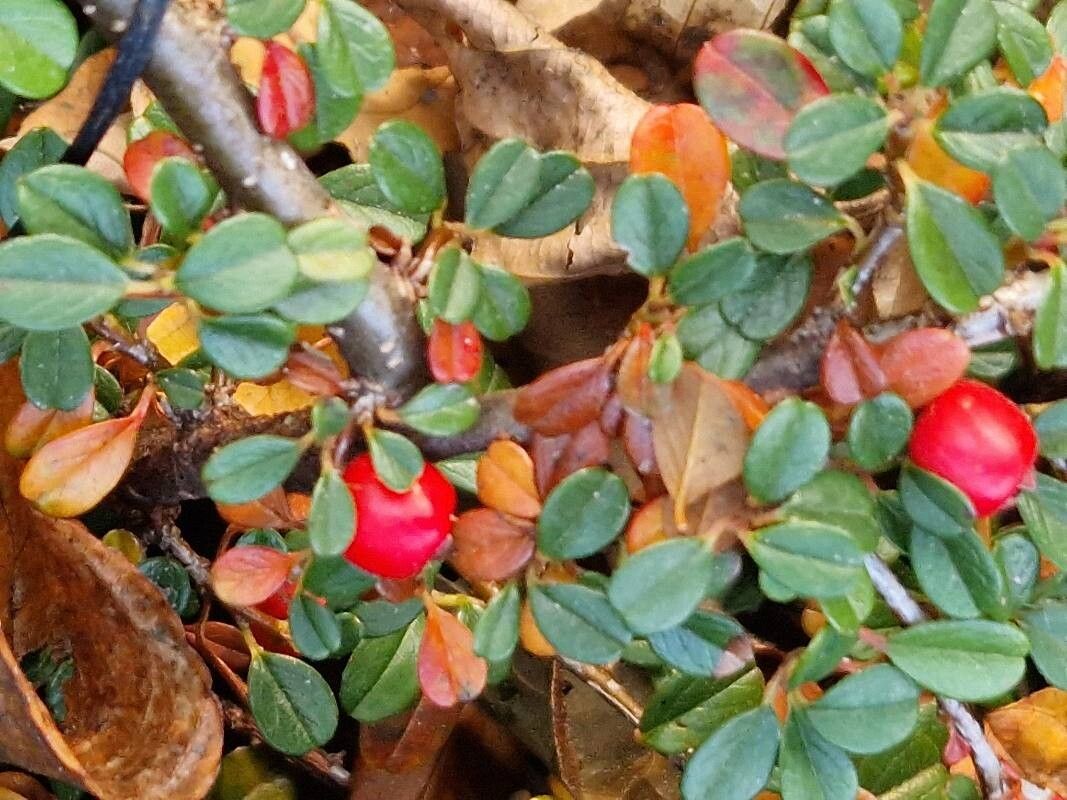
Hey there, fellow plant lovers! If you’ve ever admired those charming evergreen carpets of tiny, glossy leaves and the delightful pops of red berries that Cotoneaster congestus brings to the garden, you’re in for a treat. Propagating this beauty is a wonderfully rewarding experience, and honestly, it’s not as intimidating as you might think. In fact, I’d say it’s quite achievable, even for those just dipping their toes into the world of plant propagation!
The Best Time to Start
When it comes to Cotoneaster congestus, your best bet for success is late spring or early summer. This is when the plant is actively growing, and you’ll find plenty of healthy, semi-hardwood stems that are perfect for taking cuttings. The warm weather also helps new roots establish more quickly.
Supplies You’ll Need
Here’s a little checklist to get you started:
- Sharp Pruning Shears or a Knife: Cleanliness is key for preventing disease.
- Rooting Hormone (optional but recommended): A little help never hurt!
- Small Pots or Seedling Trays: With good drainage holes, of course.
- A Well-Draining Potting Mix: I like to use a blend of perlite and peat moss or coco coir (about a 50/50 mix). You can also buy specialized propagation mixes.
- A Plastic Bag or Cling Film: To create a mini-greenhouse effect.
- Watering Can with a Fine Rose: Gentle watering is a must.
Propagation Methods: Let’s Get Cutting!
While Cotoneaster congestus can also be grown from seed, I find taking stem cuttings to be the most direct and rewarding method for cloning a plant you already love.
- Select Your Cuttings: Look for healthy, vigorous stems that are not flowering or fruiting. You want stems that have grown this season, so they bend a bit without snapping – that’s your semi-hardwood. Snip off pieces about 4-6 inches long.
- Prepare the Cuttings: Remove the leaves from the bottom two-thirds of the stem, leaving just a few at the top. If the remaining leaves are large, I like to cut them in half horizontally. This reduces water loss while still allowing for some photosynthesis.
- Apply Rooting Hormone (Optional): Dip the cut end of each stem into your rooting hormone powder, tapping off any excess. This really does give them a boost!
- Pot Them Up: Fill your pots or trays with your prepared potting mix. Make a small hole in the center with your finger or a pencil. Insert the cut end of your stemmed cutting into the hole, ensuring the root hormone stays in place. Gently firm the soil around the stem.
- The Mini-Greenhouse: Water the soil gently until it feels moist but not waterlogged. Then, cover the pots with a clear plastic bag or cling film. You can support it with stakes if needed, making sure the plastic doesn’t touch the leaves too much. This will keep the humidity high, which is crucial for cutting survival.
- Find a Cozy Spot: Place your pots in a bright location that gets indirect sunlight. Avoid direct sun, which can scorch the young cuttings.
The “Secret Sauce” (Pro Tips!)
Here are a couple of tricks I’ve learned over the years that make a real difference:
- Don’t Let Leaves Touch Water: If you choose to root in water (which is less reliable for woody plants like cotoneaster, but possible for some shorter sprigs), make sure absolutely none of the leaves are submerged. Rot sets in fast when leaves sit in water. For cuttings in soil, this translates to ensuring your soil is airy and well-draining to prevent waterlogged crowns.
- Think “Bottom Heat”: If you have a heat mat designed for seedlings, placing your pots on it can dramatically speed up root formation. It mimics a strong sun from below and encourages those roots to get growing. It’s a game-changer for trickier propagation.
Aftercare & Troubleshooting
Once your cuttings start to look happy and settled, you’ll want to keep an eye out for progress.
- Check for Roots: After about 4-8 weeks, you can gently tug on a cutting. If you feel resistance, it’s a good sign roots have formed! You can also look for new leaf growth.
- Gradual Acclimatization: Once rooted, slowly remove the plastic cover over a week or two. Start by taking it off for a few hours each day. This helps them adjust to the drier air.
- Watering: Continue to water when the top inch of soil feels dry.
- Common Glitches: The most common culprit for failure is rot, which manifests as mushy, black stems. This is usually due to overwatering or poor drainage. If you see this, sadly, it’s time to discard the affected cuttings. Another sign of trouble is wilting that doesn’t perk up after watering, often indicating the cutting never formed roots. Don’t be discouraged if some don’t make it! It’s all part of the learning process.
Keep Growing!
There you have it – a little guide to getting more of that lovely Cotoneaster congestus in your life. Be patient, observe your cuttings, and enjoy the magic of watching them grow. Gardening is a journey, and every successful propagation is a little victory to savor. Happy planting!
Resource:
https://identify.plantnet.org/k-world-flora/species/Cotoneaster%20congestus%20Baker/data