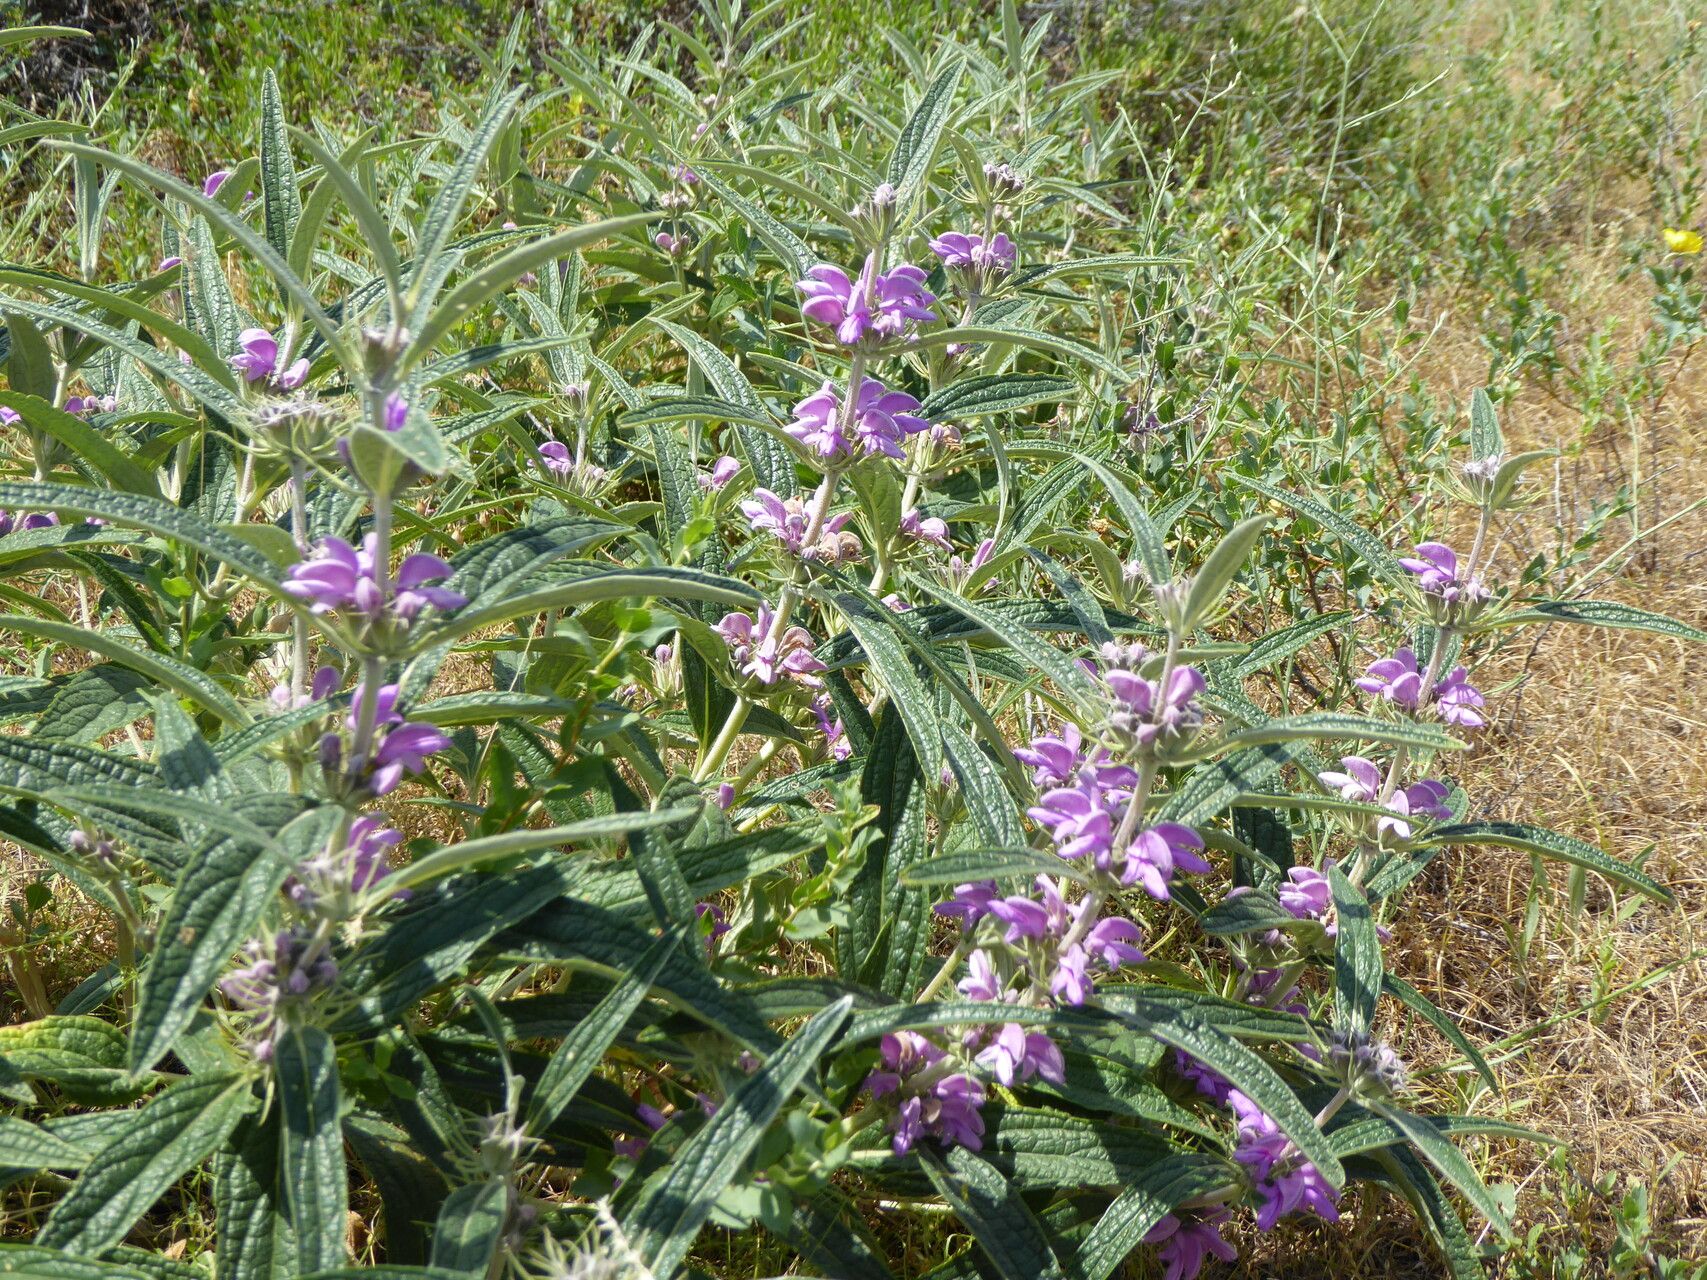
Hello, fellow plant lovers! I’m so excited to talk to you today about one of my garden favorites: Phlomis regelii, or as I affectionately call it, the Turkish Sage. This beauty, with its fuzzy, silver-green leaves and charming whorls of yellow flowers, brings such a unique texture and color to any garden. Honestly, it’s a plant that just makes me feel good when I look at it.
And the best part? You can easily bring more of this joy into your own space by propagating it! For those of you just starting out in the plant world, I’d say Phlomis regelii is moderately easy to propagate. It’s not quite as foolproof as some succulents, but with a little attention, you’ll be rewarded with plenty of new plants. It’s a really satisfying process, and watching a tiny cutting transform into a thriving plant is something special.
The Best Time to Start
My personal favorite time to take cuttings of Phlomis regelii is in late spring or early summer. This is when the plant is actively growing, and the new, semi-hardwood stems are perfect. They’ve got enough maturity to be strong, but they haven’t gotten too woody yet, which means they’ll root more readily. Waiting until after the initial spring flush of growth is key for the highest success rate.
Supplies You’ll Need
Let’s get our workspace ready. Here’s what you’ll want to have on hand:
- Sharp pruning shears or a clean knife: For making clean cuts.
- Rooting hormone: This is a helpful booster but not always strictly necessary for Phlomis. I opt for a powder form.
- A well-draining potting mix: I find a good mix of peat moss, perlite, and a little bit of compost works wonders. You can also use a specialized seed-starting mix.
- Small pots or trays: Clean ones are a must!
- A watering can or spray bottle: For gentle watering.
- Plastic bags or a propagator: To create a humid environment.
- Labels: Trust me, you’ll thank yourself later!
Propagation Methods
The most reliable way I’ve found to propagate Phlomis regelii is through stem cuttings. It’s straightforward and usually yields great results.
- Select your cuttings: Look for healthy, non-flowering stems from your mature plant. You want stems that are slightly firm but still flexible – this is that ‘semi-hardwood’ stage we talked about.
- Take the cuttings: Using your sharp shears or knife, take cuttings that are about 4-6 inches long. Make your cut just below a leaf node (the spot where a leaf attaches to the stem). This is where roots are most likely to form.
- Prepare the cuttings: Gently remove the lower leaves from the bottom half of the cutting. You want to expose the leaf nodes. If the cutting has any flower buds, pinch them off – we want the plant to focus its energy on growing roots, not flowers.
- Apply rooting hormone (optional): Dip the cut end of the stem into your rooting hormone powder. Tap off any excess. It’s like giving your cutting a little energy drink!
- Plant your cuttings: Fill your clean pots or trays with your well-draining potting mix. Make a small hole in the center with your finger or a pencil. Gently insert the prepared cutting into the hole, making sure the leaf nodes are buried.
- Water gently: Water the soil thoroughly but gently. You want the soil to be moist, not waterlogged. A spray bottle is great for this initial watering to avoid disturbing the cuttings.
- Create humidity: Cover the pots or trays with a clear plastic bag or place them in a propagator. This traps moisture and creates the humid environment cuttings need to thrive. Make sure the plastic doesn’t touch the leaves too much.
The “Secret Sauce” (Pro Tips)
Over the years, I’ve picked up a few tricks that seem to make a real difference with Phlomis regelii.
- My absolute favorite trick is to use bottom heat. Placing your pots on a gentle heat mat can significantly speed up the rooting process. It mimics the warmth of summer soil and encourages those roots to get actively growing.
- When you’re making your cuttings, don’t be afraid to take more than you think you need. Not every single one will take, and that’s perfectly normal. Having a few extra increases your chances of success.
- For Phlomis, I find it’s best to avoid water propagation. While some plants root beautifully in water, the fuzzy nature of Phlomis stems can sometimes lead to rot in a water setup. Stick to soil for this one; it’s much more reliable.
Aftercare & Troubleshooting
Once your cuttings are planted, place them in a bright spot, but out of direct, harsh sunlight. A windowsill that gets bright, indirect light is usually ideal. Keep the soil consistently moist but never soggy. You can check for moisture by gently poking your finger into the soil.
The first sign that your cuttings are happy is when you see new leaf growth. This usually happens within 4-8 weeks, sometimes sooner with bottom heat. Once you see that encouraging new growth, you can start to gradually introduce them to more light and air by opening the plastic bag a little each day.
The most common problem you might encounter is rot. If you see your cutting turn mushy or dark and fall over, it’s likely due to too much moisture and not enough air circulation. Ensure your soil drains well and keep an eye on the humidity. If a few cuttings fail, don’t get discouraged – learn from it and try again!
A Little Encouragement
Propagating Phlomis regelii is a wonderful way to expand your garden and share the beauty of this plant with friends. Be patient with the process. It takes time for roots to establish strong, and sometimes nature just does its thing on its own schedule. Enjoy the journey of nurturing these new life forms from simple cuttings. Happy gardening!
Resource:
https://identify.plantnet.org/k-world-flora/species/Phlomis%20regelii%20Popov/data