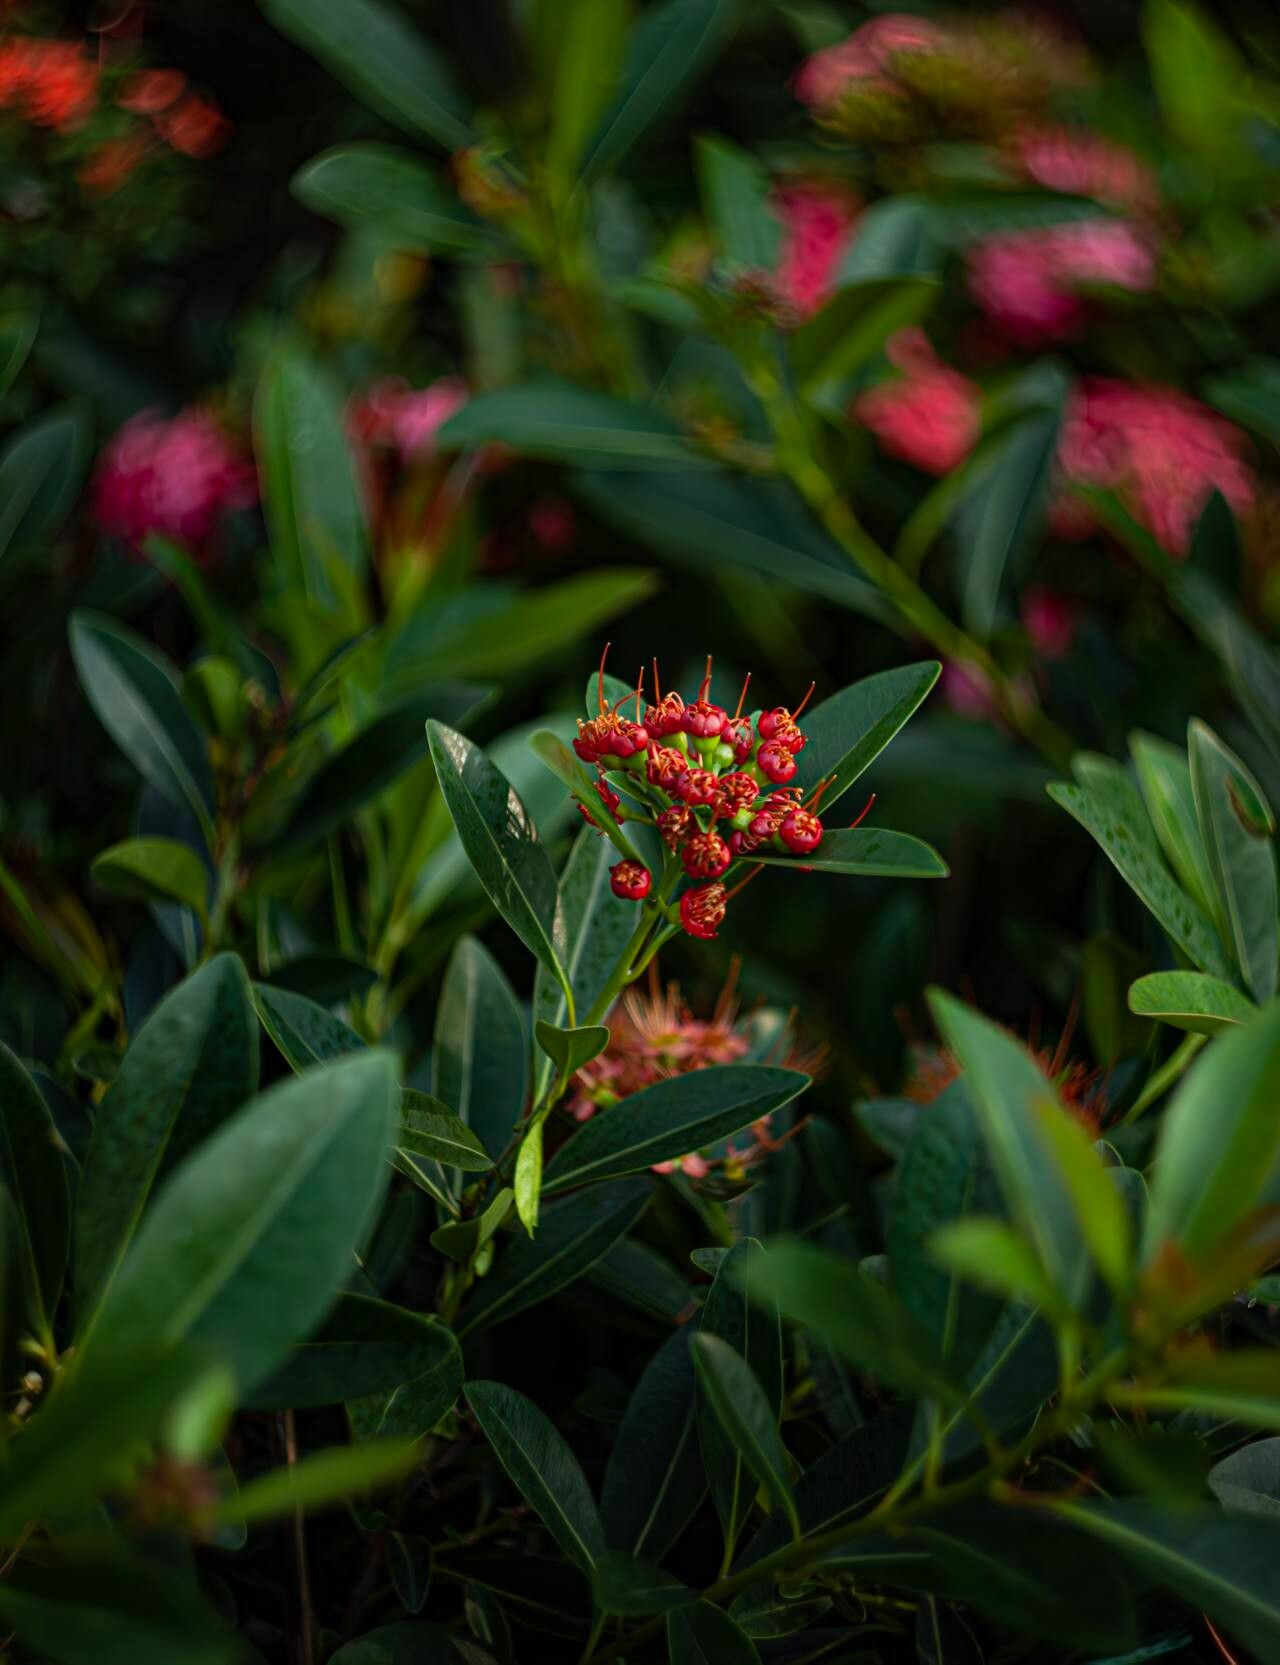
Hello, fellow garden enthusiasts! Today, we’re diving into the wonderful world of Xanthostemon longipes, also known as the Queensland Christmas Tree or, more locally, the Little Golden Penda. Those stunning, brush-like clusters of golden-yellow flowers are enough to make any gardener swoon. If you’ve fallen for this beauty, you’ll be thrilled to know that propagating it is incredibly rewarding. While it might not be the absolute easiest plant for a complete beginner, with a little guidance and patience, you can absolutely succeed. Think of it as a fun gardening challenge!
The Best Time to Start
For the highest success rate, I always recommend propagating Xanthostemon longipes during its active growth period. That typically means spring and summer. You’ll want to take cuttings from young, healthy stems that are not flowering. These juvenile stems are more eager to root than woody, mature ones.
Supplies You’ll Need
To give your cuttings the best start, gather these essentials:
- Sharp, clean pruning shears or a sharp knife: For making clean cuts.
- Rooting hormone powder or gel: This isn’t strictly mandatory for every plant, but for Xanthostemon, it can give you a significant boost in rooting.
- Well-draining potting mix: A 50/50 blend of perlite and peat moss or coco coir works beautifully. You can also use a commercial seed-starting mix or a cactus and succulent mix.
- Small pots or propagation trays: Clean ones are key!
- Plastic bags or a propagation dome: To maintain humidity.
- Labels: To keep track of what you’ve propagated and when.
- Optional: Bottom heat mat: This can significantly speed up rooting.
Propagation Methods
Let’s get our hands dirty! I’ve found stem cuttings to be the most reliable method for Xanthostemon longipes.
Stem Cuttings: Your Golden Ticket
- Select your cuttings: Look for healthy, non-flowering stems that are about 4-6 inches long. A good indicator of a suitable cutting is one that bends slightly rather than snapping cleanly – it’s called “semi-hardwood.”
- Make the cut: Using your clean shears or knife, make a clean cut just below a leaf node. These nodes are where roots are most likely to form.
- Prepare the cutting: Gently remove the leaves from the bottom half of the cutting. You want at least 2-3 leaves remaining at the top to help the cutting photosynthesize.
- Apply rooting hormone: Dip the cut end of the stem into your rooting hormone powder or gel, tapping off any excess.
- Potting up: Fill your clean pots with your well-draining mix. Make a small hole in the center with a pencil or your finger.
- Insert the cutting: Carefully place the prepared cutting into the hole, ensuring the leaves aren’t buried. Gently firm the mix around the stem.
- Water and cover: Water the mix thoroughly until it’s moist but not soggy. Then, cover the pot with a clear plastic bag or place it inside a propagation dome to create a humid microclimate. This is crucial for preventing the cuttings from drying out.
- Placement: Place your pots in a bright location that receives indirect sunlight. Avoid direct sun, which can scorch the delicate cuttings.
The “Secret Sauce” (Pro Tips)
Here are a few little tricks I’ve learned over the years that can really help boost your success:
- Bottom Heat is Your Friend: If you have a bottom heat mat, use it! Placing your pots on it creates a gentle warmth that encourages root development much faster. You’ll often see roots form in half the time.
- Don’t Let Leaves Touch the Water (if you try water propagation): While I favor soil for Xanthostemon cuttings, if you’re tempted by water propagation (which I find less consistently successful for this particular plant), never let the leaves touch the water. This will cause them to rot quickly. Only the stem should be submerged.
- Air Circulation is Key: While you want to maintain humidity, don’t seal your propagation domes too tightly for too long. Briefly opening the dome or bag for a few minutes each day helps to prevent fungal diseases and allows for fresh air exchange.
Aftercare & Troubleshooting
Once your cuttings have started to root (you’ll know when you see new leaf growth or feel a slight tug when you gently test the stem), it’s time to transition them.
- Gradually Acclimate: As the new growth solidifies, slowly reduce the humidity. Start by opening the plastic bag a little more each day over a week.
- Tender Loving Care: Continue to provide bright, indirect light and consistent moisture. You can start watering them as you would a mature plant, allowing the top inch of soil to dry out between waterings.
- Watch for Rot: The most common problem is stem rot. If you see your cutting turning black and mushy at the base, it’s likely too wet or has a fungal issue. Unfortunately, this is often a sign that the cutting won’t recover, so it’s best to discard it and start fresh, ensuring better drainage and air circulation next time.
- Patience is a Virtue: Rooting can take anywhere from 4 to 8 weeks, sometimes even longer, so don’t get discouraged if you don’t see immediate results!
A Encouraging Closing
See? It’s not as daunting as it might seem. Propagating your Xanthostemon longipes is a wonderful way to expand your garden and share the joy of these spectacular blooms. Be patient with your little ones, enjoy the process of nurturing them, and celebrate each tiny bit of progress. Happy propagating!
Resource:
https://identify.plantnet.org/k-world-flora/species/Xanthostemon%20longipes%20Guillaumin/data