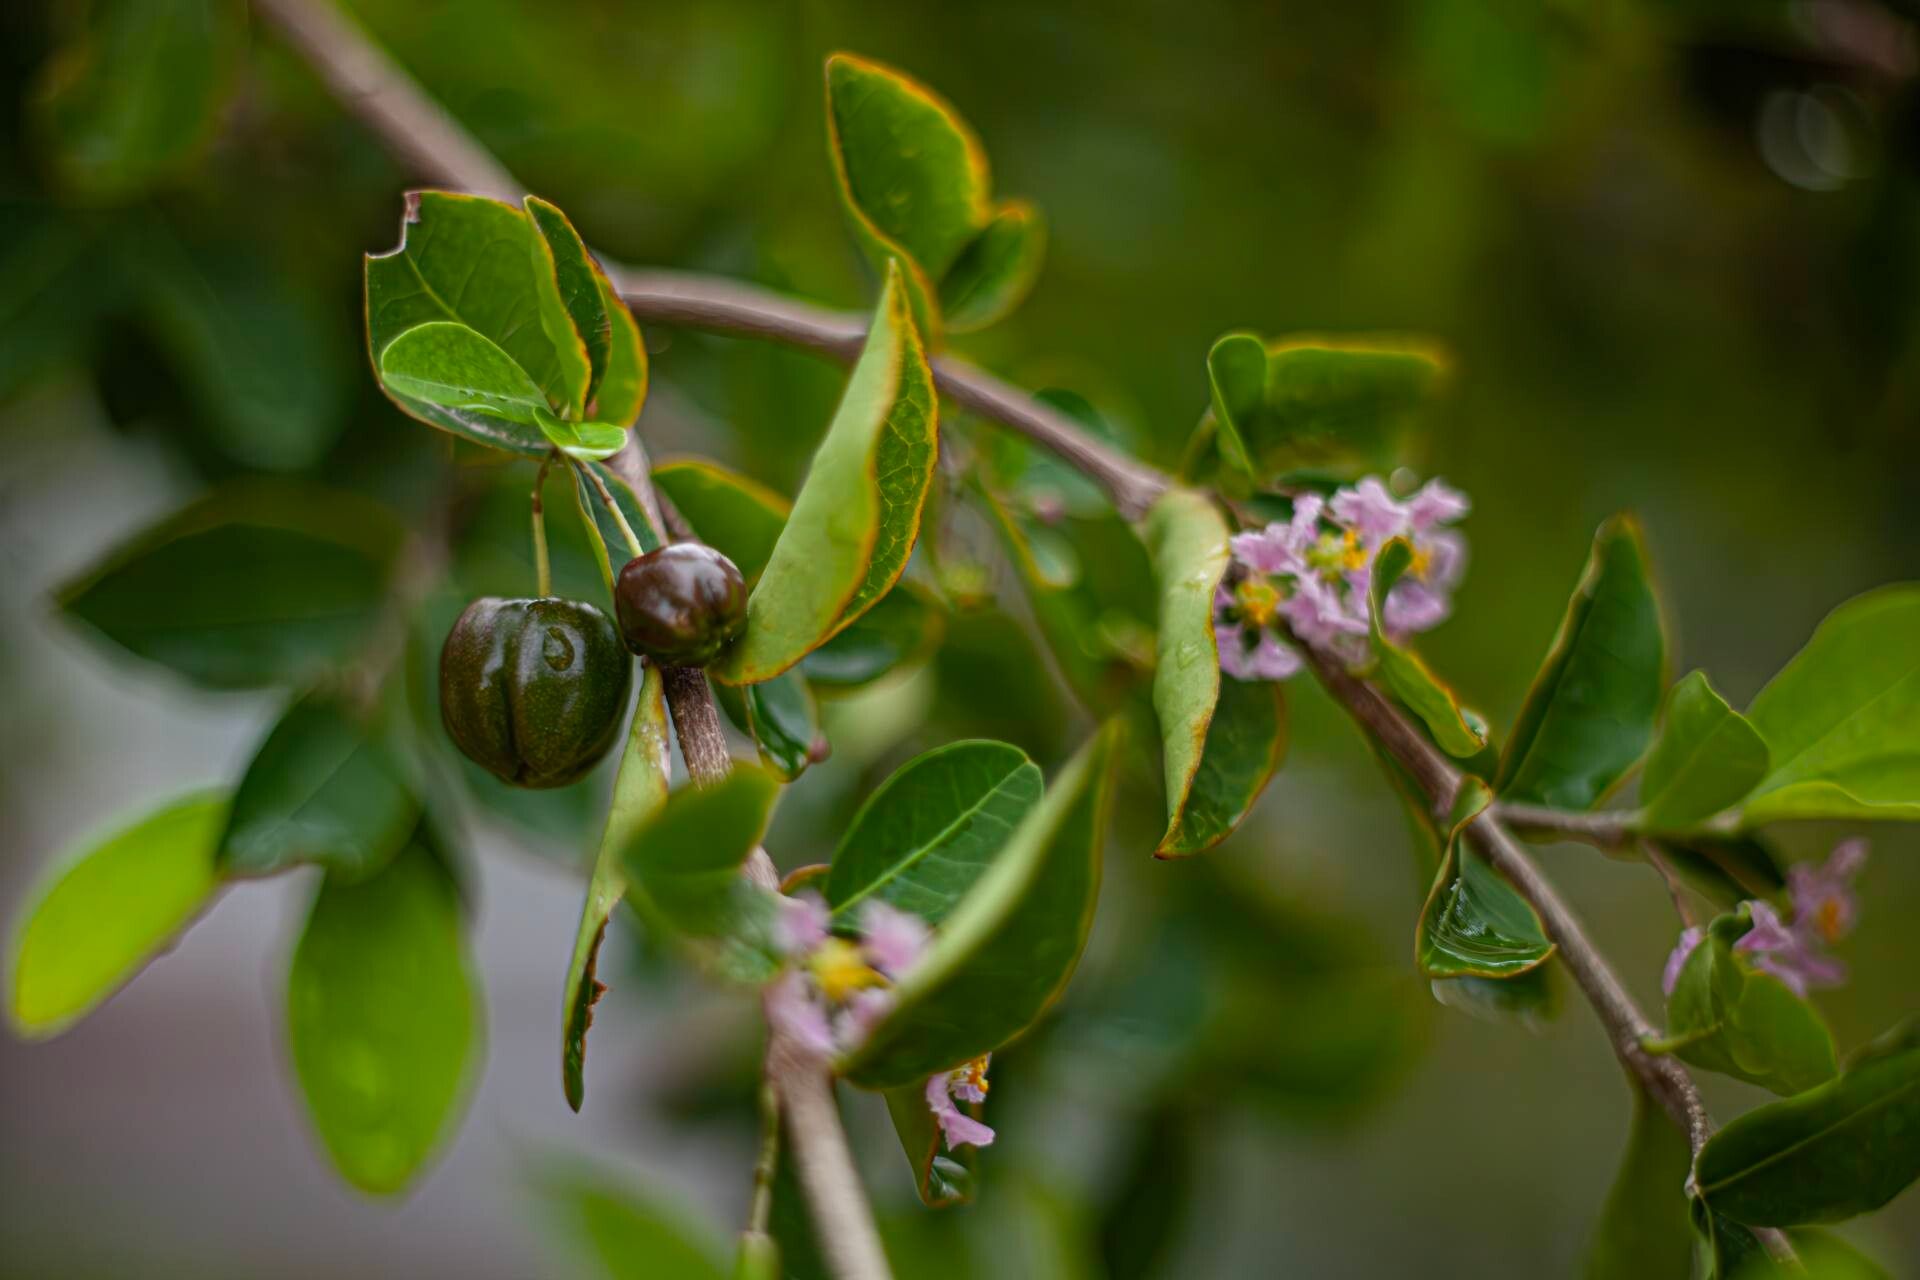
Oh, hello there! I’m so glad you’re interested in propagating Malpighia emarginata, commonly known as the Barbados Cherry or Acerola. It’s a fantastic little plant, isn’t it? Those bright red cherries are not only beautiful but packed with vitamin C – a real treat straight from your garden. Plus, watching a new plant emerge from a piece of an old one is just one of those gardening joys that never gets old. If you’re new to propagation, Malpighia can be a wonderful plant to start with. It’s generally quite forgiving!
The Best Time to Start
For the highest success rate, I find the late spring to early summer is your sweet spot. This is when the plant is actively growing, which means it has plenty of energy to put into rooting. You’ll want to take cuttings from new, but slightly hardened growth. Think of it as pencil-thick stems that have finished their most vigorous, bright green flush but haven’t become woody yet.
Supplies You’ll Need
Gathering your supplies beforehand makes the whole process so much smoother. Here’s what you’ll want:
- Sharp, clean pruning shears or a sharp knife. Sterilize them with rubbing alcohol to prevent any disease transfer.
- Rooting hormone (optional but recommended). A powder or gel works fine.
- A well-draining potting mix. I often use a blend of perlite, coco coir, and a bit of peat moss. You want it airy so roots don’t get waterlogged. A commercially available “seed starting mix” can also work.
- Small pots or trays. Clean ones are essential.
- Clear plastic bags or a propagation dome. This helps maintain humidity.
- Watering can or spray bottle.
Propagation Methods
Let’s get our hands dirty! I find stem cuttings the most reliable for Malpighia.
-
Taking the Cuttings:
- Select a healthy branch that fits the description above – firm but not woody.
- Using your clean shears, cut a section that’s about 4-6 inches long. Make this cut just below a leaf node (where a leaf attaches to the stem). This is where the magic happens for rooting.
- Remove the lower leaves. You only want to leave a couple of leaves at the very top. This prevents them from rotting in the soil and also reduces water loss.
-
Preparing the Cuttings:
- If you’re using rooting hormone, dip the cut end into the powder or gel. Tap off any excess.
- Moisten your potting mix so it’s damp, not soaking wet.
- Gently insert the cuttings into the prepared pots or trays, making sure the leaf nodes you removed are below the soil line. You can poke a pilot hole with a pencil to avoid rubbing off the rooting hormone.
-
Creating the Right Environment:
- Water gently around the base of the cuttings.
- Cover the pots with a clear plastic bag or place them under a propagation dome. This traps humidity, which is crucial for cuttings that can’t yet absorb water through roots. Make sure the leaves don’t touch the plastic. If they do, you might need to prop up the bag with little sticks.
- Place the pots in a bright location out of direct sunlight. A windowsill that gets good ambient light is perfect.
-
Water Propagation (An Alternative):
- You can also try rooting Malpighia in water. Take your cuttings as described above, and remove all but the top two leaves.
- Place the cuttings in a jar or glass of clean water.
- Crucially, ensure no leaves are submerged in the water. Only the stem should be in contact with the water.
- Place the jar in a bright spot, out of direct sun.
- Change the water every few days to keep it fresh. You’ll see tiny white roots emerge from the nodes. Once the roots are about an inch long, you can transplant them into potting mix.
The “Secret Sauce” (Pro Tips)
Here are a couple of things I’ve learned over the years that can really boost your success:
- Bottom Heat is a Game Changer: If you can, place your pots on a heat mat designed for seedlings. A gentle warmth from below really encourages root development. It mimics the soil warmth of their active growing season and gives the roots a little nudge.
- Don’t Be Afraid to Be a Little Ruthless with Leaves: I know it feels counterintuitive to remove healthy leaves, but those lower ones are just going to rot and potentially invite fungus. Trust your gut – the top leaves are enough to keep the cutting going until roots form.
Aftercare & Troubleshooting
Once you see new leaf growth or feel some gentle resistance when you lightly tug on a cutting, you know roots have likely formed!
- Gradually Acclimate: Before removing the plastic bag or dome completely, gradually introduce your new plants to lower humidity. You can do this by opening the bag a little each day for a week.
- Watering: Water your new plants as you would a mature Malpighia – keep the soil consistently moist but not waterlogged. Allow the top inch of soil to dry out slightly between waterings.
- Troubleshooting: The most common issue you’ll face is rot. If your cuttings look mushy or black at the base, it’s usually a sign of too much moisture and not enough air circulation. Unfortunately, rotted cuttings are usually a lost cause. If you see wilting that isn’t from a lack of water, it might be a sign of underwatering or being too far from the light. Just keep an eye on them and adjust your environment.
So there you have it! Propagating Malpighia emarginata is a wonderfully accessible way to expand your collection or share these delightful plants with friends. Be patient with the process; plants have their own rhythm. Enjoy watching those tiny roots unfurl and the new leaves push their way out. Happy gardening!
Resource:
https://identify.plantnet.org/k-world-flora/species/Malpighia%20emarginata%20DC./data