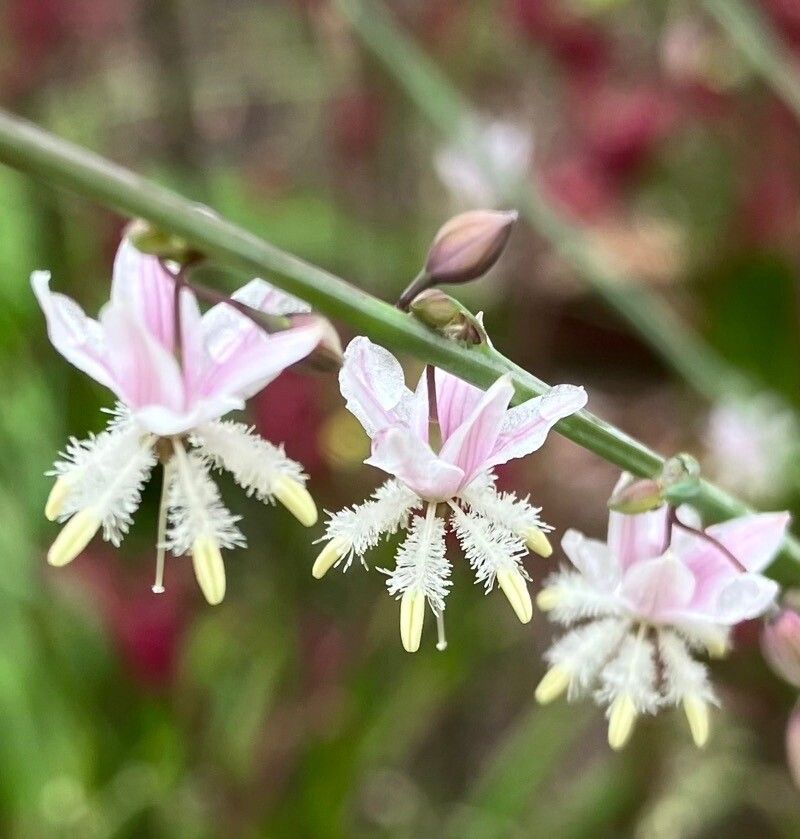
Oh, hello there! Pull up a chair and let’s talk about one of my absolute garden joys: Arthropodium milleflorum, often called Vanilla Lily. This beauty truly is a gem. Its delicate, star-shaped white flowers, lightly fragrant with a hint of vanilla, dance on slender stems, creating such an ethereal effect. And who doesn’t love the prospect of gently multiplying these lovely plants to fill your garden or share with friends? It’s a wonderfully rewarding endeavor, and I’m happy to tell you, it’s not as daunting as it might sound. In fact, I’d say Arthropodium milleflorum is quite beginner-friendly when it comes to propagation.
The Best Time to Start
For the highest success rate, I always recommend propagating Arthropodium milleflorum in late spring or early summer. This is when the plant is actively growing and has plenty of energy to put into producing new roots. You can often tell it’s time when you see new shoots emerging from the base or the plant finishing up its main flowering flush. Think of it as capturing that vital spring energy!
Supplies You’ll Need
Here’s what you’ll want to have on hand:
- Sharp, clean pruning shears or a sharp knife: For making clean cuts. Sterilize them with rubbing alcohol to prevent disease.
- Potting mix: A good starting point is a well-draining seed starting mix or a blend of potting soil and perlite. We want to avoid soggy feet!
- Small pots or trays: Anything that can hold your cuttings and potting mix. Make sure they have drainage holes.
- Rooting hormone (optional but recommended for extra boost): A powder or gel form can really help speed things along.
- Watering can or spray bottle: For gentle watering.
- Labels and a marker: To keep track of what you’ve planted.
Propagation Methods
Arthropodium milleflorum is primarily propagated by division, which is my favorite and usually the most straightforward method.
Method 1: Division
- Gently dig up the parent plant. Do this carefully, especially during the autumn or early spring before new growth is too vigorous. You want to disturb the roots as little as possible.
- Inspect the root ball. Look for natural divisions where the plant is already splitting into smaller clumps. You should be able to see distinct sections with their own root systems and shoots.
- Carefully separate the clumps. You can often tease them apart with your hands. If they are tightly bound, use your clean pruning shears or knife to make a clean cut through the roots and rhizomes. Aim for divisions that have at least a few shoots and a good amount of root structure.
- Replant your new divisions immediately. Fill your prepared pots or the prepared spots in your garden with your well-draining soil mix. Plant each division at the same depth it was growing previously.
- Water thoroughly. Give them a good soak to help settle the soil around the roots.
Method 2: Stem Cuttings (Less common, but can work)
If you’re feeling adventurous and have a plant that’s putting out a lot of new shoots, you can try stem cuttings.
- Take cuttings in late spring/early summer. Look for healthy, non-flowering stems that are about 4-6 inches long.
- Make a clean cut just below a leaf node (the point where a leaf attaches to the stem).
- Remove the lower leaves. Leave just a couple of leaves at the top.
- Dip the cut end in rooting hormone (if using).
- Insert the cuttings into pots filled with your well-draining mix. Gently firm the soil around the base.
- Mist the cuttings lightly and cover the pots with a plastic bag or place them in a propagator to maintain humidity.
- Keep them in bright, indirect light and keep the soil consistently moist but not waterlogged. Rooting can take several weeks.
The “Secret Sauce” (Pro Tips)
Here are a few little tricks I’ve picked up over the years:
- Don’t be afraid to get your hands dirty, but be gentle! Artropodiums have somewhat fleshy roots. Think of them as tender. Handle them with care during division.
- Bottom heat is your friend! If you’re trying stem cuttings, especially in cooler weather, placing your pots on a heat mat can significantly speed up root development. It mimics the warmth of spring soil.
- Patience is paramount. Sometimes nature just needs a little time. Don’t be discouraged if you don’t see immediate results. Keep the conditions consistent, and give your new plants a chance to establish.
Aftercare & Troubleshooting
Once your divisions or cuttings have successfully taken root (you’ll often see new growth emerging from the base), they’re ready for a bit more standard care.
- Watering: Keep the soil consistently moist but not soggy. As they establish, you can gradually reduce watering frequency, allowing the top inch of soil to dry out between waterings.
- Light: New plants will appreciate bright, indirect light. Once they are larger and more robust, you can transition them to their final spot, which for Arthropodium is typically partial shade.
- Troubleshooting: The most common issue you might encounter is rot. This is almost always due to overwatering and poor drainage. If you notice your cutting or division looking mushy or discolored, it’s usually a sign of too much moisture. Check your drainage, ensure good air circulation, and adjust your watering schedule. Yellowing leaves can sometimes indicate either too much or too little water, so feel for soil moisture.
A Little Encouraging Closing
Propagating Arthropodium milleflorum is a delightful way to expand your garden and connect with the natural cycle of growth. Be patient with your new little plants, offer them good care, and celebrate every new shoot and root. The joy of watching them flourish is truly unmatched. Happy gardening!
Resource: