Oh, hello there! Come on in, pull up a chair. I’ve got a fresh pot of coffee brewing. Today, we’re going to talk about a plant that’s really captured my heart over the years: Wikstroemia canescens.
Welcoming More Wikstroemia canescens into Your Garden
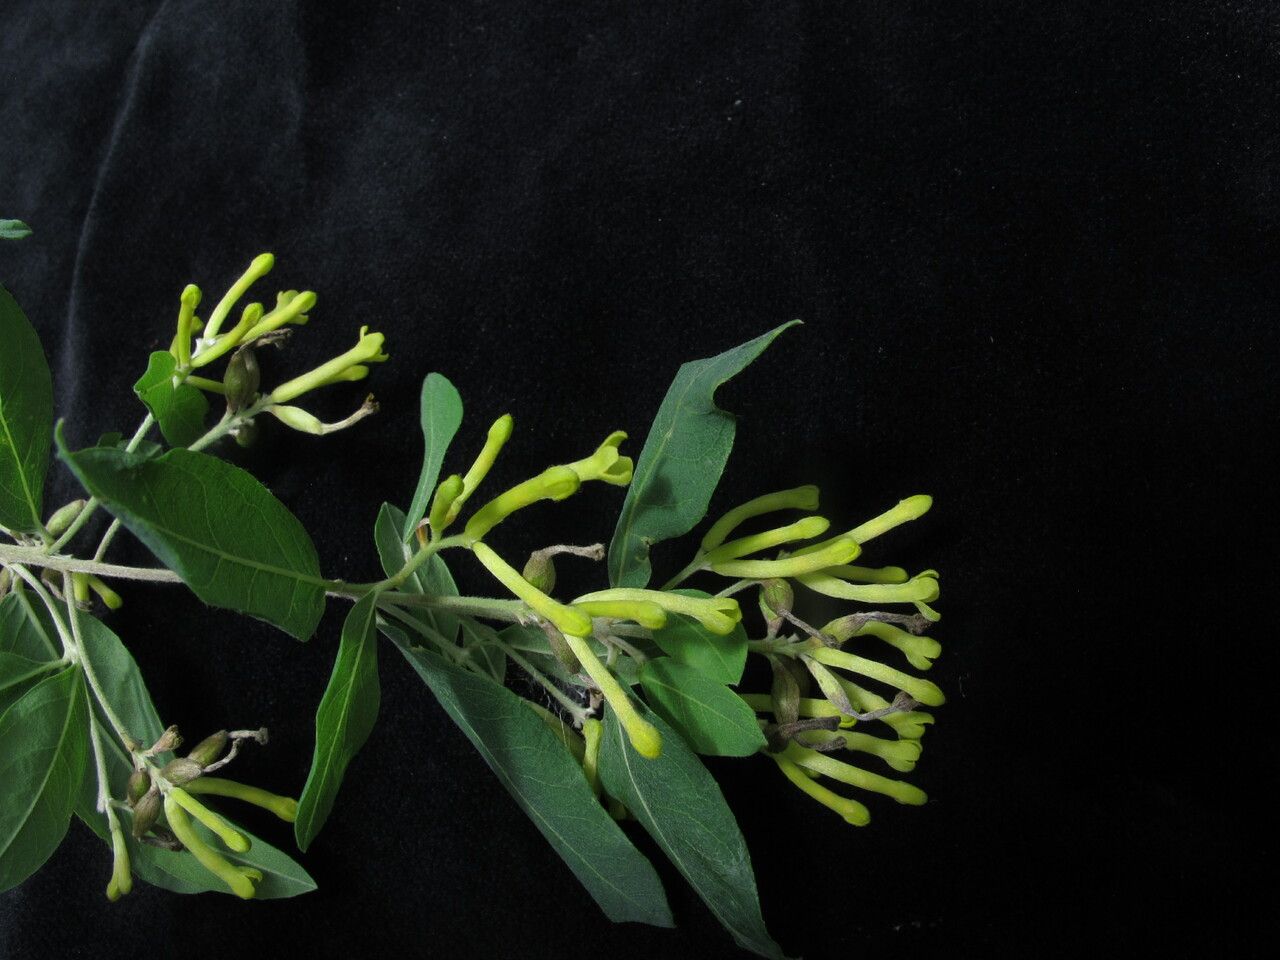
Now, why is this little guy so special? Wikstroemia canescens is just lovely. It’s got these delicate, often fragrant flowers and a graceful habit that adds a touch of understated elegance to any garden. And the best part? Propagating it yourself is incredibly rewarding. You get to witness that magic firsthand – taking a piece of something you love and coaxing it into a brand new life. For beginners, I’d say Wikstroemia is moderately easy to propagate. It’s not as foolproof as some, but with a little attention, you’ll likely have success.
When to Get Your Hands Dirty
The absolute best time to start propagating Wikstroemia canescens is in late spring or early summer. This is when the plant is actively growing, and those fresh stems have the energy they need to root. You want to look for new growth that is firm but not yet woody. Think of it as “softwood” or “semi-hardwood” cuttings.
Your Propagation Toolkit
Here’s what you’ll want to have on hand before we begin:
- Sharp, clean pruning shears or a knife: Essential for making clean cuts.
- Rooting hormone powder or gel: This isn’t strictly mandatory, but it really gives your cuttings a boost.
- A sterile, well-draining potting mix: I like a blend of equal parts perlite, peat moss, and a bit of coir. It keeps things airy and prevents waterlogging.
- Small pots or seed trays: Make sure they have drainage holes.
- Plastic bags or a propagation dome: To create a humid environment.
- Water: For moistening your mix and potentially for water propagation.
- Labels and a marker: Trust me, you’ll thank yourself later!
The Path to New Life: Stem Cuttings
For Wikstroemia canescens, stem cuttings are my go-to method. It’s straightforward and usually yields great results.
- Select your stem: Look for healthy, vigorous stems from your mature plant that are about 4-6 inches long. Make your cut just below a leaf node (where a leaf attaches to the stem). A clean cut is key here!
- Prepare the cutting: Gently remove the lower leaves. You don’t want any leaves falling below the soil line as this can lead to rot. You can leave a few sets of leaves at the top to help with photosynthesis. If the leaves are quite large, you can even cut them in half to reduce water loss.
- Dip in rooting hormone: Moisten the cut end of the stem slightly, then dip it into your rooting hormone powder or gel. Tap off any excess.
- Plant your cutting: Fill your small pots with your prepared potting mix. Make a small hole with a pencil or your finger, and insert the cutting about an inch or two deep. Gently firm the soil around it.
- Water gently: Give your cuttings a light watering to settle the soil.
- Create humidity: This is crucial! You can cover the pot with a clear plastic bag, making sure the bag doesn’t touch the leaves, or place them under a propagation dome. Poke a few small holes in the bag for air circulation.
- Find a bright spot: Place your pots in a bright location that gets indirect light. Avoid direct sun, which can scorch the tender cuttings.
My “Secret Sauce” for Success
Over the years, I’ve picked up a few tricks that seem to make all the difference.
- Bottom Heat is Your Friend: If you have seedlings or cuttings that are being stubborn, a seedling heat mat placed underneath can really speed up root development. It gives those baby roots a nice warm cozy spot to grow.
- The “Wiggle Test”: Don’t be tempted to pull on your cuttings too soon to check for roots! Wait until you see some new leaf growth. Then, very gently, give the cutting a little wiggle. If there’s resistance, you’ve got roots! If it pulls out easily, it hasn’t rooted yet.
- Cleanliness is Paramount: I can’t stress this enough. Sterilize everything – your pruners, your pots, even your hands. Fungus and bacteria are the quickest way to doom your propagation efforts.
Nurturing Your New Sprouts
Once you see those little roots developing (either by gently tugging or noticing robust new growth), it’s time to start getting them used to life outside their humid bubble.
Gradually remove the plastic bag or dome for increasing periods each day over a week. This acclimatizes them. Keep the soil consistently moist but not waterlogged. Once they’re strong and have a good root system, you can transplant them into slightly larger pots with your regular potting mix. Continue to keep them in a bright, indirect light spot until they’re well established.
Watch out for signs of rot – a mushy stem base or a blackened cutting usually means it’s gone too far. This often happens when the potting mix is too wet or there isn’t enough air circulation. Don’t get discouraged if a few don’t make it; it’s part of the learning process.
Go Forth and Propagate!
See? It’s not so daunting, is it? Propagating Wikstroemia canescens is a wonderful way to expand your plant collection and share the joy of gardening. Be patient with your little ones, give them the care they need, and enjoy watching them grow. Happy propagating!
Resource:
https://identify.plantnet.org/k-world-flora/species/Wikstroemia%20canescens%20Meisn./data