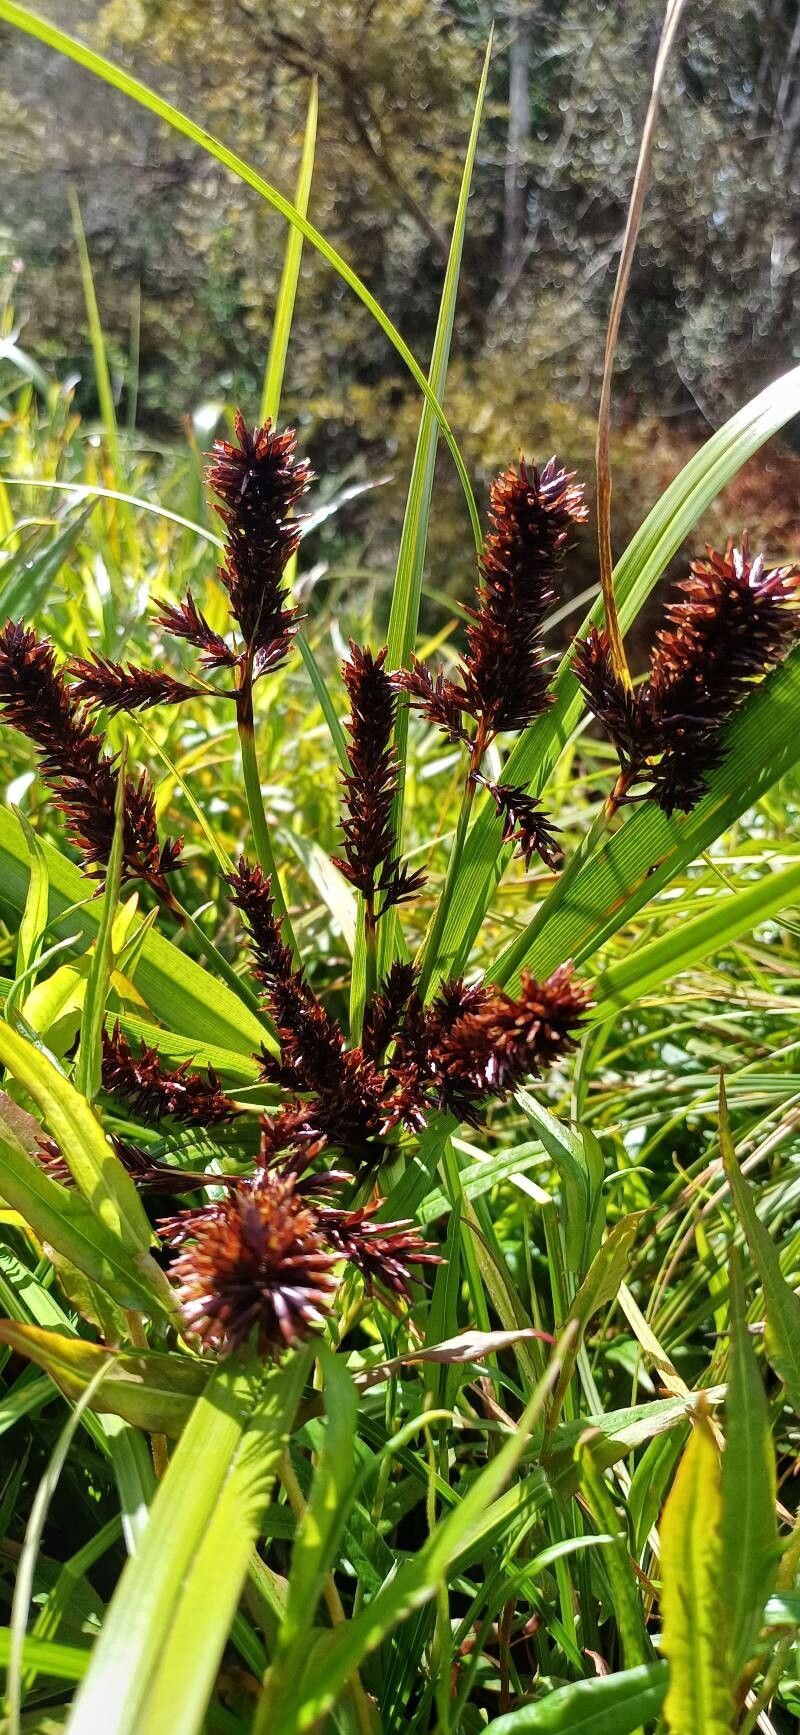
Well hello there, fellow garden enthusiast! It’s so lovely to have you join me today. We’re going to talk about a plant that’s been catching my eye lately, and one I think you’ll really enjoy getting to know: Carex atrofusca, or as it’s often called, the Dark American Sedge.
Why Grow Dark American Sedge?
This isn’t your average lawn grass, folks. Carex atrofusca brings such a wonderful texture and depth to the garden, with its rich, dark foliage that can range from deep green to almost black. It adds a touch of drama, a bit of mystery, without being overwhelming. And the best part? Propagating it yourself is a truly rewarding experience. Watching a tiny bit of plant turn into a whole new specimen, ready to fill a new corner of your yard or brighten a friend’s space? It’s pure magic! For those of you just dipping your toes into propagation, I’d say Carex atrofusca is moderately easy. A little patience and attention go a long way here.
The Best Time to Start
For the highest chance of success with Carex atrofusca, I always aim for spring, just as the plant is waking up from its winter slumber. Think late March or April, depending on your climate. You want to catch it when it’s actively growing, but before the heat of summer kicks in. You can also propagate from divisions in the fall, after the major heat has passed but before serious frost.
Supplies You’ll Need
Gathering your tools beforehand makes the whole process smooth sailing. Here’s what I usually have on hand:
- Sharp pruning shears or a clean knife: For making neat cuts.
- Well-draining potting mix: A good seedling mix or a blend of peat moss, perlite, and compost works beautifully.
- Small pots or seed trays: Whatever size suits your propagation plans.
- Plastic bags or a propagator lid: To create a humid environment.
- Watering can with a fine rose: For gentle watering.
- Rooting hormone (optional, but helpful): Not strictly necessary for sedges, but it can give an extra boost.
- Labels and a marker: So you don’t forget what you planted where!
Propagation Methods
Carex atrofusca is pretty straightforward to propagate, and the division method is usually my go-to for this particular sedge.
Division: A Classic Approach
This is the most common and success-oriented method for mature Carex atrofusca plants.
- Gentle Extraction: First, carefully dig up your Carex atrofusca plant. If it’s still in its pot, you can often gently tip it out. If it’s in the ground, dig around the root ball generously to loosen it.
- Clean the Roots: Gently shake off excess soil from the root ball. You want to be able to see the individual crowns (where the leaves emerge from the roots).
- The Big Split: Now for the exciting part! You can do this by hand or with a clean knife or spade. Grab a section of the plant that has both roots and at least one healthy shoot and gently pull or cut it away from the main clump. Don’t be afraid to divide it into smaller sections; sedges are quite resilient! Aim for divisions that are a good couple of inches across.
- Planting Your New Babes: Plant each division directly into its own pot filled with your well-draining potting mix. Make sure the crown is at soil level. Water them in thoroughly.
The “Secret Sauce” (Pro Tips)
Here are a couple of things I’ve learned that make a big difference:
- Don’t Drown It: While sedges love moisture, newly divided plants can be prone to rot if the soil stays soggy. Ensure your potting mix is well-draining and water only when the top inch of soil feels dry.
- Mimic Its Natural Humid Home: These plants often thrive in moister environments. After potting your divisions, pop them into a loosely sealed plastic bag or cover them with a propagator lid. This creates a humid microclimate that encourages root development and reduces stress on the new plant. Just be sure to air it out for a few minutes each day to prevent fungal issues.
Aftercare & Troubleshooting
Once your divisions are planted, keep them in a spot with bright, indirect light. Avoid direct scorching sun, especially in the first few weeks. Water them consistently, but don’t let them sit in waterlogged soil.
The first signs of success will be seeing new shoots emerge from the crowns. If you notice leaves yellowing and wilting without new growth, it could be a sign of stress or possibly rot. Rot usually looks like mushy, dark roots and stems. If you suspect rot, gently remove the affected plant, discard it to prevent spread, and check your watering habits for the remaining ones. Good drainage is key!
Until Next Time…
Propagating Carex atrofusca is a wonderful way to deepen your connection with your garden and expand your plant collection. It’s a process that asks for a little patience, but the reward of seeing those new plants thriving is absolutely worth it. So grab your tools, get your hands in the soil, and enjoy the journey! Happy gardening!
Resource:
https://identify.plantnet.org/k-world-flora/species/Carex%20atrofusca%20Schkuhr/data