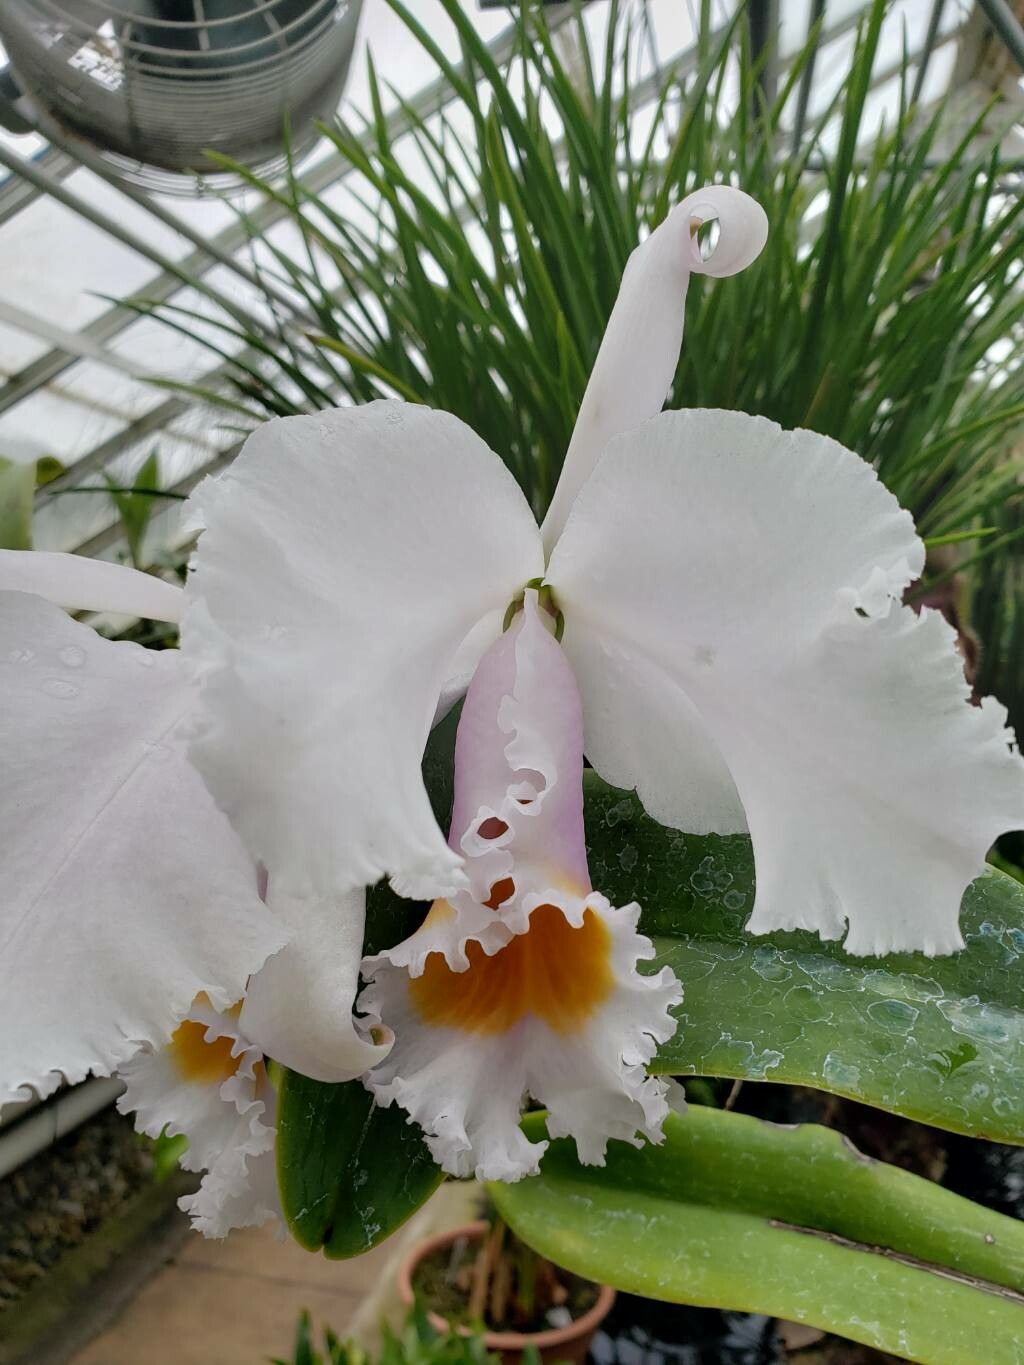
Hello, fellow orchid lovers! It’s so wonderful to connect with you today. If you’ve ever been captivated by the stunning, fragrant blooms of Cattleya schroederae, you’re not alone. These beauties are like floral royalty, with their delicate petals and intoxicating perfume. And for those of us who love to multiply our plant collection, Cattleya schroederae offers a truly rewarding propagation experience, though I’ll be upfront, it’s not the absolute easiest for a complete beginner. It takes a little patience and understanding, but the payoff is absolutely worth it!
The Best Time to Start
When it comes to Cattleya schroederae, the sweet spot for propagation is typically after the plant has finished blooming, usually in late spring or early summer. This is when the plant is actively growing and has the energy reserves to put towards developing new roots and shoots. You’ll often notice new pseudobulbs starting to swell around this time, which is your signal that it’s go time!
Supplies You’ll Need
To get your Cattleya schroederae propagation journey off to a great start, gather these essentials:
- Sharp, sterile pruning shears or a clean knife: For making precise cuts. Sterilize with rubbing alcohol between cuts to prevent disease.
- Orchid bark mix (medium to coarse grade): A well-draining mix is crucial. You can also add perlite or charcoal for extra aeration.
- Sphagnum moss (long-fibered): Excellent for retaining moisture without becoming waterlogged.
- Small plastic pots or net pots: Clear pots are ideal so you can monitor root development.
- Rooting hormone (optional but helpful): A powdered or liquid formula can encourage root formation.
- Watering can or spray bottle: For gentle watering.
- Labels and a permanent marker: To keep track of your new babies!
Propagation Methods
For Cattleya schroederae, division is by far the most common and successful method. These orchids grow sympodially, meaning they produce new growths from a rhizome.
Here’s how we do it:
- Assess Your Plant: Look for a mature Cattleya schroederae that has at least three to four healthy pseudobulbs. A plant with more established growth will provide a better foundation for division.
- Gently Remove from Pot: If your orchid is in a pot, carefully ease it out. If it’s really stuck, you might need to gently squeeze the pot or run a knife around the edge.
- Clean the Roots: Gently brush away as much of the old potting mix as you can. Your goal is to see the rhizome clearly.
- Locate the Division Points: Examine the rhizome. You’re looking for a natural joint where you can separate sections, ensuring each new division has at least two or three healthy pseudobulbs and some good roots.
- Make the Cut: Using your sterile shears or knife, make a clean cut through the rhizome, separating your divisions. Try to disturb the roots as little as possible.
- Trim Damaged Roots: Snip away any dead, mushy, or damaged roots.
- Potting Up: Place each division into its own pot. Position the pseudobulbs so the newest growth points towards the center of the pot. Fill the pot with your orchid bark mix, ensuring the mix is snug but not tightly packed around the roots. The base of the pseudobulbs should be just at or slightly above the surface of the mix.
- Initial Watering: Do NOT water immediately. Let the cut surfaces on the rhizome callous over for a day or two. This helps prevent rot. Then, water lightly.
The “Secret Sauce” (Pro Tips)
Here are a couple of things I’ve learned over the years that really make a difference:
- Don’t Be Afraid of a Little Trim: When cleaning the roots, if you find a pseudobulb that’s completely shriveled and looks like it’s given up the ghost, consider trimming it off. Sometimes, these old growths can be a source of rot if they get too wet. Focus your energy on the healthy parts of the plant.
- Bottom Heat is Your Friend: Once your divisions are potted, placing them on a gentle heat mat (set to around 70-75°F or 21-24°C) can significantly speed up root development. It mimics the warm, humid environment they love and gives them a fantastic boost.
Aftercare & Troubleshooting
Once your new divisions are potted, keep them in a bright, indirect light spot and maintain good air circulation. Water them when the potting mix is nearly dry. Don’t overwater – this is the most common mistake!
New roots will start to emerge from the base of the newest pseudobulbs. This can take a few weeks to a couple of months, so patience is key.
Signs of Trouble:
- Rot: This is usually indicated by soft, mushy pseudobulbs or blackening roots. If you see this, pull the plant out of the pot, trim away the rotten parts with sterile tools, and repot in fresh, dry medium. Reduce watering significantly.
- Shriveling Pseudobulbs: This can be a sign of underwatering or that the division isn’t establishing well. Ensure consistent (but not excessive) watering and good humidity.
A Big Ol’ Garden Hug
Propagating Cattleya schroederae is a journey, and like all good journeys, it’s filled with learning and discovery. Don’t get discouraged if your first attempt isn’t perfect. Each division is a chance to grow your love for these magnificent orchids. Enjoy the process, celebrate every new root and leaf, and before you know it, you’ll have a whole collection of these perfumed darlings! Happy growing!
Resource:
https://identify.plantnet.org/k-world-flora/species/Cattleya%20schroederae%20(Rchb.f.)%20Sander/data