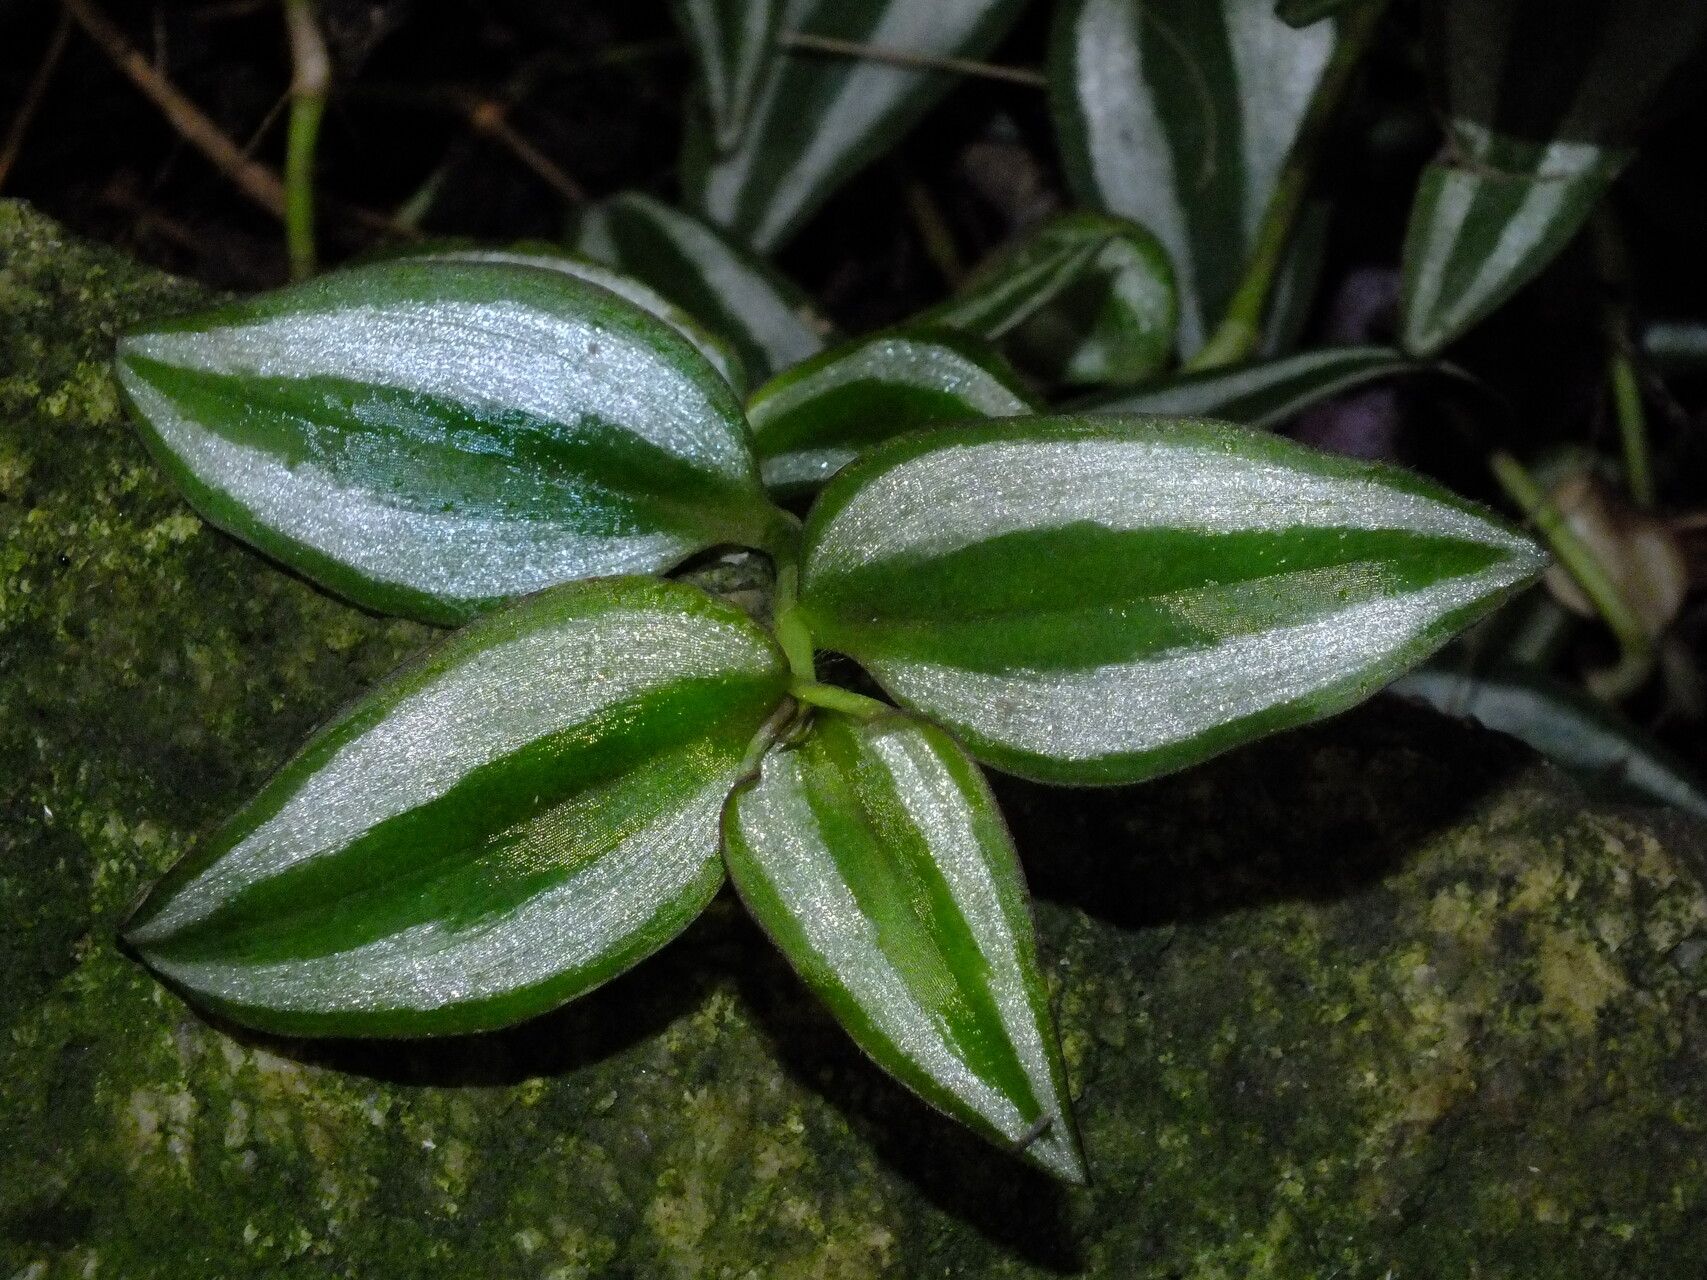
Oh, Tradescantia zebrina! If you’re looking for a plant that brings a splash of vibrant color and a dash of bohemian flair to your home, you’ve found a winner. Also known as the ‘Wandering Jew’ (though I prefer its scientific name for clarity!), this plant’s striking purple, silver, and green stripes are simply captivating. And the best part? It’s incredibly rewarding to propagate. Honestly, it’s one of those plants that practically begs you to make more of it, making it a fantastic choice for even the greenest of thumbs.
When to Get Growing
The sweet spot for propagating Tradescantia zebrina is definitely during its active growing season. This typically falls in the late spring through summer. During these warmer months, the plant is energized and ready to put out new growth, which means it’s also more receptive to rooting. You can honestly get away with it in early fall too, as long as you can provide warm conditions.
What You’ll Need
Gathering your supplies is half the fun! Here’s what I usually have on hand:
- Sharp Pruning Shears or Scissors: Clean tools are essential to prevent disease.
- Small Pots or Containers: Old yogurt cups with drainage holes work great!
- Potting Mix: A well-draining mix is your best friend. I like to use a combination of potting soil and perlite or coarse sand. About a 50/50 ratio works wonders.
- Rooting Hormone (Optional but recommended): This little helper can really speed up the process.
- Watering Can or Spray Bottle: Gentle watering is key.
Let’s Get Propagating!
Tradescantia zebrina is wonderfully versatile. Here are my go-to methods:
Stem Cuttings: My Absolute Favorite
This is hands down the easiest and most successful way to multiply your Tradescantia zebrina.
- Take Cuttings: Find a healthy stem and, using your clean shears, cut a piece about 4-6 inches long. Look for stems with plenty of leaves and ideally a node (that little bump where a leaf meets the stem) near the bottom.
- Prepare the Cuttings: Gently remove the leaves from the bottom 1-2 inches of the cutting. This prevents them from rotting when you pot them or place them in water.
- Dip in Rooting Hormone (If using): Lightly dip the cut end into your rooting hormone. Tap off any excess.
- Pot Them Up: Fill your small pots with your prepared potting mix. Make a small hole with your finger or a pencil and insert the cut end of the stem. Gently firm the soil around it. For a fuller look, you can plant several cuttings in one pot.
- Water Gently: Water the soil thoroughly but avoid waterlogging. You want the soil to be consistently moist, not soggy.
Water Propagation: The See-Through Method
This is a fun one because you can actually watch the roots develop!
- Prepare Cuttings: Follow steps 1 and 2 from the stem cutting method.
- Place in Water: Get a clean jar or glass, fill it with water, and place your cuttings in it. Make sure the nodes you removed leaves from are submerged.
- Positioning is Key: Try to position the cuttings so that the leaves aren’t touching the water. This helps prevent rot.
- Change Water Regularly: Change the water every few days to keep it fresh and discourage bacterial growth.
The “Secret Sauce” – My Insider Tips
Here are a few things I’ve learned over the years that make a real difference:
- The “Heel” Trick: When taking cuttings, sometimes I’ll intentionally grab a piece that has a tiny bit of older stem attached to it – almost like a little “heel.” This can sometimes give the cutting a head start in rooting.
- A Hug of Humidity: Once your cuttings are potted, a little extra humidity can really encourage them. Pop a clear plastic bag over the pot, like a mini greenhouse. Just make sure there’s a bit of air circulation – maybe poke a few holes in the bag or lift it off daily for a few minutes.
- Gentle Bottom Heat: If you’re propagating in cooler months, placing your pots on a seedling heat mat can be a game-changer. It provides gentle warmth to the soil, which signals to the plant that it’s time to root.
Aftercare and When Things Go Wrong
Once your cuttings have rooted (you’ll see new leaf growth or feel resistance when you gently tug), they’re ready to be treated like a mature plant! Continue to water when the top inch of soil feels dry, and move them to a slightly larger pot if they become root-bound.
Don’t panic if a cutting doesn’t make it. The most common culprits are overwatering leading to rot, or underwatering causing the cutting to dry out completely. If a stem turns mushy and black, it’s likely rot. If it’s dry and crispy, it probably didn’t get enough water. Just compost the failed ones and try again! It’s all part of the learning process.
Keep Growing!
Propagating Tradescantia zebrina is a wonderfully accessible way to expand your plant family and share the beauty of this plant with friends. Be patient, enjoy the process of watching new roots emerge, and celebrate each success. Happy gardening!
Resource:
https://identify.plantnet.org/k-world-flora/species/Tradescantia%20zebrina%20Bosse/data