Well hello there, fellow plant lover! It’s so good to have you here. Today, we’re diving into the wonderful world of Pediomelum rhombifolium, a plant that brings such a unique charm to any garden. I’ve been growing and propagating this beauty for years, and I’m absolutely thrilled to share my secrets with you.
Why Propagate Pediomelum Rombifolium?
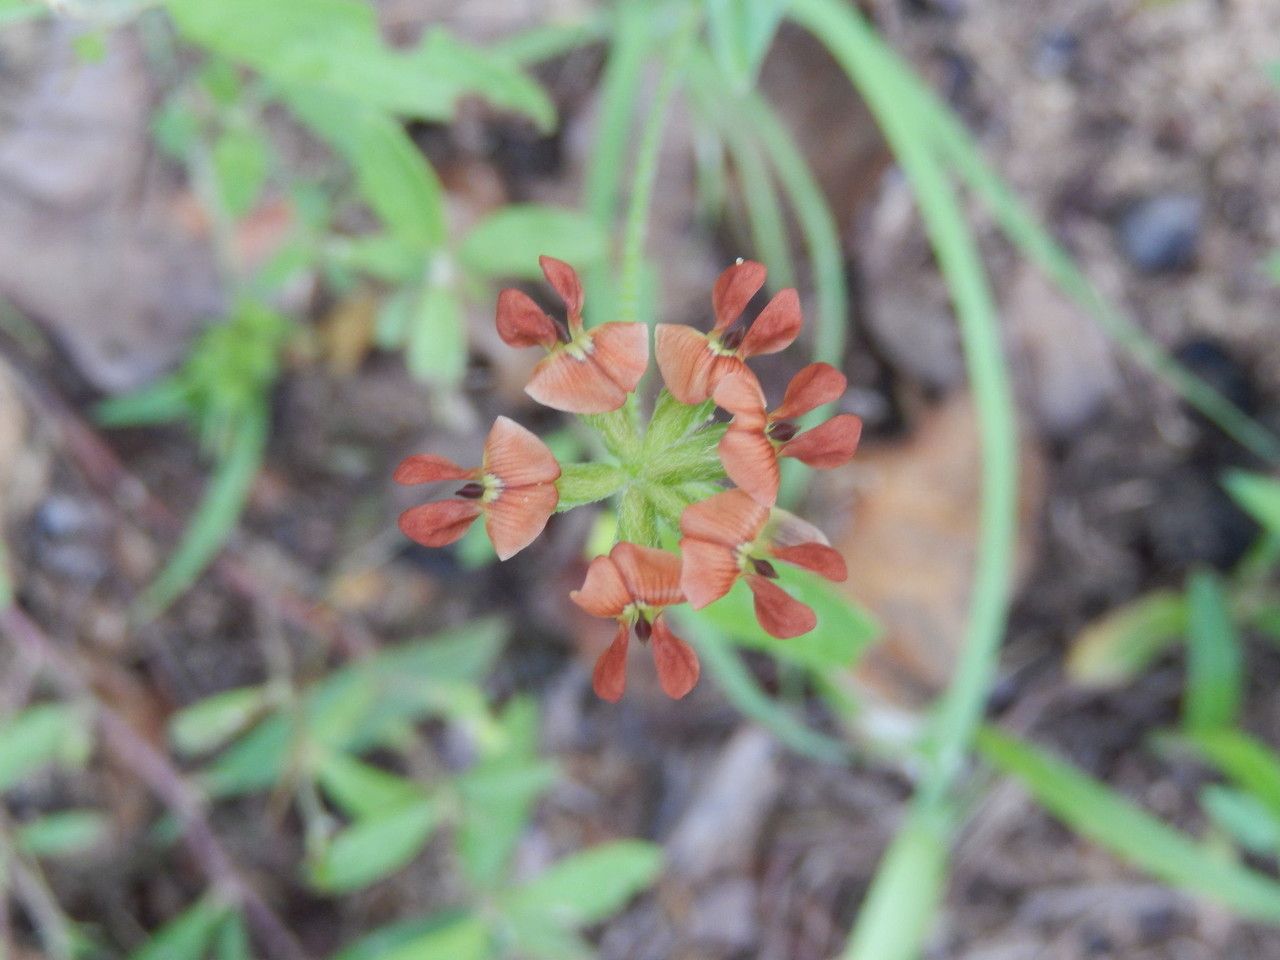
Pediomelum rhombifolium, with its lovely foliage and often charming blooms (depending on the variety!), is a fantastic addition to many garden settings, be it in the ground or in a pot. Propagating it is a deeply satisfying experience. It’s like conjuring life from a tiny piece of a plant you already love. And for those of you just starting out with propagation, I’d say it’s moderately easy. A little patience goes a long way with this one!
The Best Time to Start
For the highest success rate, I find that late spring to early summer is absolutely prime time. This is when the plant is actively growing and full of energy. Think of it as nature’s “go” signal. You want to work with stems that are semi-hardwood – not brand new and floppy, but not old and woody either. Pinch one off; if it snaps cleanly (with a little resistance), it’s probably just right.
Supplies You’ll Need
Gathering your supplies before you begin makes the whole process smooth sailing. Here’s what I always have on hand:
- Sharp Pruning Shears or a Knife: Clean cuts are key! Sterilize them with rubbing alcohol to prevent disease.
- Rooting Hormone (Optional but Recommended): This little helper encourages faster and stronger root development. I prefer the powder form for cuttings.
- Well-Draining Potting Mix: A good blend of peat moss (or coco coir), perlite, and a bit of compost works wonders. You want it moist but not soggy.
- Small Pots or Seedling Trays: Anything that will hold your cuttings and the soil. Make sure they have drainage holes!
- Clear Plastic Bag or Dome: To create a humid microclimate around your cuttings.
- Watering Can with a Fine Rose: For gentle watering.
- Labels and a Pen: To mark your cuttings – trust me, you’ll thank yourself later!
Propagation Methods: Stem Cuttings
This is my go-to method for Pediomelum rhombifolium, and it’s incredibly effective.
- Take Your Cuttings: As mentioned, look for those nice semi-hardwood stems. Cut pieces that are about 4-6 inches long. Remove the lower leaves, leaving just a few at the top. You can even cut any larger leaves in half to reduce water loss.
- Prepare the Cuttings: If you’re using rooting hormone, dip the cut end into the powder, tapping off any excess.
- Plant the Cuttings: Make a small hole in your potting mix with a pencil or your finger to avoid scraping off the rooting hormone. Insert the cutting, ensuring the nodes (where leaves were removed) are below the soil surface. Gently firm the soil around it.
- Water Gently: Water thoroughly until you see water draining from the bottom of the pot.
- Create Humidity: Cover the pot with a clear plastic bag or place it under a humidity dome. This is crucial! It keeps the humidity high, preventing the cuttings from drying out before they can root.
The “Secret Sauce” (Pro Tips)
Now, for a couple of tricks I’ve picked up over the years that really make a difference:
- Bottom Heat is Your Friend: If you have a propagation mat, place your pots on it. This gentle warmth encourages root development from below, giving your cuttings a significant boost. It’s like a warm hug for their roots!
- Don’t Overwater! This is a common mistake. While humidity is key, soggy soil is a recipe for rot. Stick your finger a couple of inches into the soil; if it feels damp, hold off on watering. The plastic cover helps maintain moisture.
- Choose Healthy Parent Plants: This might seem obvious, but propagating from a sick or weak plant is like starting a marathon with sore muscles! Ensure your parent plant is robust and pest-free for the best start for your new babies.
Aftercare & Troubleshooting
Once your cuttings have started developing roots – you’ll often see new leaf growth, which is a great sign! – it’s time to help them transition.
- Acclimate Carefully: Gradually remove the plastic bag or dome over a week or two. Start by opening it for a few hours a day. This allows the young plant to get used to lower humidity.
- Gentle Watering: Continue to water when the top inch of soil feels dry. Avoid letting them sit in water.
- First Feeding: Wait until you see several sets of new leaves before introducing a very diluted liquid fertilizer (about a quarter strength).
- Signs of Trouble: The most common issue is rot, which looks like black, mushy stems. This is usually due to overwatering and poor drainage. If you see this, sadly, that cutting is likely lost. Yellowing leaves that don’t improve can also indicate issues with watering or light.
Happy Propagating!
Watching a new plant emerge from a simple cutting is truly magical. Don’t get discouraged if not every single one takes. Gardening is a journey of learning and experimentation. Be patient with your Pediomelum rhombifolium, give it a little love, and soon you’ll have a whole mini-forest of these gorgeous plants to enjoy, share, or even give as gifts. Now go forth and get your hands dirty – you’ve got this!
Resource: