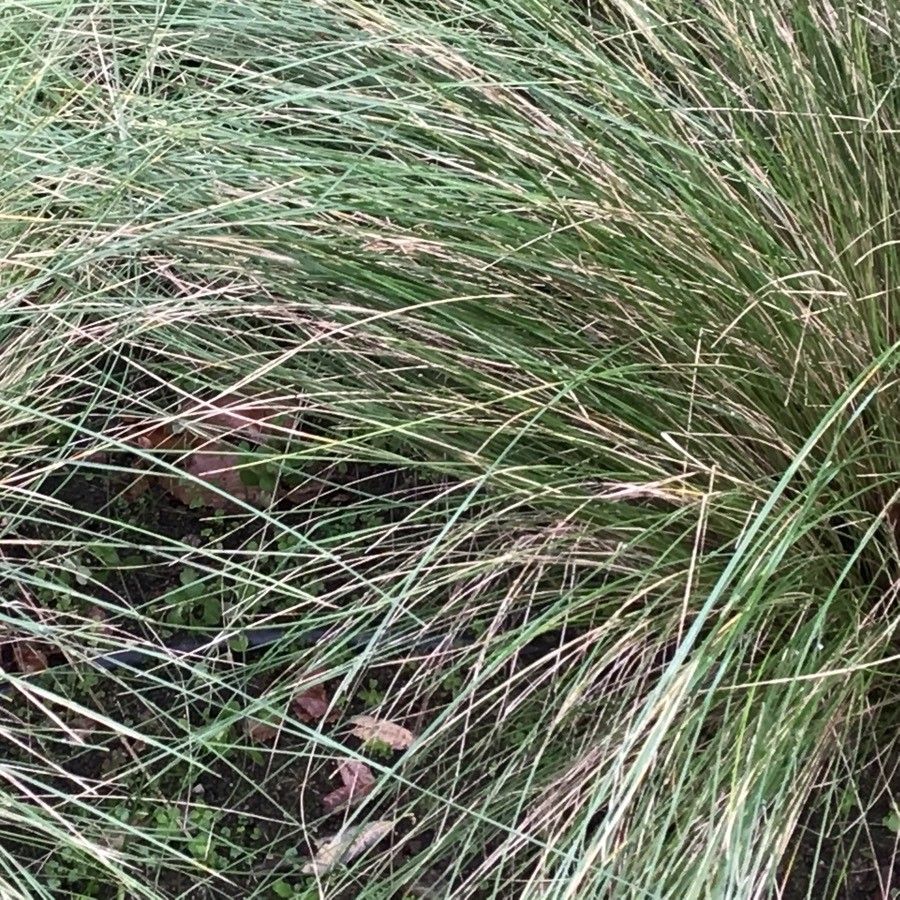
Oh, Poa labillardierei! What a stunner. I’ve been growing and coaxing this lovely blue-grey grass for years, and every time I see a new clump unfurl, it brings a little smile to my face. Its architectural form and striking color are just so versatile in the garden, adding a touch of modern elegance or complementing more rustic designs. And the beauty of propagating your own? It’s incredibly rewarding to share this beauty or simply expand your own collection without breaking the bank.
Now, for the big question: is it easy? For beginners, I’d say Poa labillardierei falls into the “moderately easy” category. It’s not as fuss-free as some of the super-tough groundcovers, but with a little attention to detail, you’ll be successful. Don’t let that deter you; it’s a wonderful plant to learn with!
The Best Time to Start
For the absolute best chance of success, spring is your golden ticket. When the weather is warming up consistently and your Poa is just coming into its vigorous growth phase after winter, that’s when it’s most receptive to propogation. You can also have success with late summer, provided you give the new cuttings enough time to establish before the cooler weather sets in. Avoid propagating during the heat of summer or the coldest depths of winter.
Supplies You’ll Need
Here’s what you’ll want to have on hand to get started:
- Sharp pruning shears or a clean knife: For making neat cuts.
- Well-draining potting mix: A blend of perlite, coarse sand, and a good quality potting soil works wonders. Alternatively, you can use a seed-starting mix.
- Small pots or trays: Enough to house your cuttings. Make sure they have drainage holes!
- Rooting hormone (optional but recommended): A powder or gel can give your cuttings a helpful boost.
- Watering can or spray bottle: For gentle hydration.
- Labels and a marker: To keep track of what you’ve potted and when!
- A clear plastic bag or propagation dome: To create a humid environment for your cuttings.
Propagation Methods
Poa labillardierei is best propagated by division. It’s straightforward and gives you a good number of new plants from an established clump.
Division:
- When to lift: As I mentioned, spring is ideal. Gently dig up your entire Poa clump. You can do this by sliding a spade around the base of the plant and carefully lifting it out of the ground or pot.
- Prepare the root ball: Gently shake off some of the excess soil so you can clearly see the root structure and where the individual crowns are.
- Divide the plant: This is the fun part! You can either use your hands to carefully pull the clump apart, or if it’s a bit tough, use your sharp pruning shears or knife to cut through the root ball. Aim to create sections that have at least two to three healthy shoots and a good amount of root attached.
- Potting up your divisions: Fill your small pots with your well-draining potting mix. Make a hole in the center of each pot large enough for the roots.
- Planting: Place your division into the hole, ensuring the base of the shoots is level with the soil surface. Gently firm the soil around the roots.
- Watering: Water thoroughly after planting to settle the soil and remove any air pockets.
The “Secret Sauce” (Pro Tips)
Over the years, I’ve picked up a few little tricks that seem to make all the difference:
- Don’t overwater newly potted divisions! This is a common mistake. While they need moisture to establish, they are very susceptible to rot if the soil stays soggy. Let the top inch of soil dry out slightly between waterings. It’s better to err on the side of slightly too dry than too wet at this stage.
- Give them a protected spot. After planting your divisions, place them in a location that gets bright, indirect light. Avoid direct, harsh sun scorching them while they’re still getting established. A bit of dappled shade or a protected corner of your greenhouse or porch is perfect.
- Be patient with new growth. It can take a little while for new Poa divisions to show signs of re-establishment, especially if they’ve had a rigorous division. Don’t be tempted to pull them up to check for roots too early! When you see new, green shoots emerging and the plant looks firm and upright, that’s your signal they’re happy.
Aftercare & Troubleshooting
Once your divisions are planted, keep them consistently moist but not waterlogged. This means checking the soil moisture regularly. As they start to send up new growth, you can gradually acclimate them to more direct sunlight if they were initially in a shadier spot.
The most common issue you might encounter is rot. If you see your division wilting, turning yellow or mushy at the base, or developing black spots on the foliage, it’s often a sign of too much moisture. If this happens, gently remove the affected parts, let the soil dry out more, and ensure good air circulation around the plant. Another sign of struggle can be a division that just seems to sit there, not growing at all for weeks and weeks. This might indicate weak roots or insufficient light, but often, a little patience is all that’s needed.
So there you have it! Propagating Poa labillardierei is a really satisfying way to get more of this beautiful grass into your garden. Remember to be gentle, observe your plants, and enjoy the process. Happy propagating!
Resource:
https://identify.plantnet.org/k-world-flora/species/Poa%20labillardierei%20Steud./data