Hey there, fellow plant lovers!
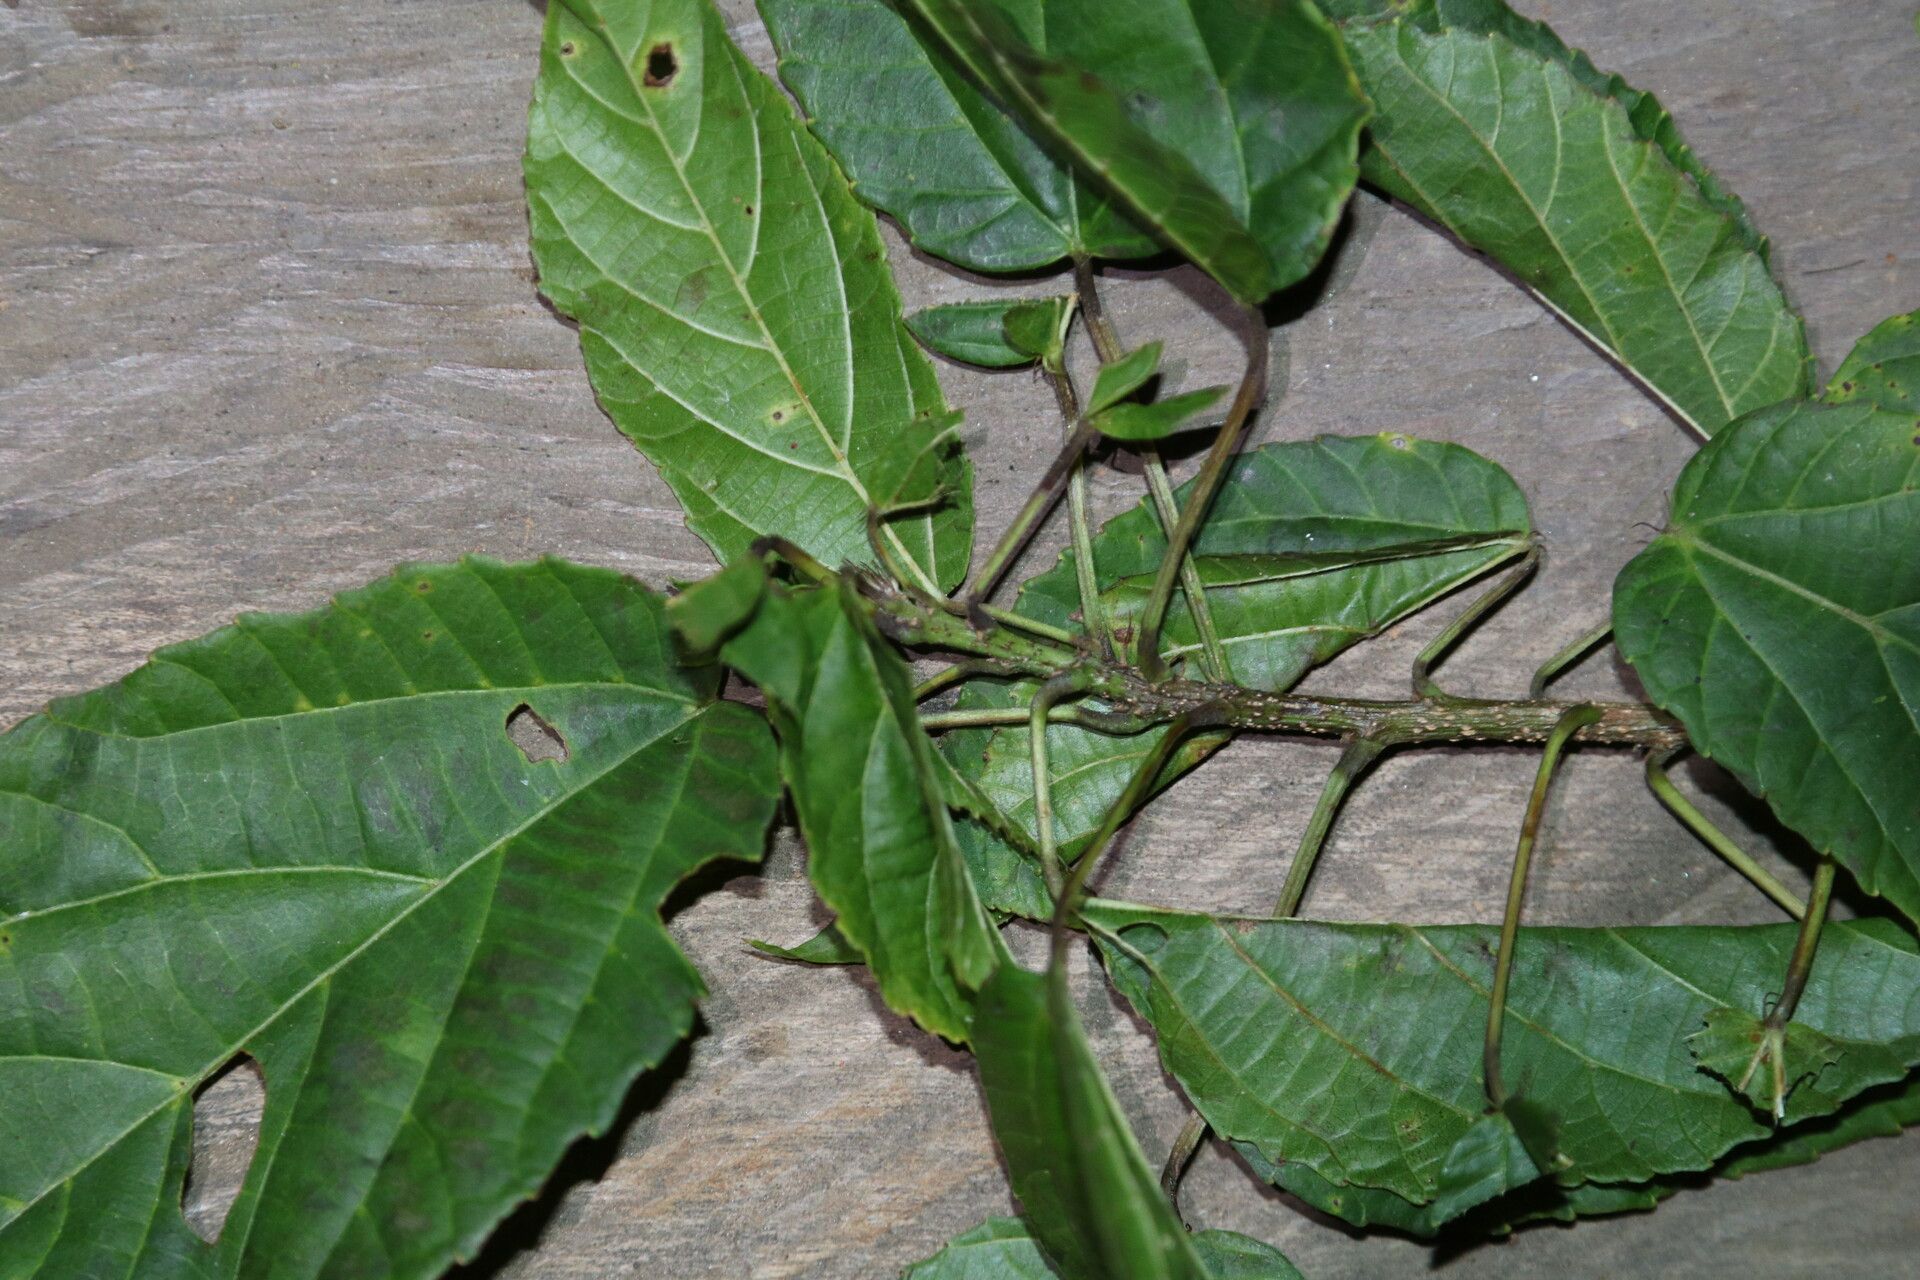
Today, I want to chat about a really special plant that’s been making its way into more and more gardens: Alchornea laxiflora. You might know it as the “evergreen alder” or sometimes by other charming common names. I personally adore it for its gorgeous, glossy leaves and the elegant way it can fill a space. It’s got this wonderful, tropical vibe that just makes a garden feel a little more lush and alive. Plus, there’s something incredibly satisfying about seeing a tiny cutting transform into a thriving new plant. If you’re just starting out with propagation, I’d say Alchornea laxiflora is a pretty rewarding plant to try. It’s not overly fussy, and with a little guidance, you can definitely be successful.
The Best Time to Start
Honestly, the late spring or early summer is generally your sweet spot for propagating Alchornea laxiflora. You’re looking for new, actively growing stems. Think of the time after the main burst of spring growth has happened but before the really intense heat of mid-summer sets in. This gives your cuttings plenty of time to establish themselves before cooler weather arrives.
Supplies You’ll Need
Before we get our hands dirty, let’s make sure we have everything ready to go. A little preparation goes a long way!
- Sharp Pruning Shears or a Hobby Knife: For clean cuts.
- Rooting Hormone (Optional but Recommended): A powdered or liquid form can give your cuttings a nice boost.
- Well-Draining Potting Mix: I like a blend of peat moss, perlite, and a bit of compost. You can also use a dedicated seed-starting mix.
- Small Pots or Trays: Clean pots are essential to prevent disease.
- Plastic Bags or a Propagation Dome: To keep humidity levels high.
- Water: For misting.
- Labeling Stakes: To remember what you planted!
Propagation Methods
There are a couple of really effective ways to get more Alchornea laxiflora plants. I usually lean towards stem cuttings because they’re straightforward and often yield great results.
Stem Cuttings
- Select Your Parent Plant: Find a healthy, vigorous stem on your Alchornea laxiflora. Look for stems that are firm but still somewhat flexible. Avoid old, woody growth.
- Take Your Cuttings: Using your clean shears, make a clean cut just below a leaf node (where a leaf attaches to the stem). Aim for cuttings that are about 4-6 inches long.
- Prepare the Cuttings: Gently remove the lower leaves, leaving just a few at the top. This prevents them from rotting in the soil. If the leaves are quite large, you can even cut them in half horizontally to reduce water loss.
- Apply Rooting Hormone (If Using): Dip the cut end of the stem into your rooting hormone, tapping off any excess.
- Pot Them Up: Fill your clean pots with your prepared potting mix. Make a small hole in the center with your finger or a pencil.
- Insert the Cuttings: Place the cut end of the stem into the hole and gently firm the soil around it.
- Water Gently: Water thoroughly but gently to settle the soil.
- Create a Humid Environment: Place the pots into a plastic bag or cover them with a propagation dome. Make sure the leaves don’t touch the sides of the plastic if possible.
Water Propagation (A simpler option for some)
This method is a bit more hands-off for the initial rooting phase.
- Prepare Your Cuttings: Follow steps 1-3 from the stem cutting method.
- Place in Water: Put the cuttings into a clean jar or vase filled with fresh water. Make sure the leaf nodes are submerged, but the leaves themselves remain above the water line.
- Change the Water Regularly: Every few days, refresh the water to keep it clean and oxygenated.
- Watch for Roots: You should start to see tiny white roots emerge from the nodes within a few weeks. Once they are an inch or so long, you can move them to soil.
The “Secret Sauce” (Pro Tips)
Here are a few things I’ve learned over the years that can really make a difference:
- Bottom Heat is Your Friend: If you can, place your pots on a gentle heat mat. This encourages root development from below, much like your parent plant would experience in its ideal growing conditions. It’s a game-changer for many cuttings.
- Don’t Be Afraid to Mist: Even with a plastic cover, occasional light misting with plain water can help keep the humidity levels consistently high, especially if your home is dry. Just don’t overdo it – you don’t want soggy conditions that encourage rot.
- Patience with the Leaf Drop: Sometimes, a cutting might drop a leaf or two. Don’t panic! As long as the stem itself looks healthy and plump, it’s often just the plant shedding older leaves to conserve energy for root growth.
Aftercare & Troubleshooting
Once you see a good amount of root growth (tug gently on a cutting; if there’s resistance, you have roots!), it’s time to transition your new babies.
- Acclimate Them: Gradually remove the plastic cover over a week or so. This helps them adjust to lower humidity.
- Watering: Water them as you would a mature plant, allowing the top inch of soil to dry out between waterings.
- Light: Place them in a spot with bright, indirect light. Direct sun can scorch delicate new leaves.
Now, about troubleshooting. The most common issue you might encounter is rot. This usually happens from overwatering or poor air circulation. If a cutting turns black and mushy, it’s usually a goner. Don’t beat yourself up! Try to identify what went wrong – was the soil too wet? Was there not enough airflow? Learning from these experiences is part of the fun. Also, watch out for wilting. This can be a sign of too much heat, too little water, or that the roots haven’t developed enough yet to support the leaves.
A Encouraging Closing
Propagating plants is a journey, not a race. There will be successes, and there will be learning opportunities. I truly hope you find propagating Alchornea laxiflora as enjoyable as I do. Be patient, trust your instincts, and celebrate every little root you discover. Happy growing!
Resource: