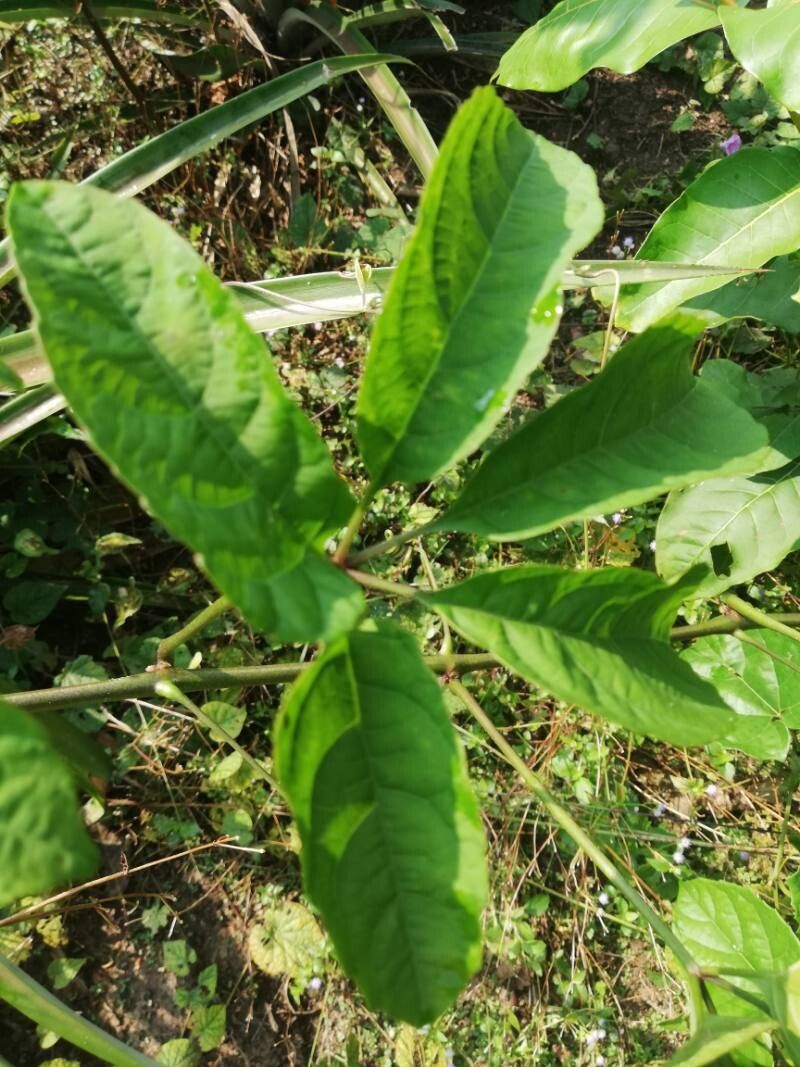
Let’s talk about Cissus alata, or as some of us affectionately call it, the “Grape Ivy.” This isn’t your average houseplant! Its trailing vines are adorned with attractive, almost leathery leaves, often sporting a lovely bronzy underside. It brings a beautiful, cascading effect to any space, whether hanging from a basket or climbing up a trellis. And the best part? Propagating it is a truly rewarding experience. You get to witness life created right in your own home, and soon you’ll have even more of these beauties to share or place around your house. Good news for beginners: Cissus alata is generally quite forgiving when it comes to propagation, which is fantastic to hear!
The Best Time to Start
For the most success, aim to propagate your Cissus alata during its active growing season. This typically falls from spring through early to mid-summer. During these warmer, sunnier months, your plant has plenty of energy to dedicate to developing new roots. You’ll notice new growth on your existing plant – that’s usually a good indicator it’s ready to share!
Supplies You’ll Need
Here’s what you’ll want to have on hand before you get started:
- Sharp Pruning Shears or Scissors: Cleanliness is key to prevent disease.
- Rooting Hormone (Optional but Recommended): This can give your cuttings a helpful boost.
- Potting Mix: A good quality, well-draining potting mix is essential. I like to use a blend of regular potting soil with perlite or orchid bark for added aeration.
- Small Pots or Containers: For your new propagates. Make sure they have drainage holes!
- Watering Can or Spray Bottle: For gentle watering.
- Plastic Bag or Dome (Optional): To create a humid environment for cuttings.
Propagation Methods
Let’s get our hands dirty! I find that stem cuttings are the most reliable and easiest method for Cissus alata.
1. Taking Stem Cuttings:
Find a healthy, vigorous stem on your mature plant. Look for a section that has several healthy leaves and has started to develop small “aerial roots” – those little nubbins that might be popping out along the stem. Using your clean pruning shears, make a cut just below a leaf node (the point where a leaf attaches to the stem). You’ll want cuttings that are about 4-6 inches long. Remove the lower leaves, leaving just a couple at the very top.
2. Preparing the Cuttings:
If you’re using rooting hormone, dip the cut end of each stem into the powder, tapping off any excess. This step isn’t strictly necessary for Cissus alata, as it often roots quite easily, but it can speed things up.
3. Planting the Cuttings:
Fill your small pots with your prepared potting mix. Make a small hole in the center of the soil with your finger or a pencil. Insert the cut end of the stem into the hole, then gently firm the soil around it. You can plant several cuttings in one pot, or give each its own.
4. Watering and Humidity:
Water the soil gently but thoroughly until you see water drain from the bottom. For an extra boost, you can mist the leaves and soil lightly. To help maintain humidity, you can place a clear plastic bag loosely over the pot, or cover it with a clear plastic dome. Make sure the leaves don’t touch the plastic too much, as this can encourage rot.
The “Secret Sauce” (Pro Tips)
Here are a few tricks I’ve learned over the years that can make a big difference:
- Don’t Overcrowd Your Cuttings: While it’s tempting to put a lot of cuttings into one pot, give them a little breathing room. This improves air circulation, which is crucial to prevent fungal diseases.
- Bottom Heat is Your Friend: If you have a seedling heat mat, placing your pots on it can significantly speed up the rooting process. The gentle warmth from below encourages root development.
- Observe the Leaves: Healthy cuttings will maintain their turgor – they’ll feel firm and plump. If the leaves start to wilt and yellow excessively, it’s often a sign of rot or that the cutting isn’t taking.
Aftercare & Troubleshooting
Once your cuttings are planted, find them a spot with bright, indirect light. Avoid direct sunlight, which can scorch the delicate new growth. Keep the soil consistently moist but not waterlogged. You want it to feel like a wrung-out sponge.
You’ll know your cuttings have rooted when you gently tug on them and feel resistance, or when you see new leaf growth. This can take anywhere from a few weeks to a couple of months.
The most common issue you’ll encounter is rot. Yellowing leaves, mushy stems, and an unpleasant odor are all signs of this. If you see it, remove the affected cutting immediately to prevent it from spreading. Ensure you have good drainage and aren’t overwatering.
A Encouraging Closing
Be patient with your little green babies! Propagating plants is a journey, and sometimes it takes a little time. Don’t get discouraged if not every cutting takes – that’s just part of the learning process. Enjoy the magic of watching new roots form and new life emerge. Happy propagating!
Resource: