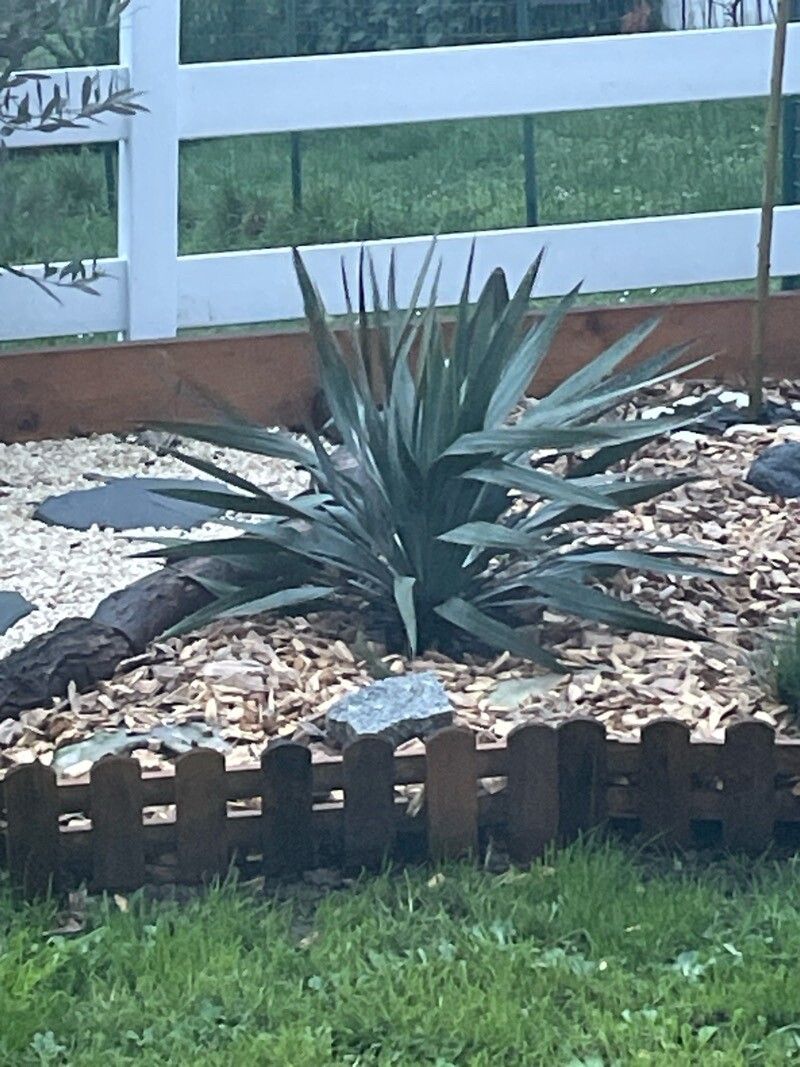
Hello there, fellow plant lovers! It’s so wonderful to have you join me today. If you’ve ever admired the striking beauty of Yucca pallida, with its silvery-blue, sword-like leaves reaching skyward, you’re not alone. I’ve loved these architectural wonders for years, and the joy of creating new ones from my own mature plants is truly something special. The good news? Propagating Yucca pallida is really quite accessible, and I think even a beginner can absolutely nail it with a little guidance.
The Best Time to Start
When it comes to getting new Yucca pallida plants going, spring and early summer are your best friends. This is when the plant is actively growing and has plenty of energy to put into creating roots. You’ll have the highest chance of success if you propagate just as the warmer weather really kicks in, but before extreme summer heat sets in.
Supplies You’ll Need
Here’s a quick rundown of what you’ll want to gather before you get started:
- Sharp Pruning Shears or a Knife: Cleanliness is key here to prevent disease.
- Rooting Hormone (Optional but Recommended): A powder or gel helps encourage strong root development.
- Well-Draining Potting Mix: I like to use a succulent or cactus mix, maybe with a little extra perlite added.
- Pots or Containers: Terracotta pots are great as they breathe.
- Gravel or Perlite: For improving drainage in your pots.
- A Spray Bottle: For gentle watering.
- Gloves: Yuccas can have sharp edges!
Propagation Methods
There are two main ways I find most effective for Yucca pallida: stem cuttings and division.
Method 1: Stem Cuttings
This is my go-to for creating new, identical plants.
- Select a Healthy Stem: Look for a mature plant with a stem (the woody part from which the leaves grow) that is at least a few inches tall. You’ll want to take cuttings from a part that has at least one or two nodes (small bumps where leaves or roots can emerge).
- Make the Cut: Using your clean pruning shears or knife, carefully cut a segment of the stem, at least 4-6 inches long. Try to get a piece that has some leaves still attached to it.
- Prepare the Cutting: Gently remove any lower leaves from the stem, exposing a few inches of bare stem. This is where the roots will form.
- Apply Rooting Hormone (if using): Dip the cut end of the stem into your rooting hormone powder or gel, tapping off any excess.
- Potting Up: Fill your small pot with your well-draining potting mix. Make a hole in the center with your finger or a pencil.
- Plant the Cutting: Gently insert the cut end of the stem into the hole, ensuring at least one node is below the soil surface. Firm the soil gently around the stem.
- Initial Watering: Water lightly with your spray bottle, just enough to moisten the soil.
Method 2: Division
If your Yucca pallida has started to produce pups (baby plants growing around the base), this is a fantastic opportunity.
- Extract the Pup: Gently dig around the base of the mature plant. You’re looking for a pup that has its own small root system and is attached to the main plant by a connecting piece.
- Make the Separation: Use a clean, sharp knife or trowel to carefully sever the pup from the mother plant. Try to take as much of its root system with it as possible.
- Potting the Pup: Fill a small pot with your well-draining mix. Create a space for the pup and gently plant it, ensuring its roots are covered and the base of the pup is at soil level.
- Watering: Water the newly planted pup lightly.
The “Secret Sauce” (Pro Tips)
Here are a couple of tricks I’ve learned over the years that really make a difference:
- Let Cuttings Dry: After you make your stem cuttings and before you pot them, let them “cure” for a day or two in a dry, well-ventilated spot. This allows the cut end to callus over, which significantly reduces the risk of rot once it hits the soil.
- Bottom Heat for Cuttings: If you’re really keen on speeding things up, especially for stem cuttings, placing your pots on a heat mat can work wonders. Yuccas love a bit of warmth at their roots to encourage them to sprout.
Aftercare & Troubleshooting
Once your Yucca pallida cutting or division is in its new home, resist the urge to overwater!
- Watering: Let the soil dry out between waterings. For cuttings, a light misting from your spray bottle every few days is usually enough to keep them from drying out completely while they’re waiting to root. For divisions, water once thoroughly after planting, then wait until the top inch or two of soil is dry before watering again.
- Light: Place your new plants in a bright spot, but out of direct, harsh sunlight. They need light to grow, but too much sun can scorch newly developing plants.
- Patience is Key: It can take several weeks, sometimes even a couple of months, for roots to develop. Gently tugging on a stem cutting – if there’s resistance, it’s likely rooting!
- Troubleshooting Rot: The most common problem is rot, usually caused by overwatering or not having adequate drainage. If you see your cutting turning mushy or black, it’s a bad sign. Unfortunately, rot is hard to recover from, so prevention is your best bet. Ensure your soil is always well-draining and that your pots have drainage holes.
Propagating Yucca pallida is a wonderful way to expand your collection or share these elegant plants with friends. Don’t get discouraged if your first attempt isn’t perfect. Gardening is a journey, and the most important thing is to enjoy the process and the satisfaction of growing something beautiful with your own hands. Happy propagating!
Resource:
https://identify.plantnet.org/k-world-flora/species/Yucca%20pallida%20McKelvey/data