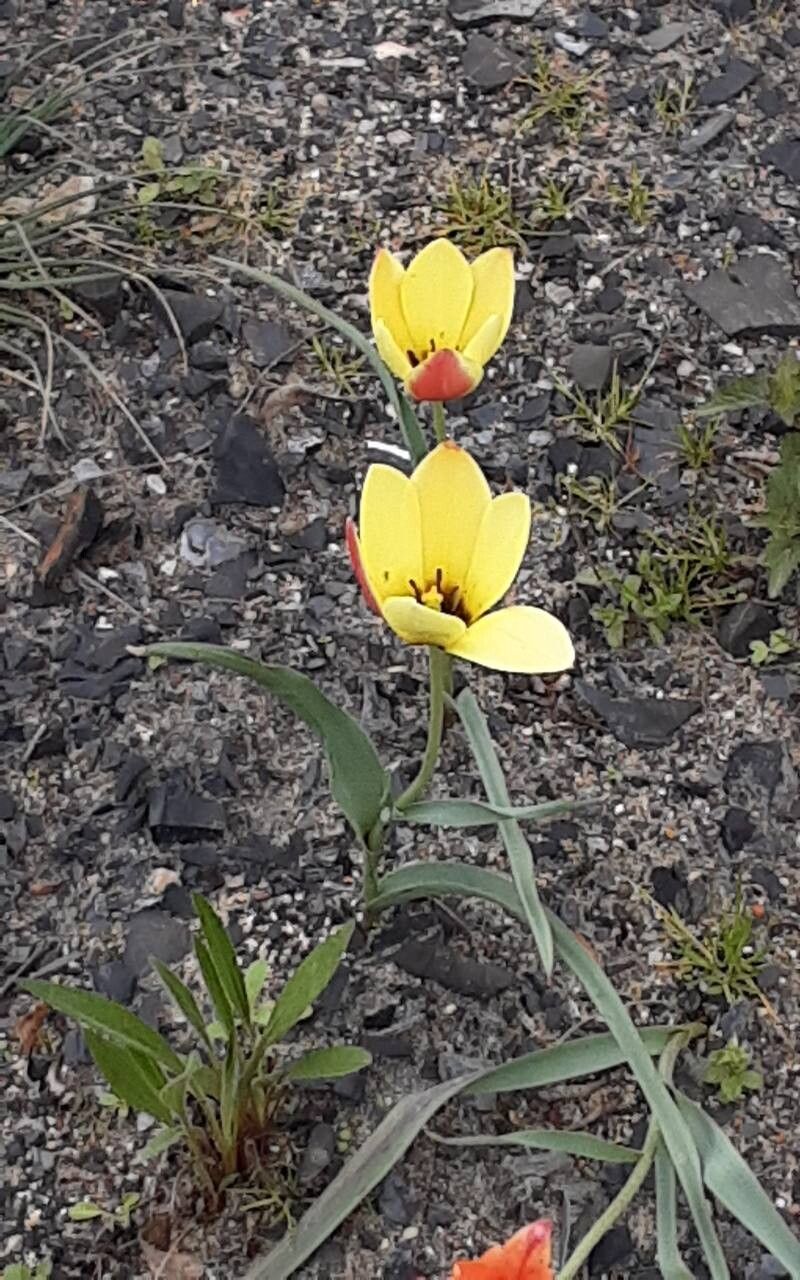
Hello there, fellow garden enthusiasts! Today, we’re diving into the delightful world of Tulipa linifolia, also known as the Flax-leaved Tulip. If you’re captivated by its vibrant, star-shaped crimson blooms and elegant, grass-like foliage, you’re not alone! Cultivating these beauties from scratch is an incredibly rewarding experience. Now, for the beginners out there, I’ll be honest, propagating tulips generally requires a bit of patience and attention to detail, but with this guide, you’ll be well on your way. It’s less about a magic bullet and more about understanding the plant’s needs.
The Best Time to Start
The absolute sweet spot for propagating Tulipa linifolia is immediately after the plant has finished flowering and its foliage begins to yellow and die back. This is when the bulbs have stored up all their energy and are ready to divide. Trying to do it too early means the parent bulb hasn’t replenished its reserves, and attempting it while the leaves are still green can stress the plant. Think of it like harvesting ripe fruit – timing is everything!
Supplies You’ll Need
Here’s what you’ll want to have on hand before you get digging:
- A trowel or small spade: For gently lifting the bulbs.
- A soft brush: To brush away excess soil.
- Sharp pruning shears or a clean knife: For any necessary divisions.
- A well-draining potting mix: A blend of loam, sharp sand, and compost works wonders. You can also buy specialized bulb compost.
- Small pots or trays: About 4-6 inches deep, with drainage holes, of course!
- Watering can with a fine rose: For a gentle watering.
- Gloves: Especially if you have sensitive skin.
- A pen and labels: To keep track of your new plantings!
Propagation Methods: Bulblet Separation
For Tulipa linifolia, the primary and most successful method of propagation is by separating bulblets. Tulips are natural producers of these smaller offsets that form around the base of the parent bulb.
- Gentle Excavation: Once your tulip has finished flowering and the leaves are yellowing, carefully dig around the main bulb with your trowel. Don’t force it! You want to avoid damaging the bulb or its offsets. Lift the entire clump out of the ground.
- Cleaning Up: Gently brush away the soil from the bulbs. You’ll likely see several smaller bulbs attached to the main one – these are your bulblets!
- Separation: This is where you need a delicate touch. Carefully twist or gently cut (using your clean shears or knife) any bulblets that are well-formed and have their own tiny root nubs. If a bulblet is very tiny and still firmly attached, it’s often best to leave it to grow larger for next year. You want to ensure each bulblet you separate has at least a few roots.
- Drying (Optional but Recommended): Once separated, lay the bulblets out in a dry, shady, and well-ventilated spot for a day or two. This helps any cut surfaces to callus over, reducing the risk of rot.
- Planting Your New Treasures: Fill your pots with your well-draining potting mix. Plant each bulblet about 2-3 inches deep, with the pointed end facing upwards. Space them a few inches apart, or plant them individually in small pots.
- Watering In: Water gently but thoroughly to settle the soil around the bulbs.
- Label and Store: Label your pots with the variety and the date. Store them in a cool, dry place – a garage, unheated shed, or even a cool basement is ideal – until autumn.
The “Secret Sauce” (Pro Tips)
Here are a couple of things I’ve learned over the years that really make a difference:
- Check for Viability: When you’re separating bulblets, give them a gentle squeeze. A healthy bulblet will feel firm. If it’s soft or mushy, it’s likely not viable and could spread disease to others. Toss it out.
- Think “Drainage, Drainage, Drainage”: I can’t stress this enough. Tulips, especially their bulblets, are incredibly susceptible to rot if they sit in soggy soil. That’s why using that gritty potting mix and ensuring your pots have ample drainage holes is non-negotiable. It’s better to underwater slightly than overwater in the early stages.
Aftercare & Troubleshooting
After planting your bulblets and storing them over summer, you’ll want to bring them out in early autumn to plant them in their permanent home in the garden or in larger pots outdoors. Plant them at the same depth as you did in their propagation pots.
During their first year in the ground, your newly propagated Tulipa linifolia might not produce a bloom. They are often focused on establishing a strong root system and growing the parent bulb. That’s perfectly normal! Just give them consistent watering during dry spells and let them do their thing.
The most common issue you’ll encounter is rot. If you notice a bulblet turning brown, mushy, or developing a foul smell, it’s a goner. This is almost always due to overwatering or poor drainage. Don’t be discouraged if a few don’t make it; it happens to the best of us!
A Encouraging Closing
Growing Tulipa linifolia from bulblets is a journey, not a race. Be patient with your little ones, offer them the best conditions you can, and celebrate each new sprout you see. The joy of watching a plant you nurtured from a tiny offset burst into bloom is truly unparalleled. Happy propagating!
Resource:
https://identify.plantnet.org/k-world-flora/species/Tulipa%20linifolia%20Regel/data