Psst! Want More Pretty Psiadia? Let’s Get Propagating!
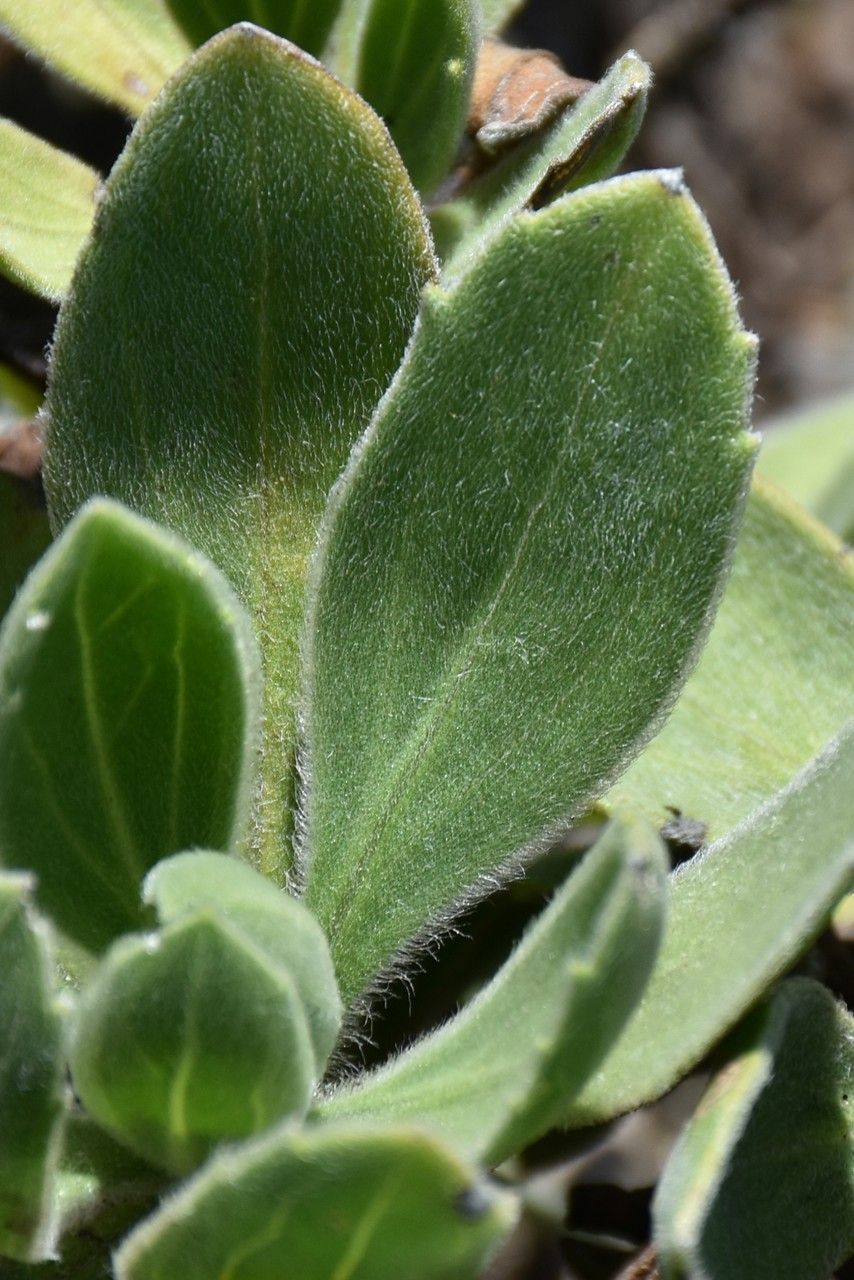
Oh, hello there! Pull up a chair and let’s chat about one of my favorite little gems: Psiadia lithospermifolia. If you adore wispy, silvery foliage that practically shimmers, and the promise of delicate white flowers dotting your garden, then you’re in for a treat. Propagating this beauty is like multiplying sunshine, and it’s a wonderfully rewarding process. So, are you ready to get your hands a little dirty and bring more of this magic into your life?
Now, I won’t lie – Psiadia lithospermifolia isn’t always the easiest plant for absolute beginners to propagate. It can be a bit particular. But don’t let that deter you! With a little patience and a few key tricks up your sleeve, you’ll be well on your way to success. Think of it as a delightful challenge, not an insurmountable hurdle.
When to Get Growing: The Perfect Timing
The absolute sweet spot for propagating Psiadia lithospermifolia is without a doubt late spring through early summer. This is when the plant is actively growing and has the energy to put into developing new roots. You’re looking for stems that are still somewhat flexible – what we in the trade call “softwood” or “semi-hardwood” cuttings. Avoid anything that’s already woody and stiff, or brand new, flimsy growth.
Your Propagation Toolkit: Gather These Goodies
Before we dive in, let’s make sure you have everything you need. It’s like packing a picnic – the more prepared you are, the more enjoyable the outing!
- Sharp Pruning Shears or a Clean Knife: For taking clean cuts.
- Rooting Hormone (Optional but Recommended): Look for one with a fungicide to help prevent rot.
- Potting Mix: A good quality, well-draining seed starting mix or a blend of peat moss and perlite works wonderfully here. I often add some horticultural charcoal to my mix for extra aeration and to help ward off fungal issues.
- Small Pots or Seed Trays: Clean ones are a must!
- Plastic Bags or a Mini Greenhouse: To create a humid environment.
- Gravel or Perlite (for drainage): A thin layer at the bottom of your pots can be helpful.
- Watering Can with a Fine Rose: For gentle watering.
- Labels and a Marker: So you don’t forget what you planted!
Let’s Get Cutting: Your Step-by-Step Guide
We’ll focus on stem cuttings, as this is generally the most successful method for Psiadia lithospermifolia.
- Select Your Stems: Head out to your Psiadia plant on a bright, clear morning. Look for healthy, vigorous stems that are about 4-6 inches long. Using your clean pruning shears, snip a stem just below a leaf node (that little bump where a leaf joins the stem).
- Prepare Your Cuttings: Gently strip off the lower leaves. You want to leave just a couple of leaves at the very top. This reduces water loss while the cutting works on growing roots. If your leaves are quite large, you can even cut them in half horizontally to further reduce transpiration.
- Dip in Rooting Hormone: Moisten the cut end of the stem slightly, then dip it directly into your rooting hormone powder. Tap off any excess.
- Planting Time: Fill your clean pots with your prepared potting mix. Make a small hole with your finger or a pencil. Insert the cut end of the stem into the hole, making sure the leaf nodes where you removed leaves are below the soil surface – this is where roots will emerge. Gently firm the soil around the stem.
- Water and Cover: Water your cuttings gently but thoroughly. They should be moist, not soggy. Now, cover the pot with a clear plastic bag or place it in a mini greenhouse. This is crucial for creating the high humidity Psiadia cuttings crave.
The “Secret Sauce”: My Tried-and-True Tips
Over the years, I’ve learned a few little tricks thatreally seem to make a difference.
- Bottom Heat is Your Friend: If you happen to have a seedling heat mat, pop your pots on it! This gentle warmth from below encourages root development like magic. You don’t need it scorching hot, just a pleasant warmth.
- Don’t Let Them Drown: While they need humidity, the foliage itself shouldn’t be sitting in excess water constantly. If you see condensation dripping heavily from the plastic, give your cuttings a brief airing out.
- A Gentle Nudge: After a few weeks, you can give each cutting a very gentle tug. If you feel resistance, that’s a good sign roots are forming! Don’t pull them out entirely, though – just a little test.
What Happens Next: Aftercare and What to Watch For
Once you start feeling that resistance, you know you’re on the right track! Keep the cuttings in a bright location, but avoid direct, scorching sunlight. Continue to water gently as needed to keep the soil consistently moist.
The biggest enemy of cuttings is rot, and Psiadia can be susceptible. If you see your cutting turning black and mushy, or if the leaves start to yellow and wilt dramatically without resistance, it’s likely that something went wrong. This is usually due to too much moisture, poor air circulation, or a lack of rooting hormone (especially one with fungicide). Don’t be discouraged if a few don’t make it; that’s part of the process!
Happy Growing, My Friends!
Propagating plants is a journey, and each success feels like a little victory. Be patient with your Psiadia lithospermifolia cuttings. Some might take longer than others to show signs of life. Celebrate every new root and every tiny leaf that unfurls. Enjoy the process of nurturing these new beginnings – it’s one of the most satisfying things we gardeners get to do!
Resource:
https://identify.plantnet.org/k-world-flora/species/Psiadia%20lithospermifolia%20Cordem./data