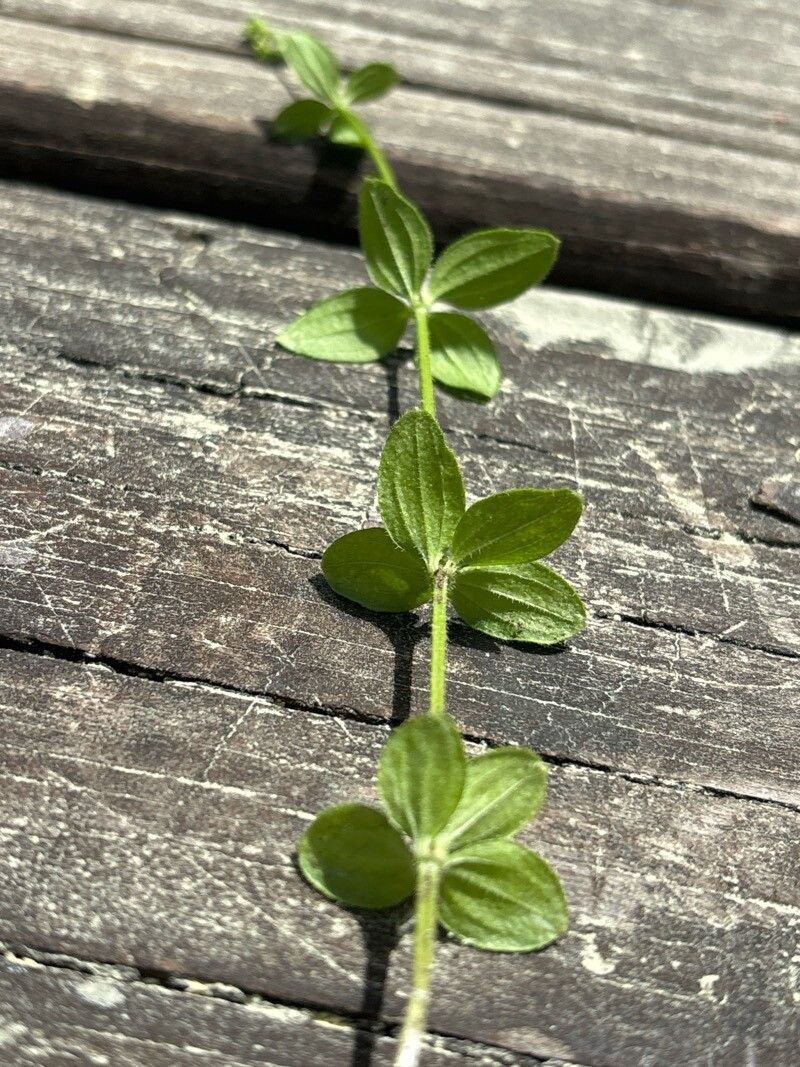
Oh, hello there! Pull up a chair. I’m so excited to talk about Galium broterianum today. It’s a truly charming plant, isn’t it? With its delicate, star-shaped flowers and lovely foliage, it brings a certain whimsical magic to any garden setting. And the best part? Growing more of this beauty yourself is incredibly satisfying. Honestly, it’s not a difficult plant to propagate, making it a wonderful choice for those just dipping their toes into the world of plant reproduction. You’ll be rewarded with more lushness to share or simply enjoy!
The Best Time to Start
For Galium broterianum, the sweet spot for starting new plants is typically in late spring to early summer. This is when the plant is actively growing and has the energy to put into developing new roots. You’re looking for new, healthy growth – think stems that are pliable and green, not woody or old. Waiting until after the main flush of spring growth has begun is usually your best bet for a high success rate.
Supplies You’ll Need
Gathering your tools is half the fun, right? Here’s what you’ll want to have on hand:
- Sharp, sterilized pruning shears or a clean knife: For making those crucial cuts.
- Rooting hormone (optional but helpful): A little boost can speed things up.
- Clean pots or trays: Small ones work best initially.
- A well-draining potting mix: I like a blend of seed starting mix and perlite, about a 2:1 ratio. This ensures good aeration.
- A spray bottle: For keeping things consistently moist.
- Plastic bags or a propagation dome: To create a mini greenhouse effect.
Propagation Methods
Galium broterianum is quite obliging and can be propagated using a couple of straightforward methods.
Stem Cuttings
This is my go-to for Galium broterianum.
- Take your cuttings: Select healthy, non-flowering stems and cut sections about 4-6 inches long. Make your cut just below a leaf node (where a leaf joins the stem).
- Prepare the cuttings: Gently remove the lower leaves, leaving just a few at the top. If your stem feels a bit flimsy, you can even trim off half of the remaining leaves to reduce water loss.
- Apply rooting hormone (optional): Dip the cut end of each stem into the rooting hormone powder. Tap off any excess.
- Pot them up: Fill your small pots with your prepared potting mix. Make a hole in the center with your finger or a pencil and gently insert the cutting, making sure the nodes where you removed leaves are below the soil surface.
- Water and cover: Water gently to settle the soil around the stem. Then, cover the pots with a plastic bag or a propagation dome to maintain high humidity.
Water Propagation
This is a fun one to watch!
- Take your cuttings: Similar to stem cuttings, select healthy, non-flowering shoots.
- Prepare your cuttings: Remove the lower leaves so no foliage will be submerged in water.
- Place in water: Put the prepared cuttings in a jar or glass of clean water. Make sure the leaf nodes are just touching or slightly submerged.
- Find a bright spot: Place the container in a bright location, out of direct sunlight.
- Monitor and change water: Change the water every few days to keep it fresh and prevent rot. You should start to see tiny white roots forming within a few weeks.
The “Secret Sauce” (Pro Tips)
Here are a couple of things I’ve learned over the years that really make a difference:
- Bottom Heat is Your Friend: While not strictly necessary, placing your pots on a gentle heating mat can significantly speed up root development, especially if your ambient temperature isn’t super warm. It mimics the feeling of springtime soil.
- Don’t Drown Them! For stem cuttings, while you want humidity, you don’t want soggy soil. If you notice condensation pooling heavily inside your plastic bag, give it a brief airing out each day to prevent fungal issues. The soil should feel consistently moist, like a wrung-out sponge, not waterlogged.
Aftercare & Troubleshooting
Once you see new growth appearing on your cuttings, or if you’ve chosen to move your water-propagated roots into soil, it’s time for a little more attention.
Carefully remove the plastic bag or dome gradually. Start by opening it for a few hours each day, allowing the plant to acclimate to the drier air. Water whenever the top inch of soil feels dry. Keep them in bright, indirect light.
The most common issue you might encounter is rot. If your cuttings turn mushy and black, or if you notice mold on the soil, it’s usually a sign of too much moisture and not enough air circulation. Unfortunately, these are often unsalvageable, so it’s best to discard them and try again, perhaps with drier soil or better ventilation. Be ruthless if rot appears to prevent it from spreading.
A Encouraging Closing
Don’t be discouraged if your first attempts aren’t perfect. Gardening is all about learning and experimenting. Be patient with your little Galium broterianum starts, and celebrate those tiny roots and new leaves as the victories they are. Enjoy the process of coaxing new life from existing plants – there’s truly nothing quite like it! Happy propagating!
Resource:
https://identify.plantnet.org/k-world-flora/species/Galium%20broterianum%20Boiss.%20&%20Reut./data