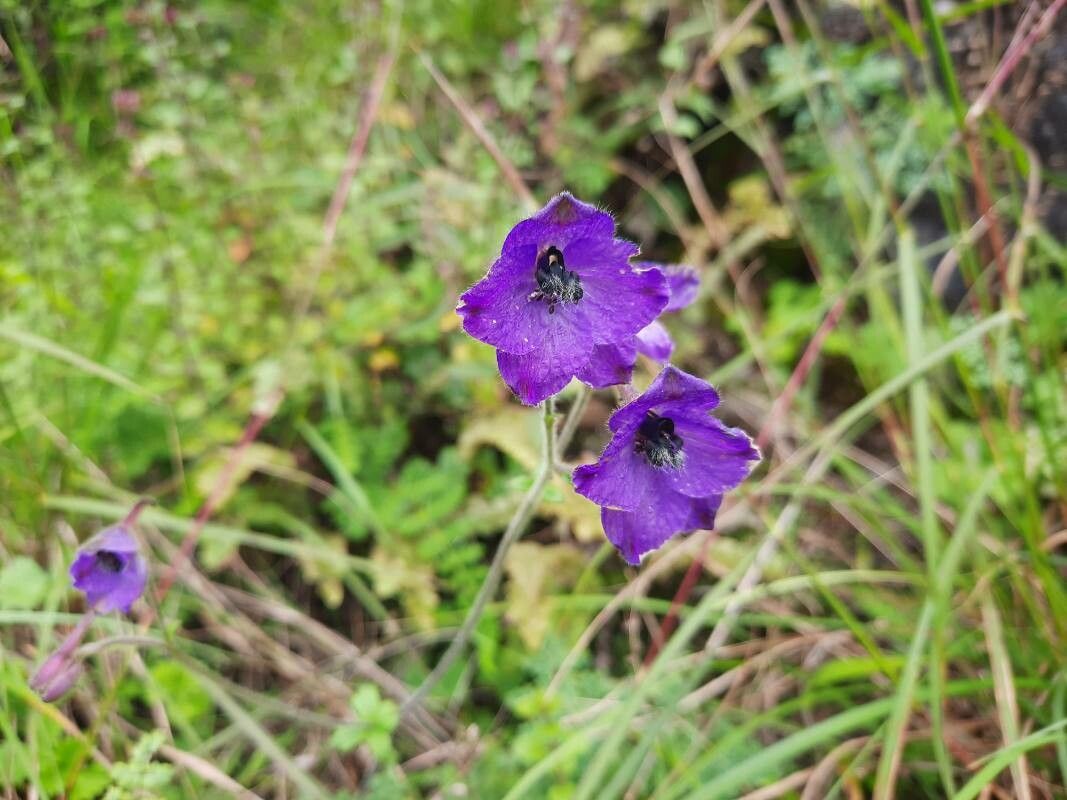
Oh, Delphinium cooperi! If you’ve ever seen these beauties gracing a garden, you know why they capture our hearts. Their tall spires of vibrant blue and, sometimes, purple or white flowers are simply breathtaking. They add such drama and a touch of elegance to any landscape. Being able to multiply these stunning plants from your own garden is an incredibly rewarding experience, like bottling a bit of that summer magic to share.
Now, for those of you just starting out, propagating Delphinium cooperi might feel a little daunting at first. They can be a tad particular. But don’t let that discourage you! With a little patience and a few key understandings, you’ll be well on your way to success. I’ve learned a lot over the years, and I’m happy to share what works best for me.
The Best Time to Start
For the most success with Delphinium cooperi, I always find late spring to early summer is the sweet spot. This is when the plant is actively growing, and those new shoots are full of life and energy. You’re looking for softwood cuttings, meaning stems that are new and flexible, not the woody, mature stalks. Think of it as taking cuttings when the plant is at its most vigorous – it just makes sense, right?
Supplies You’ll Need
Before we get our hands dirty, let’s gather our essentials. A good preparation makes all the difference:
- Sharp Pruning Shears or a Knife: Clean, sharp tools are vital for making clean cuts and preventing damage.
- Rooting Hormone: This isn’t always strictly necessary, but it can give your cuttings a helpful boost. I prefer a powder form.
- Well-Draining Propagation Mix: A 50/50 blend of perlite and seed-starting mix or horticultural sand works wonders. Regular potting soil is usually too heavy.
- Small Pots or Trays: Clean, small pots (around 4 inches) or propagation trays with good drainage are perfect.
- Clear Plastic Bag or Dome: To create a humid environment for your cuttings.
- Gloves: For keeping your hands clean!
Propagation Methods
While you can sometimes get creative with Delphinium cooperi, I find stem cuttings to be the most reliable and straightforward method. Let’s walk through it step-by-step.
Stem Cuttings:
- Select Your Cuttings: Using your sharp shears, take cuttings that are about 4-6 inches long. Look for those nice, tender new shoots. Make your cut just below a leaf node (the point where a leaf joins the stem).
- Prepare the Cuttings: Gently remove the lower leaves from the cutting, leaving just a couple of leaves at the very top. This prevents them from rotting in the soil. You can also carefully pinch off the very tip of the cutting – some gardeners swear this encourages branching.
- Apply Rooting Hormone: Dip the cut end of each stem into your rooting hormone, tapping off any excess.
- Plant Your Cuttings: Fill your pots or trays with your prepared propagation mix. Gently press the end of each cutting about an inch deep into the soil. Make sure the leaves aren’t touching the soil surface.
- Water Lightly: Water the soil gently but thoroughly. You want the mix to be moist, not waterlogged.
- Create Humidity: Cover your pots or trays with a clear plastic bag or a propagation dome. Secure it so it traps moisture. This creates that lovely, humid environment your cuttings need to root.
The “Secret Sauce” (Pro Tips)
Here are a couple of things I’ve learned from experience that really seem to make a difference for these delightful plants:
- Bottom Heat is Your Friend: If you have a heat mat designed for propagation, using it under your pots can significantly speed up root development. Delphinium cooperi loves a little warmth from below to get those roots going.
- Don’t Overwater! This is probably the most common mistake. It’s so tempting to keep things super moist, but too much water will lead to rot before roots even have a chance to form. The humid dome should help keep things consistent without constant drenching. Check the soil moisture by feel; it should feel slightly clammy, not soggy.
Aftercare & Troubleshooting
Once your cuttings are happily planted, find a bright spot for them that receives indirect sunlight. Direct sun can scorch those tender new shoots. Keep an eye on that humidity – you might need to lift the plastic bag for a few minutes daily to allow for some air circulation and prevent fungal issues.
You’ll know your cuttings have rooted when you see new leaf growth or feel a gentle resistance when you carefully tug on them. This can take anywhere from a few weeks to a couple of months.
Now, for the troubleshooting: If your cuttings start to turn yellow and mushy, that’s a sign of rot, usually from too much moisture or not enough air circulation. If they wilt and turn brown and dry out, they might be getting too much direct sun or not enough humidity. Don’t be afraid to experiment a little; sometimes a slightly different spot in the garden or a change in watering can make all the difference.
A Warm Closing
Propagating Delphinium cooperi is a journey, not a race. Be patient with your little green babies. Observe them, learn from them, and celebrate each tiny success. There’s immense satisfaction in watching a new plant unfurl its leaves, knowing you played a part in its beginning. Happy gardening, friends!
Resource:
https://identify.plantnet.org/k-world-flora/species/Delphinium%20cooperi%20Munz/data