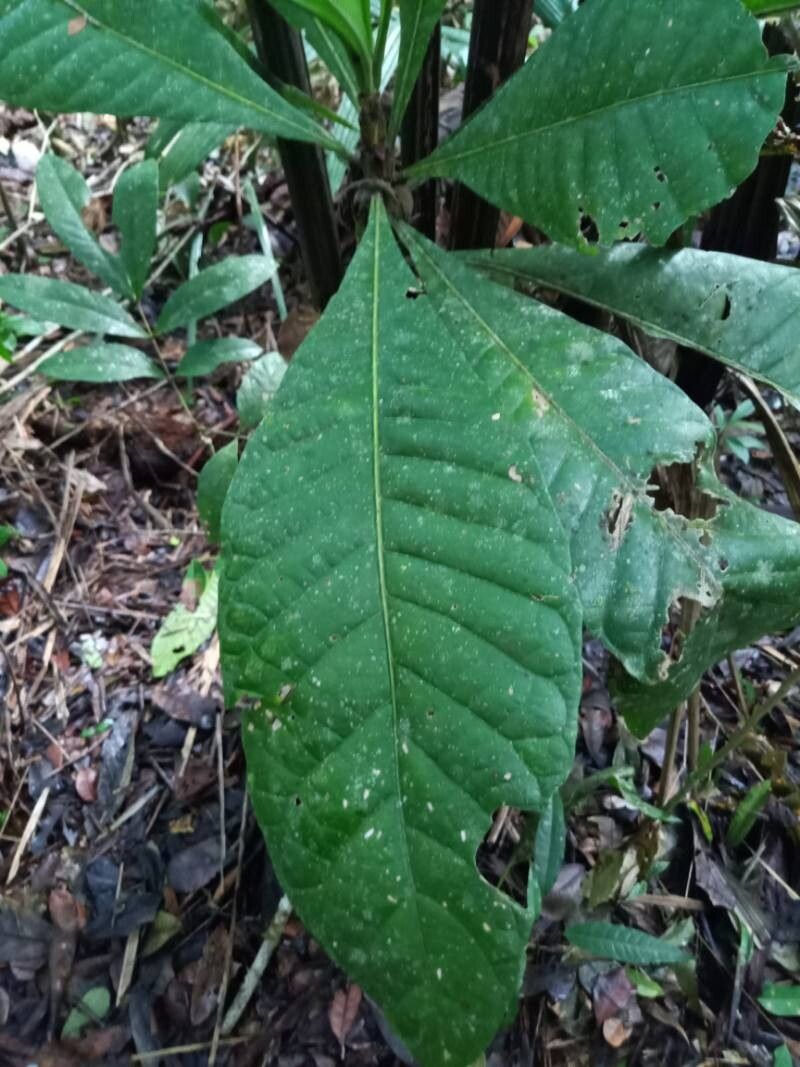
Hello, fellow plant lovers! Today, we’re diving into the wonderful world of propagating Siparuna pachycantha. Some of you might know this beauty by its common name, “Pepper Tree” or “Wild Pepper,” named for its fragrant, peppery leaves. It’s a stunning plant with lush, tropical foliage that can really bring a unique touch to your garden or indoor collection.
Propagating this plant feels like unlocking a little horticultural magic. You get to witness new life spring from an existing one, and there’s a real satisfaction in knowing you’ve helped create more of something beautiful. Now, for beginners, Siparuna pachycantha can be a tad bit finicky. It’s not the absolute easiest plant to start from scratch, but with a little focused attention, I promise you can achieve success!
The Best Time to Start
For the highest success rate with Siparuna pachycantha, I always recommend working with semi-hardwood cuttings taken during the late spring and early summer. This is when the plant is actively growing, but the stems have started to firm up a bit after their initial flush of new, tender growth. You want stems that are bendy but not floppy.
Supplies You’ll Need
Gathering your supplies beforehand makes the whole process so much smoother! Here’s what I find works best:
- Clean, sharp pruning shears or a knife: For making clean cuts.
- Rooting hormone powder or gel: This is crucial for encouraging root development.
- A well-draining potting mix: I usually go with a 50/50 blend of perlite and a good quality seed-starting or propagation mix. You can also add a bit of orchid bark for extra aeration.
- Clean pots or propagation trays: Make sure they have drainage holes!
- A clear plastic bag or a propagator lid: To create a humid environment.
- Watering can or spray bottle: For gentle watering.
- Optional: Bottom heat mat: This can significantly speed up rooting.
Propagation Methods
The most reliable way to propagate Siparuna pachycantha is through stem cuttings. Here’s how I do it:
- Take Your Cuttings: Select healthy, vigorous stems from your mother plant. Cut a piece about 4-6 inches long, making a clean cut just below a leaf node (where a leaf attaches to the stem). Remove the lower leaves, leaving just 2-3 at the top.
- Prepare the Cuttings: Dip the cut end of each cutting into rooting hormone, tapping off any excess. This stuff really works wonders!
- Pot Them Up: Gently insert the hormone-coated end of each cutting into your prepared potting mix. Bury them about an inch deep, ensuring the nodes where you removed leaves are under the soil. Firm the soil gently around the base of each cutting.
- Create a Humid Environment: Water the soil thoroughly but gently. Then, cover the pots with a clear plastic bag or place them inside a propagation tray with a lid. This traps humidity, which is vital for cuttings that can’t yet absorb water through roots. Secure the bag with a rubber band around the pot.
- Provide the Right Conditions: Place your pots in a bright location, but out of direct, harsh sunlight. I like to place mine on a shelving unit near a sunny window, but not where the sun beats down all afternoon.
The “Secret Sauce” (Pro Tips)
Here are a few things I’ve learned over the years that can really give you an edge:
- Don’t Let Leaves Touch the Water (If Water Propagating): While Siparuna is best done in soil, if you ever try water propagation with other plants, remember that any leaves submerged in water will rot and introduce bacteria, which can kill your cutting. Always remove lower leaves that would be below the waterline.
- Bottom Heat is Your Friend: If you’re serious about speeding things up, a bottom heat mat is a game-changer. It keeps the soil temperature consistently warm (around 70-75°F or 21-24°C), which encourages root formation much faster than just ambient room temperature.
- Mist Meticulously: While you want humidity, you don’t want soggy leaves. Mist the foliage lightly every couple of days, especially if you’re not using a propagator lid or if the plastic bag has gaps. This helps prevent the leaves from drying out as the cutting tries to form roots.
Aftercare & Troubleshooting
Be patient! It can take 4-8 weeks, sometimes longer, for your Siparuna pachycantha cuttings to develop a good root system. You can gently tug on a cutting – if there’s resistance, you’ve got roots!
Once you see signs of new growth (tiny leaves emerging), it’s time to acclimate them to lower humidity. Start by propping open the plastic bag a little each day, then remove it for longer periods. Once they’re comfortable, you can pot them up into their own small pots with a slightly richer potting mix.
The most common problem you’ll encounter is rot. If a cutting turns black and mushy at the base, it’s usually a sign of too much moisture and not enough airflow. Make sure your soil drains well and don’t overwater. If you see leaves yellowing and drooping, it might be a sign of insufficient humidity or that the cutting hasn’t established roots yet. Don’t give up easily; sometimes they just need a little more time!
A Loving Farewell
Propagating plants is a journey, and every attempt is a learning opportunity. Don’t be discouraged if your first batch isn’t a roaring success. Keep experimenting, enjoy the process of nurturing something new, and know that with a little patience and care, you’ll soon have a wonderful collection of Siparuna pachycantha to share or enjoy yourself. Happy gardening!
Resource:
https://identify.plantnet.org/k-world-flora/species/Siparuna%20pachyantha%20A.C.Sm./data