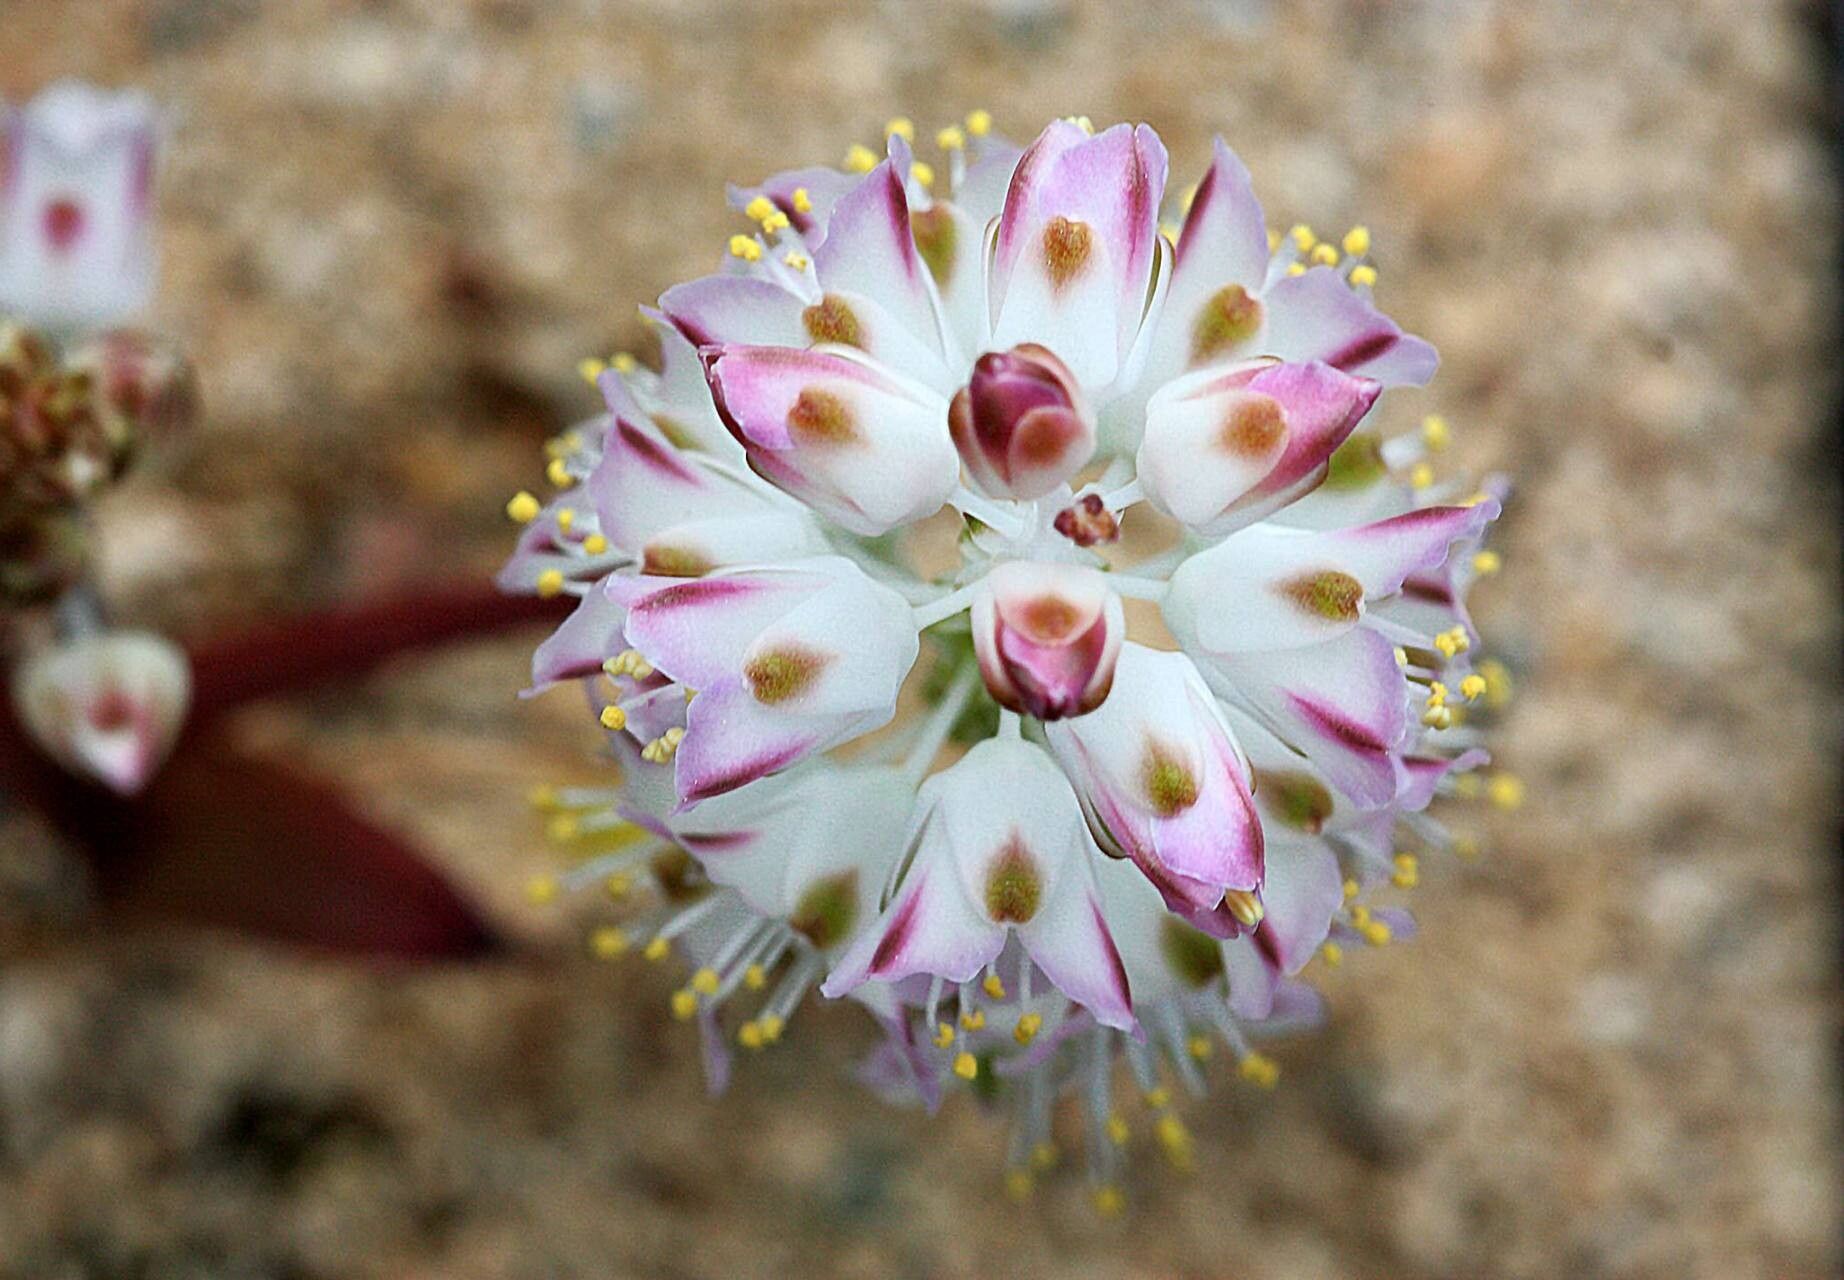
Oh, hello there! Come on in and pull up a chair. I’m so glad you stopped by. Today, I want to chat about a little gem I’ve been growing for years: Allium ericetorum. You know, the one with those delicate, nodding pink bell-shaped flowers that seem to chime in the breeze? It’s just utterly charming, and truthfully, propagating it has been one of my most rewarding garden endeavors. For beginners, I’d say it’s moderately easy—a little patience goes a long way!
The Best Time to Start
For Allium ericetorum, the sweet spot for propagation is early spring, just as the plant is waking up from its winter slumber. You’re looking for that moment when new growth is really starting to push. Alternatively, you can also have good success with seed propagation in the fall, giving them a cool stratification period over winter.
Supplies You’ll Need
Gathering your tools makes the whole process so much smoother. Here’s what I always have on hand:
- Sharp, clean pruning shears or a sharp knife. Sterilize them with rubbing alcohol to prevent disease.
- Well-draining potting mix. I like a blend of peat moss, perlite, and a bit of coarse sand. For division, the native soil from your garden mixed with compost often works too.
- Small pots or trays. Anything that provides good drainage.
- Watering can with a fine rose or a spray bottle. Gentle watering is key.
- Labels and a permanent marker. Trust me, you’ll forget what you planted and when!
- (Optional, but helpful) Rooting hormone powder or gel. Especially for cuttings.
- (Optional) A heating mat. If you decide to go the seed or cutting route in a cooler environment.
Propagation Methods
Now, for the fun part! Here are a couple of dependable ways to get more Allium ericetorum spreading through your garden.
Division
This is my go-to method for Allium ericetorum. It’s like giving your existing plant a helpful trim and getting new buddies in return!
- Dig it up gently. When the plant is dormant or just starting to show new growth in early spring, carefully dig around the clump. Use your trowel or shovel to loosen the soil.
- Tease it apart. Once it’s out of the ground, gently shake off excess soil. You’ll see bulbs clustered together. Carefully separate these clumps into smaller sections. Each section should have at least a few bulbs and some roots. Don’t worry if a few roots break; they’ll grow back.
- Replant immediately. Plant your divisions back into the garden or into pots filled with your well-draining mix. Make sure the top of the bulbs is just at or slightly below the soil surface.
- Water well. Water thoroughly to settle the soil and help the divisions establish.
Seed Propagation
This method takes a bit longer, but it’s incredibly satisfying to watch something grow from a tiny seed.
- Collect seeds. If you have an existing plant, collect seed pods after they have dried on the plant. They’re usually a papery brown when ready.
- Prepare for stratification. Allium ericetorum seeds benefit from a period of cold. You can sow them directly into pots outdoors in the fall, and let nature do the work. Alternatively, you can sow them in pots in the fall and place them in a cold frame or an unheated garage through winter.
- Sow your seeds. Use a light, well-draining seed starting mix. Sow the seeds thinly on the surface and lightly cover with about ¼ inch of mix.
- Keep moist. Mist the surface gently and keep them consistently moist but not waterlogged.
- Be patient! Germination can be slow and might not happen until spring.
The “Secret Sauce” (Pro Tips)
Here are a few things I’ve learned over the years that really make a difference:
- Don’t overwater after division. While they need moisture, soggy soil is the absolute enemy of alliums. Let the soil dry out a bit between waterings, especially in those first few weeks.
- For seeds, consider bottom heat. Once you see signs of germination (tiny green shoots), providing gentle bottom heat from a heating mat can speed things up significantly. Just an inch or two above ambient room temperature is perfect.
- Give them space to breathe. When planting divisions or sown seeds, don’t cram them too close together. Good air circulation helps prevent fungal issues.
Aftercare & Troubleshooting
Once your new Allium ericetorum starts to show healthy growth, you’re on the right track! Keep them consistently watered, but again, avoid soggy feet. For divisions planted directly into the garden, continue with your normal watering routine for the area. Seedlings will need a bit more delicate care; a light misting is often best until they are a bit larger.
The most common sign of trouble is rot, which usually points to overwatering or poor drainage. If you see stems turning mushy or seedlings collapsing, it’s often too late, but you can try to salvage affected bulbs by carefully removing them and replanting any that look firm in fresh, dry soil. If leaves yellow and wither despite adequate watering, it might be a sign of transplant shock or simply the natural dying back of foliage after flowering.
A Encouraging Closing
Growing Allium ericetorum from divisions or seeds is such a satisfying journey. It’s about patience, observation, and a little bit of love. Don’t be discouraged if every single attempt isn’t a roaring success right away. Gardening is a learning process for all of us. Just enjoy the process, celebrate your little victories, and soon you’ll have an abundance of these wonderful nodding blooms gracing your garden. Happy gardening!
Resource:
https://identify.plantnet.org/k-world-flora/species/Allium%20ericetorum%20Thore/data