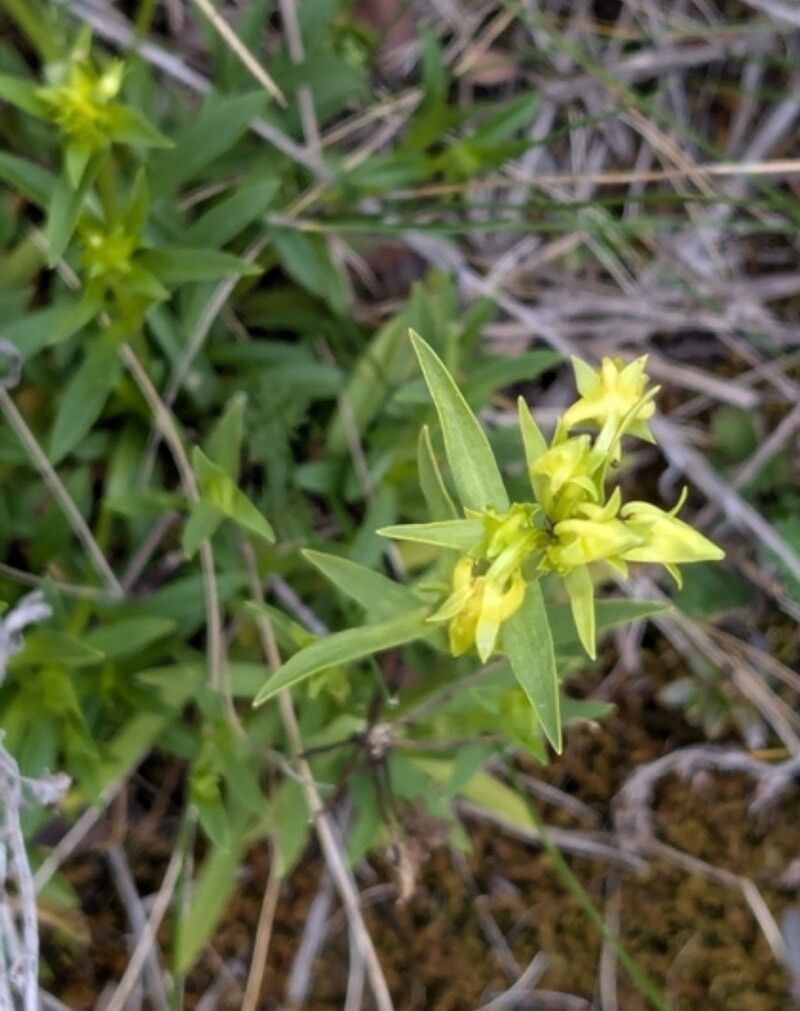
Oh, hello there! Come on in, pull up a chair. I’ve got a fresh pot of coffee brewing. Today, I want to talk about a truly special plant: Halenia umbellata. You know, the one with those delicate, bell-shaped flowers that seem to dance in the breeze? If you’ve ever admired this beauty in someone’s garden or at the nursery and thought, “I wish I had more of those!” – you’re in luck! Propagating them is a wonderfully rewarding endeavor.
Some plants can be a bit fussy to get started from cuttings, but Halenia umbellata is surprisingly forgiving. I’d say it’s a great plant for beginners looking to dip their toes into propagation. Its willingness to root makes it a joy to work with, and there’s a special kind of satisfaction in watching a tiny new plant emerge from something you nurtured.
The Best Time to Start
When it comes to Halenia umbellata, the early to mid-spring is really your sweet spot. This is when the plant is just bursting with new growth after its winter rest. You’ll be able to take cuttings from healthy, vigorous stems that haven’t yet flowered. Think of it as harvesting the best of the new energy the plant is putting out. Waiting until after it’s bloomed is also an option, but you might find slightly less vigor in the cuttings then.
Supplies You’ll Need
Gathering your supplies beforehand makes the whole process go so much smoother. Here’s what I usually have on hand:
- Sharp, clean pruning shears or a sharp knife: You want to make a clean cut to avoid crushing the stem. I sterilize mine with rubbing alcohol between plants, or even between cuttings if I’m being extra diligent.
- Rooting hormone (powder or gel): This isn’t strictly essential for Halenia umbellata, as they root quite readily, but it can significantly speed up the process and improve success rates, especially for those newer to this.
- A well-draining potting mix: I love a mix of equal parts perlite, peat moss, and a good quality potting soil. You can also buy specific “seed starting” or “cutting” mixes. The key is that it drains really well – we don’t want soggy roots.
- Small pots or propagation trays: Clean containers are a must. I often reuse yogurt cups or small nursery pots, just making sure they have drainage holes.
- A clear plastic bag or a propagator lid: This helps maintain humidity, which is crucial for cuttings to develop roots before they can take up water through their own root system.
- A mister bottle filled with water: For keeping leaves and the soil surface moist.
Propagation Methods
For Halenia umbellata, stem cuttings are by far my favorite and the most successful method. It’s straightforward and gives you a great head start.
Stem Cuttings:
- Select your parent plant: Choose a healthy, non-flowering stem from your established Halenia umbellata. Look for a stem that’s about 4-6 inches long.
- Make the cut: Using your clean shears, make a clean cut just below a leaf node. A leaf node is where a leaf attaches to the stem. This is where the magic happens, as that’s where a lot of hormonal activity and potential root formation occurs.
- Prepare the cutting: Gently remove the lower leaves from the bottom half of the stem. You want to expose the nodes. You can leave the top 2-3 leaves intact, but if they are very large, you might want to cut them in half to reduce water loss through transpiration.
- Apply rooting hormone: Dip the cut end of the stem into your rooting hormone, tapping off any excess.
- Pot it up: Fill your small pots or trays with your prepared, moistened potting mix. Make a small hole with your finger or a pencil, and gently insert the cutting, ensuring the nodes are buried. Firm the soil gently around the stem.
- Create a humid environment: Water gently from the bottom if possible, or carefully around the base of the cutting. Then, cover the pot with a clear plastic bag or place it in a propagator with a lid. This traps the moisture.
Water Propagation (Another Option!):
This is a simpler, see-it-happen method, though I find it slightly less reliable for long-term success compared to soil.
- Prepare the cutting: Follow steps 1 and 2 from the stem cutting method.
- Place in water: Submerge the lower leaf nodes in a clean jar or glass of water.
- Position: Place the jar in a bright location out of direct sunlight.
- Change water: Change the water every few days to keep it fresh and prevent bacterial growth. You’ll start to see tiny white roots emerge from the nodes. Once the roots are about an inch long, you can carefully transplant them into soil.
The “Secret Sauce” (Pro Tips)
Here are a couple of things I’ve learned over the years that can really give your cuttings a boost:
- Bottom heat is a game-changer: If you have a bit of space and want to really speed things up, consider placing your pots on a heating mat designed for propagation. This gentle warmth encourages root development from below, much like the earth in spring. I’ve found it makes a noticeable difference, especially in cooler indoor environments.
- Don’t overcrowd: When planting multiple cuttings in one larger tray, give them a little breathing room. Overcrowding can lead to increased humidity and the spread of fungal diseases. Plus, it makes it easier to check on individual cuttings.
- Patience with the “wiggle test” is key: I know it’s tempting, but don’t tug on your cuttings to see if they have roots after just a week or two! Wait a good 3-4 weeks. If you feel a slight resistance when you gently tug, congratulations, you have roots!
Aftercare & Troubleshooting
Once you see signs of new growth, like tiny leaves emerging from the tip or a slight resistance when you gently tug, your cutting has likely rooted.
- Gradual Acclimation: This is vital! If your cuttings have been under a plastic bag, gradually remove the bag over a few days. Start by just removing it for a couple of hours a day, then longer. This allows the new plant to adjust to lower humidity without shock.
- Watering: Keep the soil consistently moist but not waterlogged. Water when the top inch of soil feels dry.
- Light: Gradually move your new plants into brighter light, but still avoid harsh, direct sun for the first few weeks until they are well established.
- Light: Gradually move your new plants into brighter light, but still avoid harsh, direct sun for the first few weeks until they are well established.
The most common issue you might encounter is rot. This usually happens if the soil is too wet and doesn’t drain well, or if there’s too little air circulation. You’ll see the stem turn brown and mushy, and the leaves will wilt. If this happens, unfortunately, that cutting is probably lost. This is why a well-draining mix and good air circulation are so important! Don’t be discouraged if a few don’t make it; it’s all part of the learning curve.
A Encouraging Closing
So there you have it – your guide to propagating Halenia umbellata. Remember, gardening is a journey, and propagation is a beautiful way to connect with your plants on a deeper level. Be patient with yourself and your cuttings. Enjoy the anticipation, celebrate the successes, and learn from any setbacks. Happy propagating!
Resource: