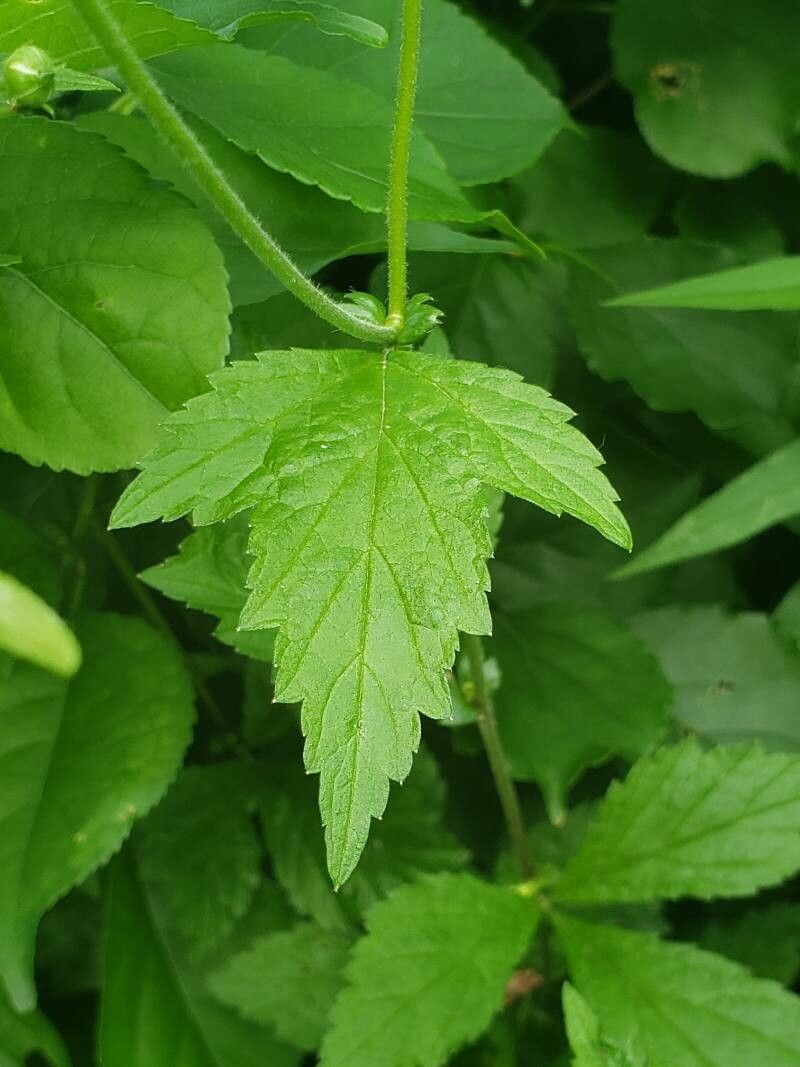
Oh, Geum laciniatum! What a joy to talk about! If you’re looking for a splash of vibrant color in your garden, something a little bit wild and wonderfully hardy, then this is your plant. Its delicate, often ruffled petals and cheerful demeanor never fail to lift my spirits. And the best part? Multiplying these beauties is not only possible, but incredibly satisfying. For those of you just dipping your toes into the world of plant propagation, I’m happy to say that Geum laciniatum is generally quite forgiving. You’ll likely find success with minimal fuss.
The Best Time to Start
Honestly, the absolute sweet spot for propagating Geum laciniatum is late spring or early summer. Think right after it finishes its main flush of blooming, or as you’re deadheading those spent flowers. This is when the plant is bursting with energy and has plenty of healthy growing tissue to work with. You can also get away with doing it in early autumn, but spring gives you a bit more of a head start on new growth.
Supplies You’ll Need
Gathering your tools beforehand makes the whole process so much smoother. Here’s what I usually have on hand:
- Sharp pruning shears or a clean knife: For making those precise cuts. Dull tools can crush stems and invite disease.
- Well-draining potting mix: A good chuckle seedling mix or a blend of peat moss and perlite works wonders. You want something that won’t hold too much moisture.
- Small pots or seed trays: For your cuttings or divisions. Make sure they have drainage holes!
- Rooting hormone (optional but helpful): A powder or gel can give your cuttings a little boost to get those roots going.
- Watering can or spray bottle: For gentle watering.
- Labels and a pen: So you don’t forget what you planted where!
Propagation Methods
Geum laciniatum is a trooper and is most commonly propagated through division and stem cuttings.
Division: My Personal Favorite
This is easily the most straightforward method if you have an established clump of Geum.
- Dig it up: In late spring, take your trowel and carefully dig around the base of your mature Geum plant. Gently lift the entire clump out of the soil.
- Shake off excess soil: You can gently rinse some of the soil away, but don’t go crazy. You need to see those root structures.
- Find natural breaks: Look for where the plant naturally divides. You’ll see multiple crowns and root systems.
- Separate the divisions: With your hands or a clean knife, gently pull or cut the clump apart into smaller sections. Each section should have at least one healthy crown (where the leaves emerge) and a decent root system attached.
- Replant: Immediately replant your divisions in their new homes, whether that’s back in the garden or in pots with fresh potting mix. Water them in well.
Stem Cuttings: For the Adventurous
If you want to create even more plants or your Geum is looking a bit sparse, cuttings are a great option.
- Take cuttings: In late spring or early summer, select healthy, non-flowering stems. Using your sharp shears, cut a stem about 4-6 inches long, just below a leaf node (that little bump where a leaf attaches to the stem).
- Prepare the cuttings: Remove the lower leaves. You want to leave just a couple of leaves at the top to prevent excessive water loss. You can dip the cut end into rooting hormone if you’re using it.
- Pot them up: Fill small pots with your prepared, moistened potting mix. Make a small hole with your finger or a pencil.
- Insert cuttings: Gently insert the cut end of each Geum cutting into the hole, ensuring the leaf nodes are buried in the soil.
- Water gently: Lightly water the soil to settle it around the cuttings.
- Create a humid environment: This is key! You can cover the pots with a clear plastic bag (making sure the leaves don’t touch the sides) or place them in a small propagator. This keeps the humidity high, which is crucial for root development.
The “Secret Sauce” (Pro Tips)
Here are a couple of things I’ve learned over the years that can really make a difference:
- Don’t drown the cuttings! When you water your cuttings, be gentle. Overwatering is the fastest way to invite rot. I like to water from the bottom if I can (placing pots in a tray of water for a bit) or use a fine mist spray to avoid disturbing them.
- Light, but not direct sun: Place your pots or trays in a bright spot, but out of direct, scorching sunlight. Too much sun will cook your young plants. A north-facing windowsill or under dappled shade is perfect.
Aftercare & Troubleshooting
Once you see new growth or feel resistance when you gently tug on a cutting (a sign of roots!), your new Geum is on its way!
- Gradual acclimatization: If you’ve covered your cuttings, gradually remove the cover over a few days to let them get used to normal humidity.
- Water regularly, but don’t overwater: Keep the soil consistently moist but not soggy. You’ll learn to feel the dryness of the soil.
- Watch out for rot: This is the main thing to look out for. If your cuttings turn black and mushy, it’s likely rot. This usually means they’ve been too wet or haven’t had enough air circulation. Sadly, there’s often no coming back from this.
- Transplant when ready: Once the roots are well-established and filling the pot a bit, you can transplant your new Geum to their permanent garden spots or larger containers.
A Little Encouraging Wrap-Up
Don’t get discouraged if your first try isn’t perfect. Gardening is all about observation and learning. Be patient with your new baby Geums, give them a little care and attention, and soon you’ll have a garden bursting with their cheerful blooms. There’s such a thrill in seeing something you grew from a tiny cutting or a divided clump thrive. Happy propagating!
Resource:
https://identify.plantnet.org/k-world-flora/species/Geum%20laciniatum%20Murray/data