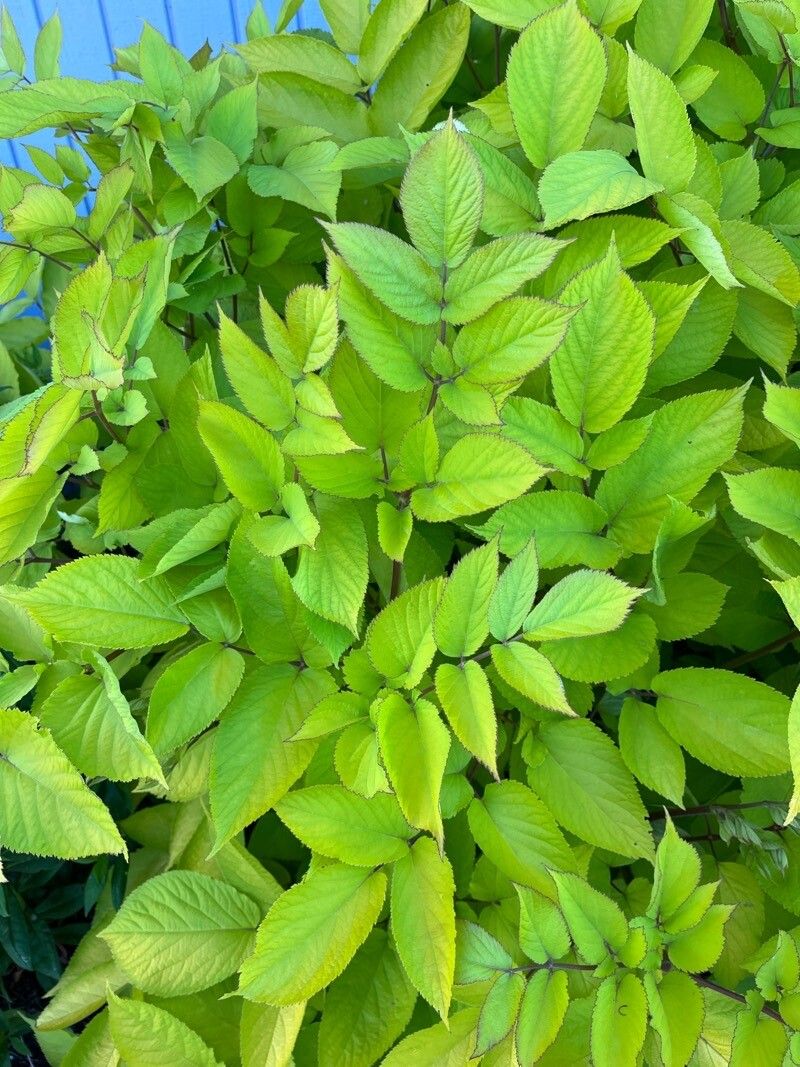
Hello there, fellow plant enthusiasts! Today, we’re diving into the wonderful world of Aralia cordata, also known as Angelica Tree or Japanese Angelica Tree. If you’re looking for a striking, architectural plant that adds a touch of exotic elegance to your garden, you’ve come to the right place. Its large, attractive leaves and graceful form make it a real showstopper. And the best part? Propagating it is a genuinely rewarding experience. You’ll soon have more of these beauties to share or fill out your own landscape. For beginners, I’d say Aralia cordata is moderately easy to propagate, especially when you know a few tricks.
The Best Time to Start
For the highest success rate, late spring to early summer is your golden window. This is when the plant is in its active growing phase, and cuttings will have the best energy reserves to develop roots. You can also take cuttings in early autumn, but the warmth and longer days of spring just give them that extra boost.
Supplies You’ll Need
Gathering these simple tools will set you up for success:
- Sharp pruning shears or a clean craft knife
- Rooting hormone (optional, but highly recommended for stem cuttings)
- A well-draining potting mix. I like a blend of perlite and peat moss or coco coir.
- Small pots or seed trays with drainage holes
- A plastic bag or propagation dome to create a humid environment
- Water for misting and hydration
Propagation Methods
Aralia cordata offers a couple of reliable ways to expand your collection.
Stem Cuttings
This is my go-to method for Aralia.
- Take Your Cuttings: In late spring or early summer, select healthy, semi-hardwood stems. Look for stems that are no longer totally soft and green, but not yet fully woody. Aim for cuttings about 4-6 inches long. Make a clean cut just below a leaf node (where a leaf attaches to the stem).
- Prepare the Cuttings: Gently remove the lower leaves, leaving just two or three at the top. This prevents them from rotting when buried. If your leaves are particularly large, you can even cut them in half to reduce water loss.
- Apply Rooting Hormone: Dip the cut end of each stem into rooting hormone powder or gel. Tap off any excess.
- Plant the Cuttings: Fill your small pots with the prepared, moist potting mix. Make a hole in the center with your finger or a pencil and insert the cutting. Gently firm the soil around it.
- Create Humidity: Water the soil lightly, then cover the pot with a clear plastic bag or place it under a propagation dome. Ensure the leaves don’t touch the plastic. This traps moisture, which is crucial for root formation.
Division
If you have a mature Aralia cordata, you can easily divide it.
- Dig Up the Plant: In early spring, before new growth really kicks off, carefully dig up the entire plant.
- Separate the Roots: Gently tease apart the root ball. You’re looking for distinct sections, each with its own healthy roots and some top growth. If the roots are very tangled, you might need a clean spade or knife to help separate them.
- Replant: Immediately replant the divided sections into new locations in your garden or into separate pots with fresh soil. Water them well.
The “Secret Sauce” (Pro Tips)
Here are a few things I’ve learned over the years that can really make a difference:
- Bottom Heat is Your Friend: For stem cuttings, if you have a propagation mat or can place your pots on a sunny windowsill that gets warm from underneath, it’s a game-changer. This gentle warmth encourages root development much faster.
- Don’t Drown Your Cuttings! While humidity is vital, soggy soil leads to rot. Ensure your potting mix drains exceptionally well and water only when the top inch of soil feels dry.
- Mist Daily (Lightly): Especially if you are using just a plastic bag, a light misting of the leaves daily can help keep them turgid and prevent them from drying out while they’re trying to root.
Aftercare & Troubleshooting
Once you see signs of new leaf growth emerging, it’s a good indicator that roots are forming!
- Gradual Acclimation: Begin to gradually remove the plastic bag or open the vents on your propagation dome over a week or two. This helps the new plant acclimatize to normal humidity levels.
- Watering: Continue to water when the top of the soil dries out. As the plant grows, you’ll need to water more frequently.
- Fertilizing: Wait until you see significant new growth before applying a diluted liquid fertilizer. Too much too soon can shock a young plant.
Common problems include rot, which usually stems from overwatering or poor drainage. You might see the stem turning mushy and black, or the leaves wilting and yellowing. If this happens, sadly, the cutting is likely lost. Another issue can be fungal diseases, often appearing as white, fuzzy patches on the soil or leaves. Good air circulation and avoiding overly wet conditions will help prevent this.
Happy Propagating!
Growing new plants from cuttings or divisions is a truly special connection to the natural world. Be patient with your Aralia cordata; sometimes, roots take a little while to appear. Don’t be discouraged if not every cutting takes – it’s all part of the learning process. Enjoy the journey, and soon you’ll have the joy of seeing your Aralia cordata thrive and multiply!
Resource:
https://identify.plantnet.org/k-world-flora/species/Aralia%20cordata%20Thunb./data