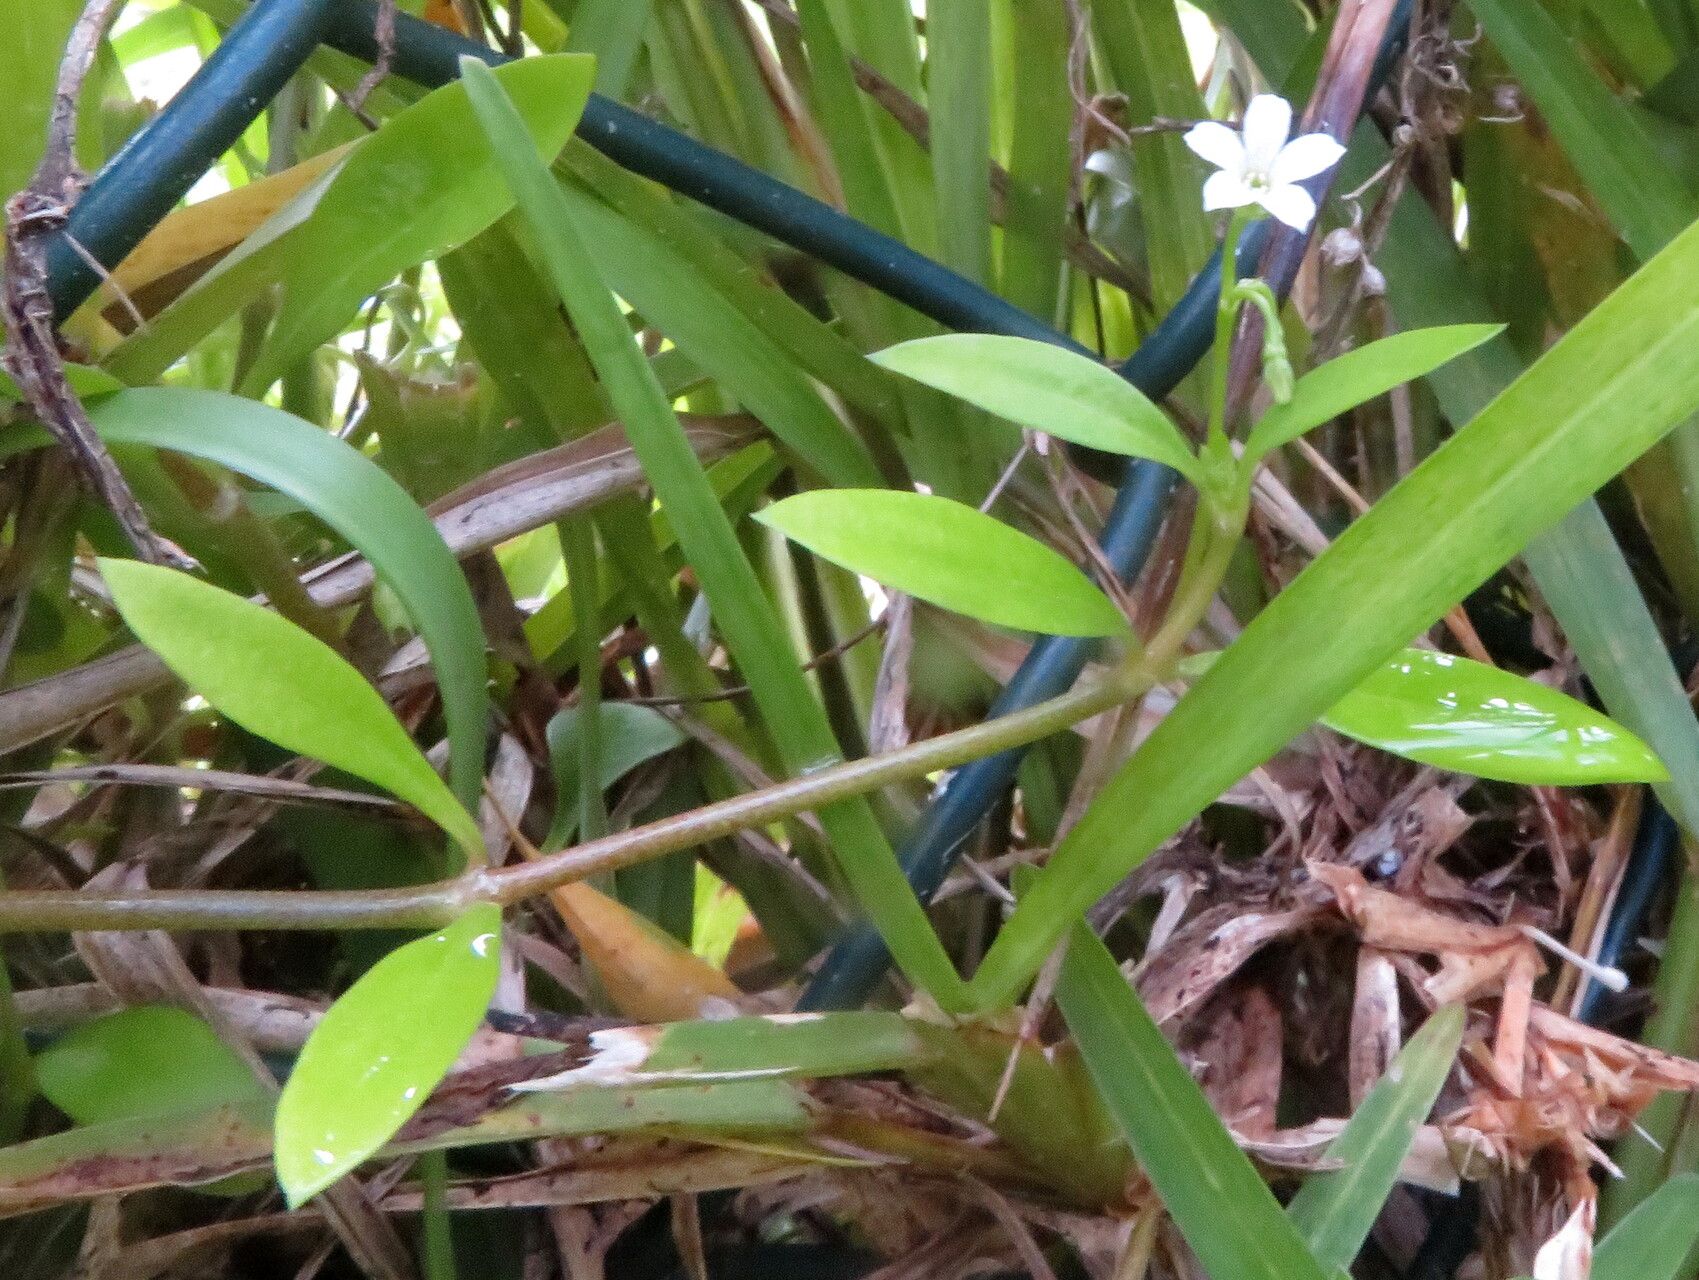
Hey there, fellow garden lovers! I’m so excited to chat with you today about a little gem that’s captured my heart over the years: Oldenlandia corymbosa. You know those plants that just work? That bring a delicate charm to shady corners and thrive with a bit of tender loving care? That’s Oldenlandia for you. It’s got this lovely, low-growing habit and little white flowers that are just a delight.
Propagating this charmer is surprisingly rewarding, and I think you’ll find it’s not as daunting as it might seem. If you’re new to the plant world, this is a wonderful one to get your propagation journey started with. It’s quite forgiving!
The Best Time to Start
For Oldenlandia corymbosa, the sweet spot for propagation is definitely late spring to early summer. This is when the plant is in a vigorous growth phase. You’ll be taking cuttings from stems that are actively growing but have started to mature a little – they aren’t the super soft, floppy new shoots, but also not woody old growth. Think of it as the “just right” stage.
Supplies You’ll Need
Before we get our hands dirty, let’s gather our tools. Having everything ready makes the process so much smoother.
- Sharp Pruning Shears or a Knife: Clean cuts are crucial for a healthy start.
- Rooting Hormone (Optional but Recommended): This little booster can really speed things up and increase your success rate, especially with cuttings. I like both powder and gel forms.
- Well-Draining Potting Mix: A mix of peat moss or coco coir, perlite or vermiculite, and a bit of compost works beautifully. You want it to hold moisture but drain freely.
- Small Pots or Seed Trays: Clean, small containers are perfect for your cuttings.
- Plastic Bags or a Propagator: To create a humid environment.
- Watering Can or Spray Bottle: For gentle watering.
Propagation Methods
I’ve had the most success with Oldenlandia corymbosa using stem cuttings, and it’s a pretty straightforward process.
Stem Cuttings
- Select Your Stems: Look for healthy, non-flowering stems that are at least 3-4 inches long. You want stems that have developed a bit of firmness but are still flexible.
- Make the Cut: Using your clean shears or knife, make a clean cut just below a leaf node. A leaf node is where a leaf attaches to the stem; this is where new roots will emerge.
- Prepare the Cutting: Gently remove the lower leaves from the cutting, leaving only the top 2-3 sets of leaves. This prevents them from rotting in the soil later.
- Apply Rooting Hormone (If Using): Dip the cut end of the stem into your rooting hormone, tapping off any excess.
- Pot Up Your Cuttings: Fill your small pots with the prepared potting mix. Make a small hole in the center with your finger or a pencil.
- Insert the Cutting: Carefully place the rooting hormone-coated end of the cutting into the hole and gently firm the soil around it. You can fit a few cuttings into one pot, but give them a little space.
- Water Gently: Water the soil thoroughly but gently, ensuring it’s moist but not waterlogged. A spray bottle is great for this initial watering.
- Create Humidity: Place the pots inside a clear plastic bag or a propagator. Seal it to trap moisture. You can prop the bag open slightly with a skewer or stake if you’re worried about too much condensation.
- Find a Bright Spot: Place your propagations in a location with bright, indirect light. Avoid direct sun, which can scorch the delicate cuttings.
The “Secret Sauce” (Pro Tips)
Here are a couple of things I learned that really make a difference:
- Watch the Water: When you water, try to water the soil directly. If you’re misting, be mindful that water sitting on the leaves can sometimes encourage fungal issues.
- Bottom Heat Works Wonders: If you have the option, placing your pots on a bottom heat mat can significantly speed up root development. It mimics the warmth of summer soil and gives those tiny roots a real boost.
Aftercare & Troubleshooting
Once your cuttings have started to show signs of life – usually little new leaves emerging from the top – it’s time to gradually acclimate them to normal conditions.
- Gradual Acclimation: Over the course of a week, start opening the plastic bag or propagator a little more each day to reduce humidity. Eventually, you can remove it altogether.
- Watering: Water when the top inch of soil feels dry. Continue to water gently.
- Fertilizing: Wait until you see good new growth before introducing a very diluted liquid fertilizer.
- Troubleshooting: The most common issue you might face is rot. If a cutting turns mushy and black, it’s likely succumbed to rot. This is often due to overwatering or poor drainage. Ensure your soil mix is airy and water only when needed. If you see tiny white fuzzy mold on the soil surface, it usually just means it’s a bit humid; try increasing air circulation a bit.
A Encouraging Closing
There you have it! Propagating Oldenlandia corymbosa is a lovely way to expand your collection or share these delightful plants with friends. Don’t get discouraged if not every cutting takes; it’s part of the learning process. Be patient, celebrate every tiny new leaf, and most importantly, enjoy the magic of creating new life in your garden. Happy propagating!
Resource:
https://identify.plantnet.org/k-world-flora/species/Oldenlandia%20corymbosa%20L./data