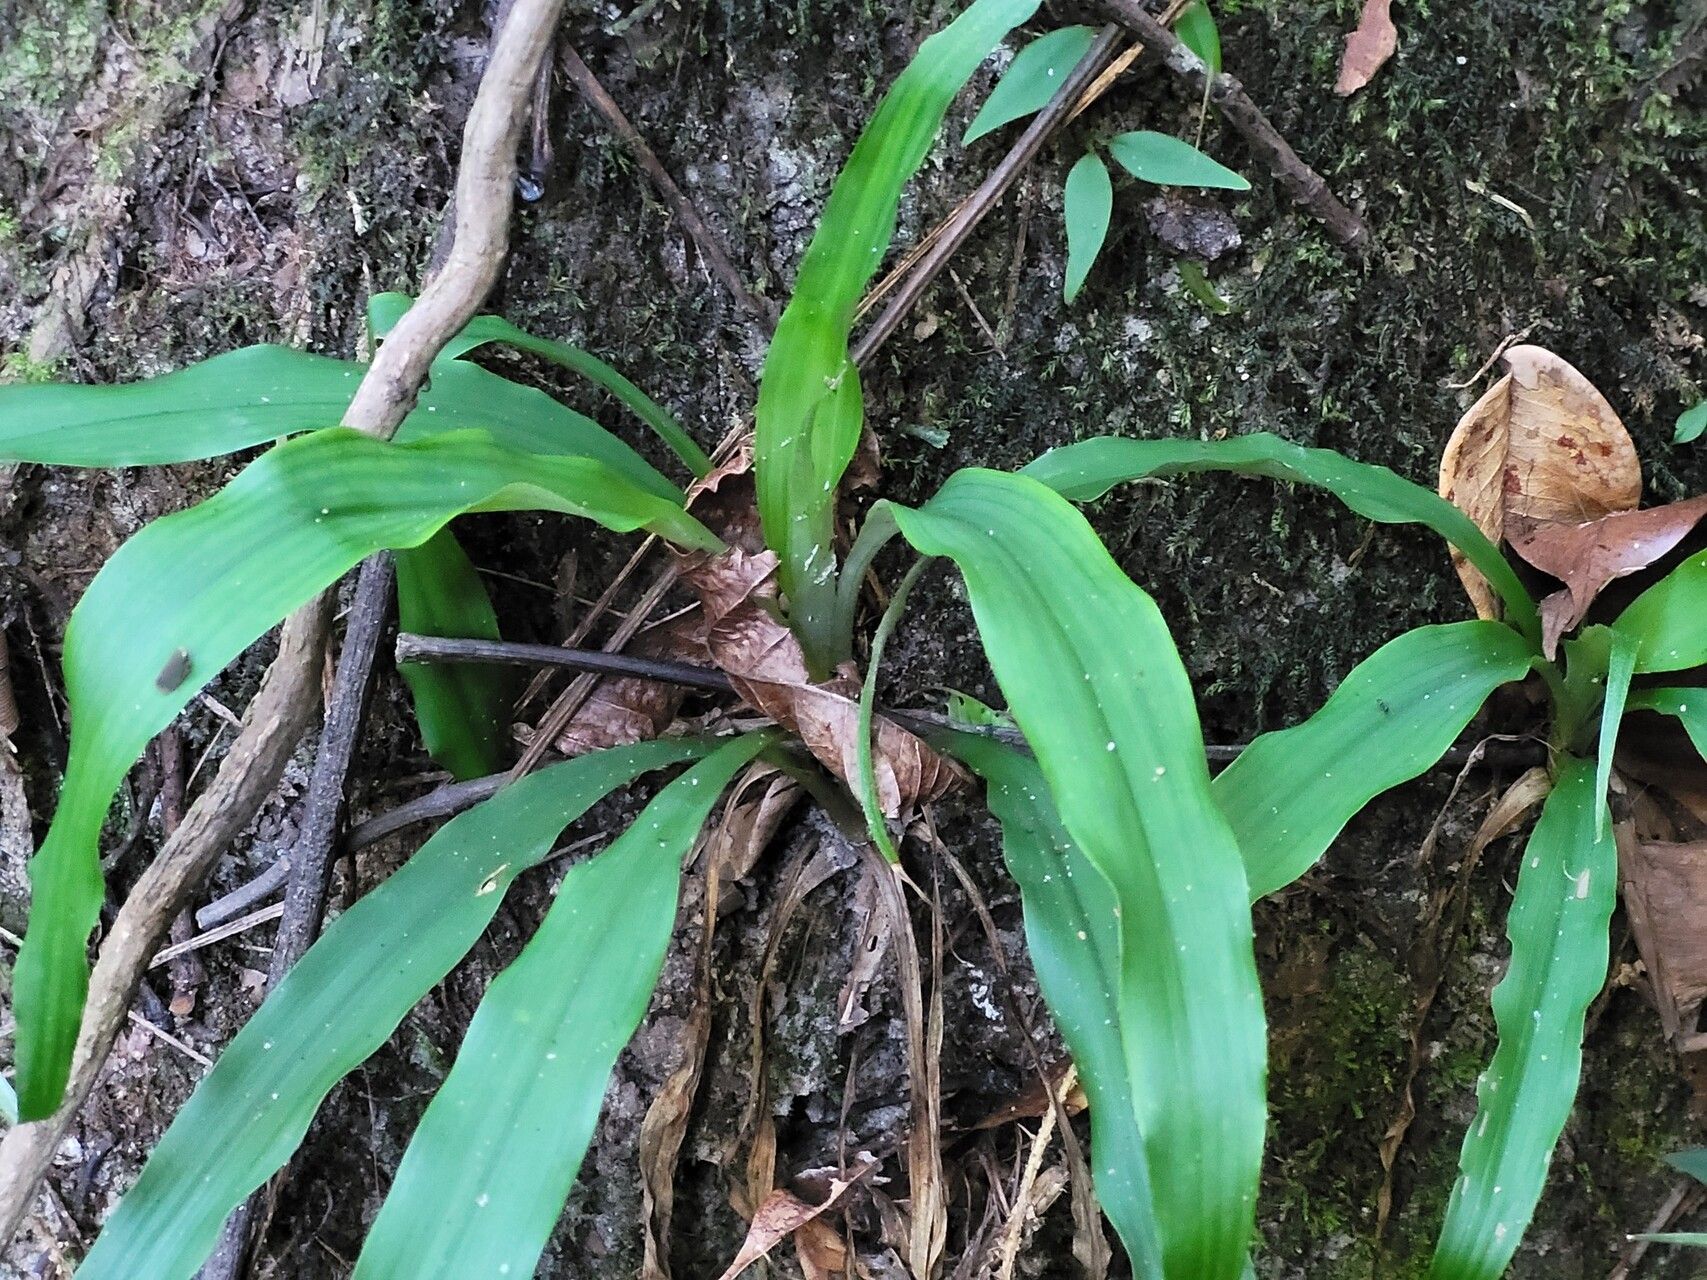
Hello there, fellow plant lovers! Today, we’re diving into the captivating world of Pitcairnia rubiginosa. If you’re drawn to plants with a bit of drama and a lot of charm, this one’s for you. Its striking foliage and, if you’re lucky, a beautiful flower stalk make it a real showstopper. And the best part? You can create more of these beauties yourself! Propagating Pitcairnia rubiginosa is a truly rewarding endeavor, and while it might seem a bit daunting at first, I’m here to guide you through it. It’s not the absolute easiest plant to start with if you’ve never propagated before, but with a little care and attention, you’ll be amazed at what you can achieve.
The Best Time to Start
For the highest success rate with Pitcairnia rubiginosa, spring is your golden ticket. This is when the plant is actively growing and bursting with energy. You’ll want to look for new growth or pups that have already developed a bit. Waiting until the weather is consistently warm, and your plant is showing signs of vigorous life, will give your cuttings the best chance to establish themselves.
Supplies You’ll Need
Gathering your tools beforehand makes the whole process so much smoother. Here’s what I usually have on hand:
- Well-draining potting mix: A blend of orchid bark, perlite, and a little peat moss is fantastic. You want something that breathes well.
- Sharp, sterile pruning shears or a knife: Cleanliness is key to preventing diseases.
- Small pots or seed trays: Enough to hold your new babies.
- Rooting hormone (optional but recommended): This can give your cuttings a helpful boost.
- Plastic bag or propagation dome: To create a humid environment.
- Watering can with a fine rose: For gentle watering.
- Labeling stakes: To keep track of what you’ve planted and when.
Propagation Methods
Pitcairnia rubiginosa is best propagated through division, which is essentially splitting up the mother plant when it produces offsets, or pups.
Method: Division of Pups
- Assess Your Mother Plant: Look for small plantlets, or pups, that are growing from the base of your established Pitcairnia rubiginosa. These pups should ideally have a few leaves of their own and a bit of root structure developing from their base.
- Gently Remove from Pot: Carefully tip your mature plant out of its pot. You might need to loosen the soil around the edges.
- Locate and Separate the Pups: Gently tease apart the soil to expose the pups. Using your sterile shears or knife, carefully cut the pup away from the mother plant, making sure to get as much of its own root system as possible. If a pup doesn’t have substantial roots yet, don’t worry too much; it can still root once planted.
- Prepare the Pup: If the pup has very long roots, you can trim them slightly to make them easier to pot. Remove any damaged or yellowing leaves.
- Potting Up: Fill your small pots with your prepared, well-draining potting mix. Make a small indentation in the center and place the pup in it. Firm the soil gently around the base.
- Initial Watering: Water thoroughly but gently, ensuring the water drains out of the bottom of the pot.
The “Secret Sauce” (Pro Tips)
Here are a few tricks I’ve learned over the years that can really make a difference:
- Don’t overwater newly divided pups. They are still figuring out their new life and can easily fall victim to rot if the soil stays soggy. Let the top inch of soil dry out before watering again.
- Mimic their natural environment. Pitcairnias love humidity, so placing the potted pups in a plastic bag or under a propagation dome creates that essential microclimate. Just be sure to open the bag or dome daily for a few minutes to allow for air circulation and prevent fungal issues.
- Patience is paramount. Pitcairnia rubiginosa can be a bit slow to establish new roots. Don’t be tempted to pull on them to check for roots too soon! Give them several weeks.
Aftercare & Troubleshooting
Once your pups are potted, place them in a bright spot with indirect light. Avoid direct sun, as it can scorch their delicate new leaves. Keep the soil consistently moist but not waterlogged.
The most common issue you might encounter is rot. If you see the base of your pup turning mushy or black, it’s a sign of overwatering. If this happens, gently remove the affected pup, try to salvage any healthy parts, and start again with a drier medium. You might also notice leaves wilting; this can be due to underwatering or transplant shock. Ensure you’re providing consistent moisture and that humid environment.
A Encouraging Closing
Watching a new plant emerge from a small division is one of the most satisfying parts of gardening. Be patient with your Pitcairnia rubiginosa pups. They take their time, but the reward of a healthy, growing plant is well worth the wait. Enjoy the process, celebrate every new leaf, and happy propagating!
Resource:
https://identify.plantnet.org/k-world-flora/species/Pitcairnia%20rubiginosa%20Baker/data