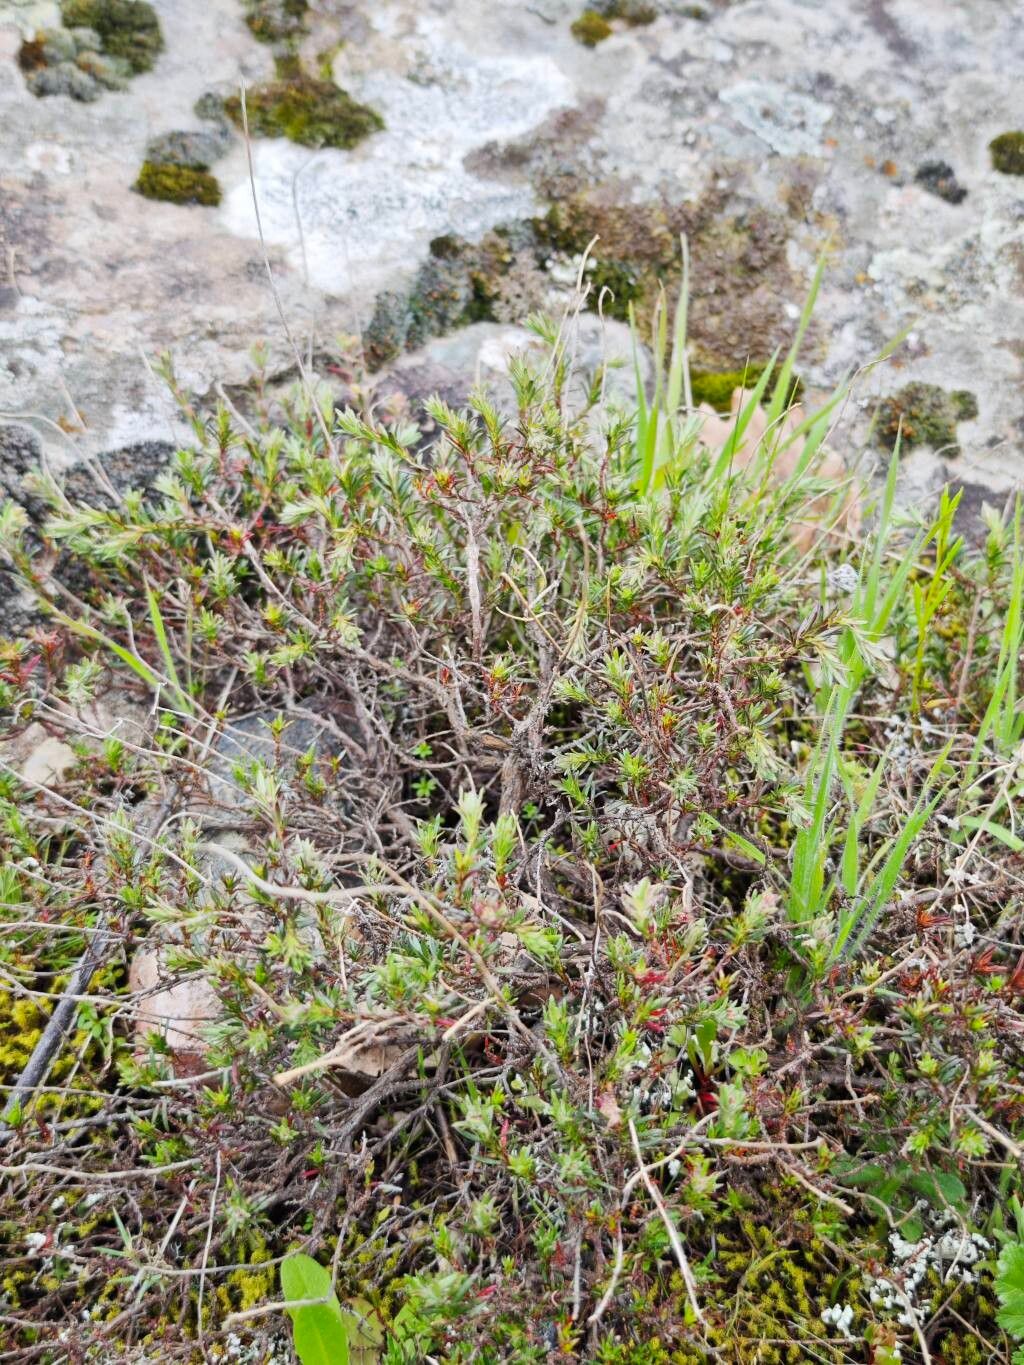
Hello, fellow plant lovers! Do you have a majestic Fumana juniperina gracing your garden? Those beautiful, shrubby evergreens with their delicate, needle-like foliage and often fragrant scent are just a joy. They add such wonderful texture and year-round appeal. If you’ve ever admired yours and thought, “Wouldn’t it be lovely to have more of these?” then you’re in the right place. Propagating your own Fumana juniperina is a deeply rewarding process, and I’m here to walk you through it. Don’t worry, it’s not as daunting as it might sound!
The Best Time to Start
For most woody plants like Fumana juniperina, late spring to early summer is your golden window. This is when the plant is actively growing, and the new growth, often called “semi-hardwood,” is perfect for taking cuttings. You’re looking for stems that have started to firm up a bit but are still somewhat flexible – not the really soft, brand-new, floppy shoots, and definitely not the old, woody stems.
Supplies You’ll Need
Here’s what I like to have on hand before I begin:
- Sharp Pruning Shears or a Craft Knife: Cleanliness is key!
- Rooting Hormone: This is optional, but it can definitely give your cuttings a helpful boost. I prefer the powder form.
- A Well-Draining Potting Mix: A good blend is 50% perlite and 50% peat moss or coco coir. You could also use a commercial cactus or succulent mix.
- Small Pots or Seed Trays: Clean ones, of course!
- Plastic Bags or a Clear Dome: To create a humid environment.
- Water: For misting.
- A Spray Bottle: For misting.
- Labels and a Marker: You’ll thank me later for keeping track!
Propagation Methods: Stem Cuttings
This is by far the most common and successful way to propagate Fumana juniperina. Let’s get our hands dirty!
- Take Your Cuttings: On a pleasant morning, select healthy, vigorous stems. Using your clean shears, cut sections about 4-6 inches long. Make your cut just below a leaf node (where a leaf attaches to the stem).
- Prepare the Cuttings: Gently strip off the lower leaves from the bottom 2-3 inches of the stem. In the axils of these removed leaves, that’s where the roots will want to form.
- Apply Rooting Hormone (Optional): Dip the cut end of the stem into the rooting hormone, tapping off any excess. This helps encourage root development.
- Plant Your Cuttings: Fill your pots with your well-draining potting mix. Make a small hole with your finger or a pencil. Insert the prepared cutting into the hole, ensuring the leaf nodes you cleared are buried in the soil. Gently firm the soil around the stem.
- Water Gently: Water the soil thoroughly but gently. You want it moist, not waterlogged.
- Create a Humid Environment: This is crucial! You can cover the pot with a clear plastic bag (propping it up with stakes so it doesn’t touch the leaves) or use a clear propagation dome. This keeps the humidity high, which helps the cuttings not to dry out before they can root.
The “Secret Sauce” (Pro Tips)
Now, for a few little tricks I’ve learned over the years that can make a big difference:
- Don’t Let Leaves Dangle in the Water (If Water Propagating): While I’m focusing on soil propagation here, if you try water propagation, remember that any leaves submerged will rot and can take down your whole cutting. Keep them dry!
- Bottom Heat is Your Friend: If you have a propagation mat or can place your pots on top of a warm, sunny windowsill (but not too hot), a little gentle bottom heat can really speed up root formation. It mimics the warmth of spring soil.
- Take More Than You Think You’ll Need: Not every cutting will make it, and that’s perfectly normal. It’s much better to have a few extra cuttings than to be disappointed by a low success rate.
Aftercare & Troubleshooting
Once your cuttings are planted, place them in a bright spot that gets indirect light. Avoid harsh, direct sun, as it can scorch them. Keep the soil consistently moist but not soggy. A monthly misting can also be beneficial.
How do you know they’re rooting? You can give them a very gentle tug. If you feel resistance, that’s a good sign roots are forming. You’ll also start to see new growth appearing.
The biggest enemy here is rot. If you notice your cuttings wilting, turning mushy, or developing black spots, it’s usually a sign of too much moisture and not enough air circulation. Remove any affected cuttings immediately and ensure your mix is draining well. If the leaves are turning yellow and falling off, they might be too dry or not getting enough light.
A Encouraging Closing
Propagating your Fumana juniperina takes a little patience, but seeing those tiny rootlets develop and new growth emerge is incredibly satisfying. Don’t get discouraged if your first attempt isn’t perfect. Every gardener learns through practice and a few “oops” moments. So, enjoy the process, celebrate your successes, and soon you’ll have a beautiful collection of your own Fumana juniperinas to admire and share! Happy gardening!
Resource: