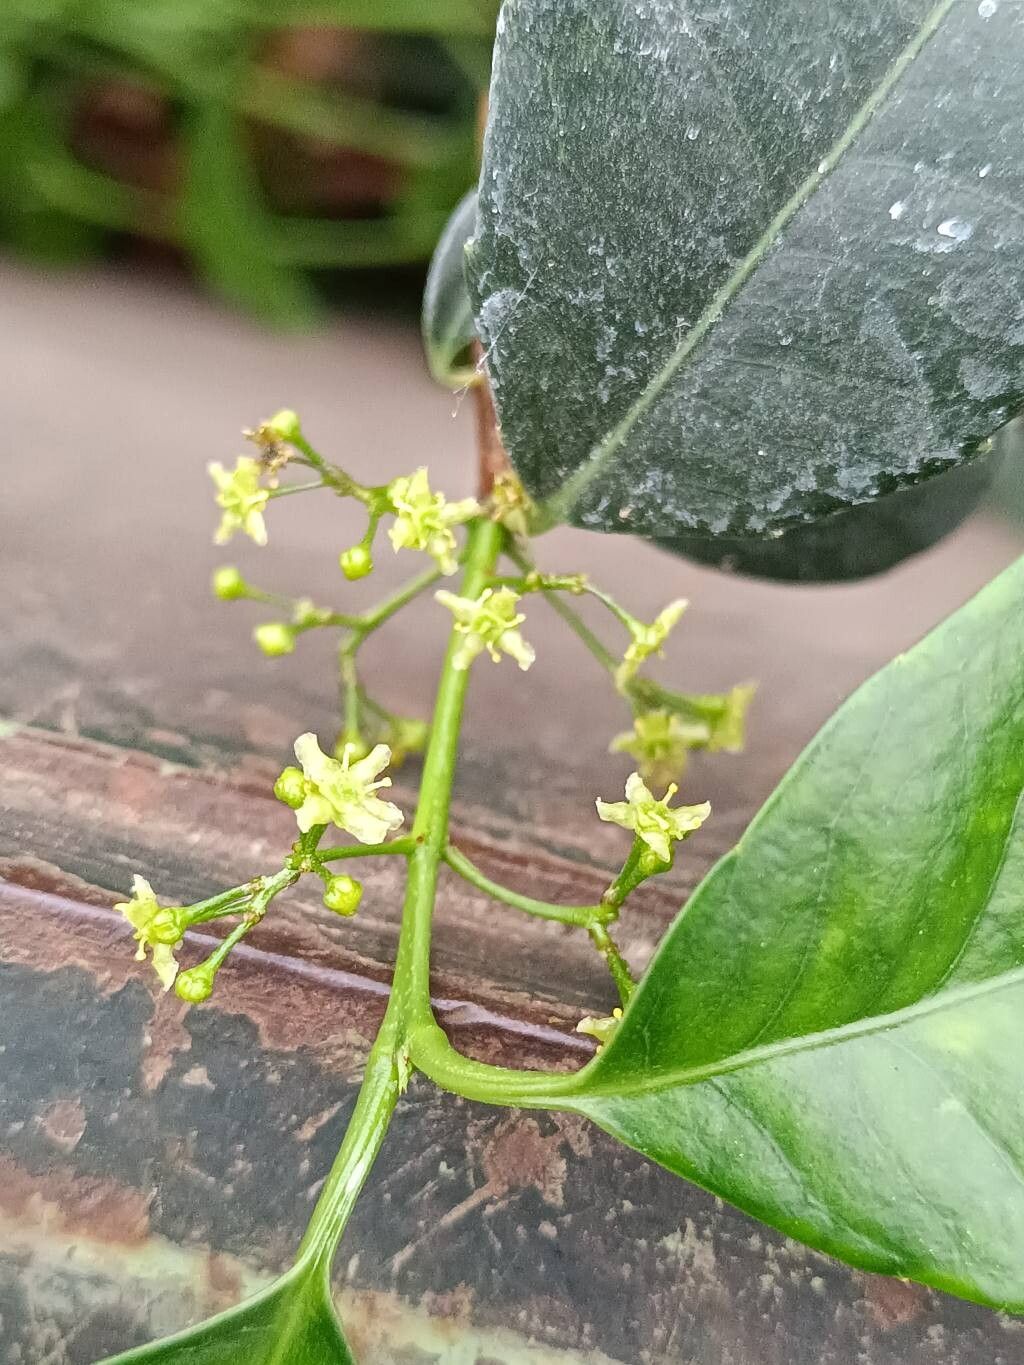
Hello there, fellow garden enthusiasts! I’m so delighted you’re here, ready to delve into the wonderful world of plant propagation. Today, we’re going to talk about a true gem: Elaeodendron croceum, often called the Transvaal saffron. This lovely evergreen shrub or small tree boasts glossy, leathery leaves and fragrant, yellow flowers that draw in all sorts of beneficial pollinators. And the best part? Creating more of these beauties from existing plants is a truly rewarding endeavor.
While some propagation can be a bit… finicky, I’m happy to say that Elaeodendron croceum is generally quite cooperative. It’s a fantastic plant for those dipping their toes into rooting cuttings for the first time, offering a good chance of success and that delightful feeling of accomplishment.
The Best Time to Start
For the highest success rate with Elaeodendron croceum, I always recommend starting in late spring or early summer. This is when the plant is in a phase of active growth, meaning those new stems have plenty of energy to invest in developing roots. Look for stems that are somewhat mature, not brand new and floppy, but not old and woody either. You want those semi-hardwood cuttings – they have the best balance of flexibility and established structure.
Supplies You’ll Need
Before we get our hands dirty, let’s gather our essentials so we’re ready to go:
- Sharp Pruning Shears or a Clean Knife: For making clean cuts that heal well. Sterilize them with rubbing alcohol between uses to prevent disease.
- Rooting Hormone (Powder or Gel): This is like a little boost for your cuttings, encouraging faster and stronger root development.
- Well-Draining Potting Mix: A good blend would be 50% sterile potting soil and 50% perlite or coarse sand. This ensures good aeration and prevents waterlogging.
- Small Pots or Trays: With drainage holes, of course! 4-6 inch pots are usually perfect.
- Clear Plastic Bags or a propagator: To create a humid environment around your cuttings.
- Optional: A Heat Mat: This can significantly speed up the rooting process, especially if your room is a bit on the cooler side.
Propagation Methods: Stem Cuttings
This is my go-to method for Elaeodendron croceum. It’s straightforward and usually yields excellent results.
- Take Your Cuttings: Using your clean shears or knife, select healthy, semi-hardwood stems from your mature plant. Aim for cuttings about 4-6 inches long.
- Prepare the Cuttings: Remove the lower leaves, leaving just a few at the very top. This prevents them from rotting in the soil and reduces water loss. You can also pinch off any flower buds that might be present; we want the plant’s energy focused on roots, not flowers.
- Apply Rooting Hormone: Dip the cut end of each stem into your rooting hormone, tapping off any excess.
- Pot Them Up: Make a hole in your prepared potting mix with a pencil or your finger. Gently insert the hormone-dipped end of the cutting into the hole, ensuring it makes good contact with the soil. Firm the soil gently around the base of the cutting.
- Water Gently: Water the soil thoroughly until water drains from the bottom of the pot.
- Create Humidity: Cover the pot with a clear plastic bag, securing it around the rim with a rubber band, or place it inside a propagator. Make sure the leaves aren’t touching the sides of the bag if possible.
The “Secret Sauce” (Pro Tips)
Here are a few things I’ve learned over the years that can make a real difference:
- Bottom Heat is Your Friend: If you’re using a heat mat, place your pots on it. This gentle warmth from below mimics ideal soil temperatures and can dramatically speed up root formation. Think of it as a cozy heated bed for your new baby roots!
- Don’t Drench, Just Dampen: While we want to water thoroughly initially, subsequent watering is key. Keep the soil consistently moist but never soggy. Overwatering is the fastest way to rot your precious cuttings. I often give them a gentle water when the surface of the soil feels dry to the touch.
- Air Circulation Matters After Rooting: Once your cuttings have started to root and you’re seeing new growth, it’s time to gradually acclimate them to normal air. Open the plastic bag a little bit each day for a few days before removing it entirely. This prevents shock.
Aftercare & Troubleshooting
Once you start to see signs of new growth, usually after 4-8 weeks, you know your cuttings have rooted! At this point, you can treat them like small, established plants. Continue to keep the soil consistently moist and provide them with bright, indirect light.
The biggest issue you might encounter is rot. If your cuttings start to look limp, yellow, and mushy at the base, it’s likely due to too much moisture and poor air circulation. Unfortunately, once rot sets in, it’s often impossible to save the cutting. If you notice this happening, try to improve drainage and airflow for any remaining cuttings. Another sign of failure is simply no signs of life after a prolonged period – don’t be discouraged, sometimes it just doesn’t work out, and that’s perfectly okay!
A Encouraging Closing
Propagating Elaeodendron croceum is a journey of patience and observation. Don’t be discouraged if your first attempt isn’t perfect. Each cutting is a learning opportunity, and the satisfaction of nurturing a new plant from a tiny piece of another is truly a garden-lover’s delight. So, go ahead, grab your shears, and enjoy the process of bringing more of this gorgeous Transvaal saffron into your garden! Happy propagating!
Resource:
https://identify.plantnet.org/k-world-flora/species/Elaeodendron%20croceum%20(Thunb.)%20DC./data