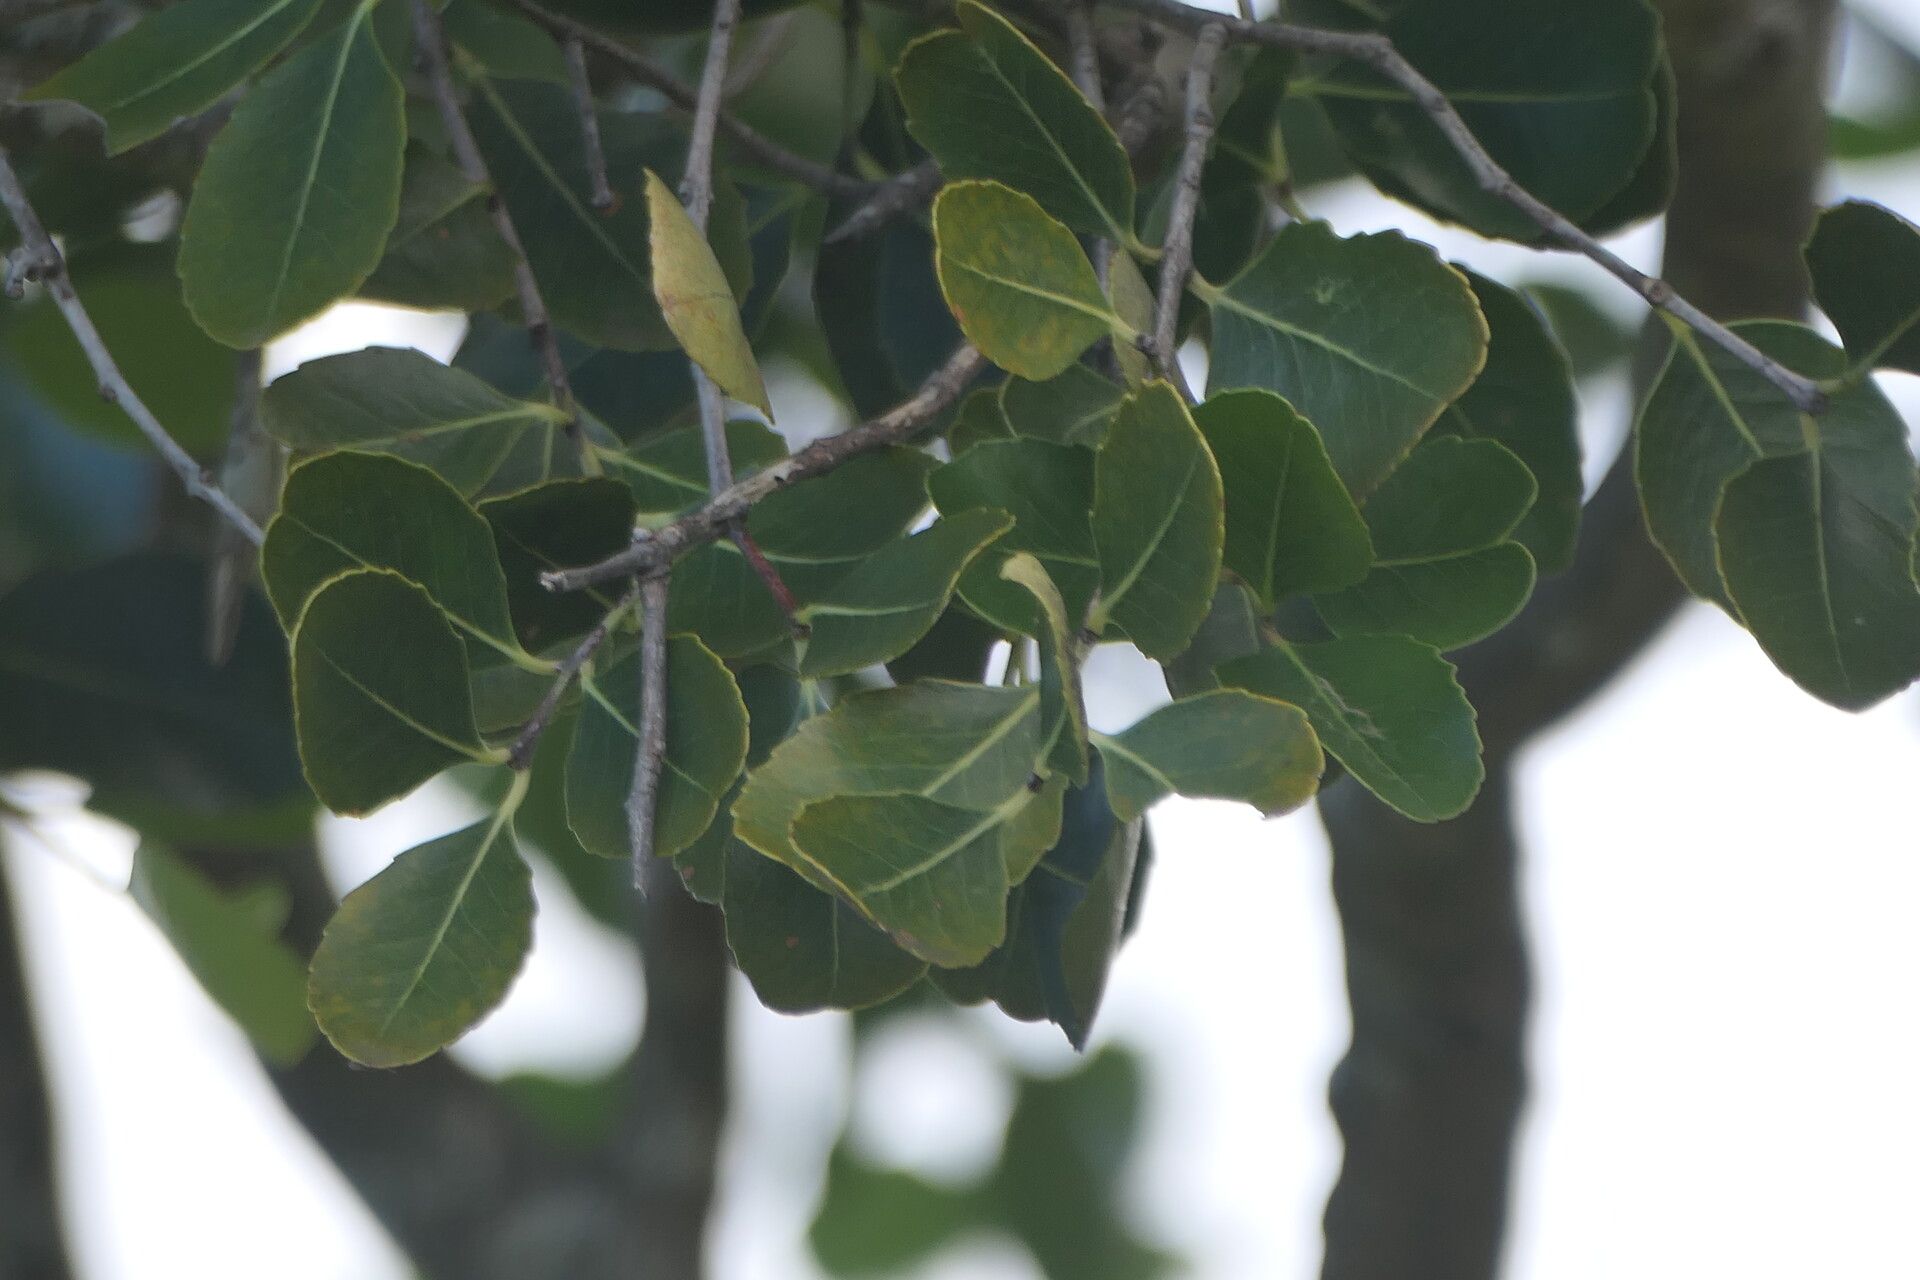
Hello fellow plant lovers! Today, we’re diving into the wonderful world of Cassine peragua, also known as Cape Holly or simply “Cassine” in some circles. This beautiful evergreen shrub is a real gem. Its glossy, dark green leaves have a lovely textured feel, and if you’re lucky enough to have a female plant, you’ll be rewarded with clusters of small, often brightly colored berries that are a magnet for birds. Plus, it has a delightfully wild yet refined look that can really add character to a garden.
Propagating Cassine peragua yourself is incredibly satisfying. It’s like giving the gift of life to more of these beauties, and honestly, there’s a special kind of pride in nurturing a tiny cutting into a thriving plant. Now, is it a walk in the park for absolute beginners? I’d say it’s moderately easy. It requires a bit of attention to detail, but the rewards are well worth it.
The Best Time to Start
For Cassine peragua, late spring to early summer is your golden window. This is when the plant is actively growing and has plenty of energy to put into developing new roots. You want to take cuttings from semi-hardwood, which means stems that are no longer soft and green but haven’t yet become fully woody and mature. They should be flexible but firm – think of a pencil-thick stem that snaps cleanly when bent.
Supplies You’ll Need
Here’s what you’ll want to have on hand before you get started:
- Sharp, sterilized pruning shears or a clean craft knife: Essential for making clean cuts.
- Rooting hormone (optional but recommended): A powder or gel that encourages root development.
- Well-draining potting mix: A good blend is often equal parts perlite and peat moss or a seed-starting mix. I often add a handful of coarse sand to the mix for extra drainage.
- Small pots or trays: Clean containers with drainage holes are a must.
- Plastic bags or a propagation dome: To create a humid microclimate.
- Water mister: For keeping the cuttings moist.
- Labels: So you don’t forget what you’ve planted!
Propagation Methods: Taking Stem Cuttings
This is generally the most successful way to propagate Cassine peragua.
- Select and cut your stems: Head out to your plant in late spring or early summer. Look for those semi-hardwood, current year’s growth. You want healthy, disease-free stems. Use your sterilized shears to cut stems that are about 4-6 inches long. Make your cut just below a leaf node (where a leaf attaches to the stem).
- Prepare the cuttings: Gently remove the lower leaves from your cuttings, leaving just the top 2-3 leaves. If the remaining leaves are very large, you can cut them in half horizontally to reduce water loss through transpiration.
- Apply rooting hormone (optional): Dip the cut end of each stem into rooting hormone. Tap off any excess. This step really gives your cuttings a boost.
- Plant your cuttings: Fill your clean pots or trays with your prepared well-draining potting mix. Make a small hole in the center of the mix with your finger or a pencil. Insert the cut end of the cutting into the hole, ensuring the rooting hormone (if used) touches the soil. Gently firm the soil around the stem to ensure good contact.
- Water and cover: Water the soil thoroughly until it drains from the bottom. The goal is to have moist, not soggy, soil. Now, cover the pot with a plastic bag or place it under a propagation dome. This traps humidity, which is crucial for cuttings that haven’t developed roots yet. Prop the bag up with a stick or two so it doesn’t touch the leaves.
The “Secret Sauce” (Pro Tips)
Here are a few of my little secrets that have helped me over the years:
- Don’t let the leaves touch the water: If you’re doing a water propagation experiment (which is less common for Cassine but can sometimes work), make absolutely sure that the leaves aren’t submerged. Rot sets in quickly if leaves are constantly wet.
- Bottom heat is your friend: Cassine cuttings really appreciate a bit of warmth from below, especially if your climate isn’t consistently warm. Placing your pots on a heated propagation mat can significantly speed up root development. You don’t need it scorching, just gently warm to the touch.
- Sterilize, sterilize, sterilize! I can’t stress this enough. Using clean tools and pots prevents the introduction of fungal diseases or bacteria that can easily kill a tender young cutting before it even has a chance to root.
Aftercare & Troubleshooting
Once your cuttings are planted, place them in a bright spot with indirect light. Avoid direct sun, as it can scorch the young leaves and dry out the cuttings too quickly. Keep the soil consistently moist, but not waterlogged. Misting the leaves from time to time will also help keep them hydrated.
You should start to see signs of rooting within 4-8 weeks. You can gently tug on a cutting; if there’s resistance, roots are forming! Another good indicator is new leaf growth.
What if things go wrong?
- Wilting and yellowing leaves: This can be a sign of insufficient humidity, too much direct sun, or the cutting is just too stressed. Make sure your humidity dome is well-sealed and the light isn’t too harsh. If the cutting feels mushy, it might be rot.
- Rotting stems: This is usually due to overwatering and poor drainage. Ensure your soil mix is airy and you’re not drowning your cuttings. Sometimes, a cutting can just “fail to launch” – it happens! Don’t get too discouraged.
A Little Patience Goes a Long Way
Now, the most important ingredient for successful propagation? Patience! Don’t be tempted to pull up your cuttings every few days to check for roots. Let them do their thing. Watch for those subtle signs of new life. And when you see those first tiny roots emerge, or that first flush of new growth, you’ll feel an amazing sense of accomplishment. Happy propagating, and enjoy the fruits of your labor!
Resource:
https://identify.plantnet.org/k-world-flora/species/Cassine%20peragua%20L./data