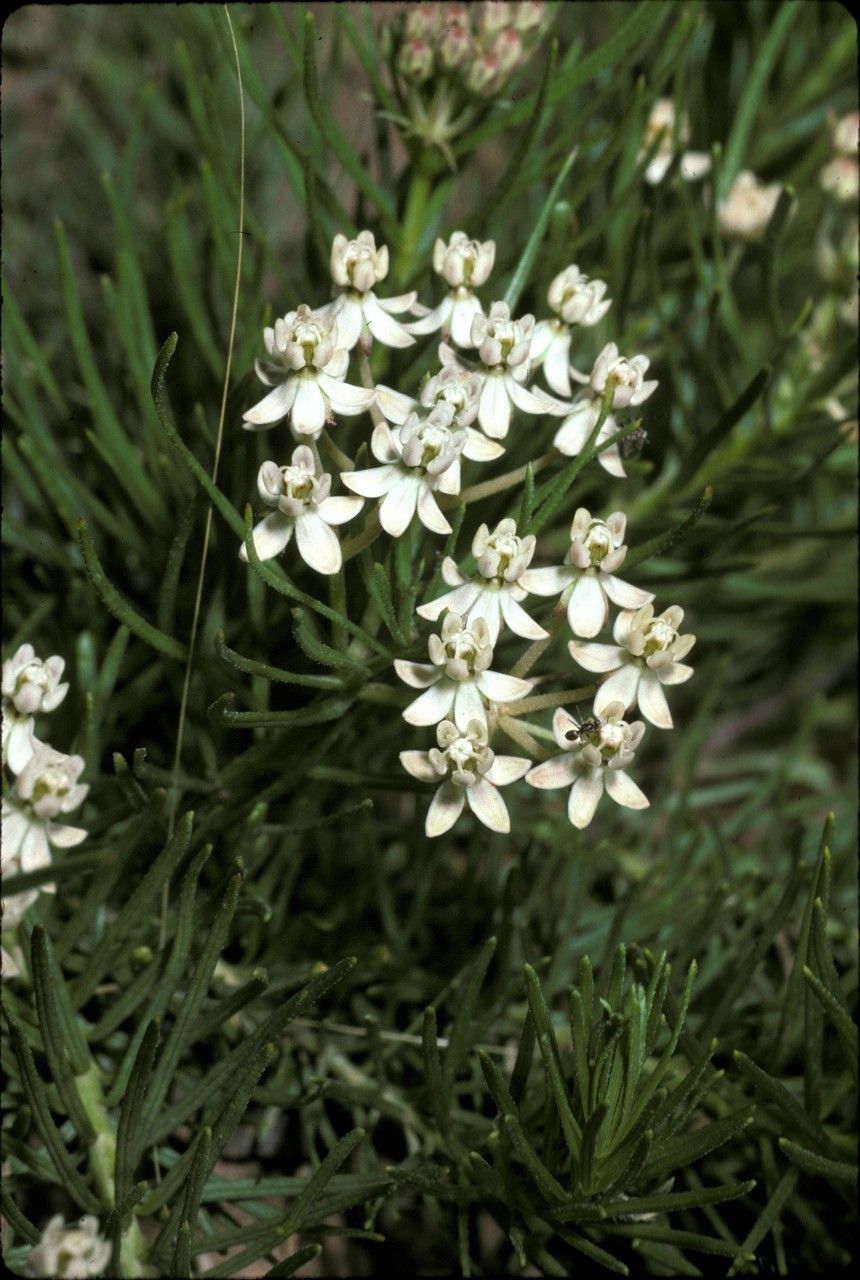
Oh, hello there! Come on in, grab a cup of tea. I’m so glad you’re interested in multiplying your Asclepias pumila. This little prairie beauty, often called Dwarf Milkweed, is just a charming addition to any garden. Its compact size and pretty pinkish-purple flowers are a magnet for pollinators, especially those precious Monarch butterflies. Plus, there’s a special kind of joy in creating new life from an existing plant. Don’t let the botanical name intimidate you; propagating Asclepias pumila is absolutely something you can do, even if you’re just starting out. It’s quite forgiving, which is always a nice bonus, isn’t it?
The Best Time to Start
For the highest success rates, I always reach for my trowel in late spring to early summer. This is when the plant is actively growing and has plenty of energy to put into its new offspring. You’re looking for stems that are firm but not yet woody. Think of them as being like a healthy teenager – full of vigor!
Supplies You’ll Need
Here’s a little kit you’ll want to gather before you begin:
- Clean, sharp pruning shears or a sharp knife: Essential for making clean cuts.
- Potting mix: A well-draining mix is key. I like a blend of seed starting mix and perlite, about a 50/50 ratio. You can also use a commercially available succulent or cactus mix.
- Small pots or trays: These should have drainage holes.
- Rooting hormone (optional but helpful): A powder or gel can give your cuttings an extra boost.
- Plastic bags or a small propagation dome: To create a humid environment.
- Water: For watering and, if you choose, for a propagation method.
- Labels and a marker: So you don’t forget what you’ve planted!
Propagation Methods
Asclepias pumila can be successfully propagated in a couple of ways. I find the easiest for beginners is stem cuttings.
Stem Cuttings
- Select your cutting: Find a healthy stem and, using your clean shears, make a cut about 4-6 inches long. Try to take a cutting that has at least two sets of leaves.
- Prepare the cutting: Gently remove the lower leaves from the bottom inch or so of the stem. This prevents them from rotting once they’re in the soil or water.
- Apply rooting hormone (optional): If you’re using rooting hormone, lightly dip the cut end into the powder or gel. Tap off any excess.
- Plant it up: Fill your small pots with your prepared potting mix. Make a small hole with your finger or a pencil.
- Insert the cutting: Gently place the cut end of your stem cutting into the hole. Firm the soil around it.
- Water gently: Give the soil a light watering to settle it around the cutting.
- Create humidity: Cover the pot loosely with a plastic bag or place it inside a propagation dome. This trapped moisture is crucial for the cutting to form roots. Place it in a bright location, but out of direct, intense sunlight.
Water Propagation (My Second Choice)
This method is also quite simple, but I find it can sometimes lead to root rot if you’re not careful.
- Prepare your cutting: Follow steps 1 and 2 from the stem cutting method.
- Place in water: Fill a clean glass or small jar with lukewarm water.
- Submerge the base: Place the cutting in the water so that the bottom inch or so is submerged, and the leaves remain above the water line.
- Change the water regularly: This is critical to prevent bacteria and rot from setting in. Change the water every 2-3 days.
- Find a bright spot: Just like with soil propagation, place it in bright, indirect light.
The “Secret Sauce” (Pro Tips)
Here are a couple of things I’ve learned over the years that really make a difference:
- Don’t let the leaves touch the water. I stress this for water propagation because it’s a common mistake. If even a single leaf sits in water, it’s an invitation for rot. Trim them off if necessary.
- Bottom heat is your friend. Dwarf Milkweed roots are happy when they’re a little warm. Placing your pots on a heat mat designed for seedlings can significantly speed up the rooting process. Just check the soil moisture more frequently as it can dry out quicker with heat.
- Be patient with the milky sap. Asclepias plants are known for their white, milky sap when cut. This is normal! Just know that it can be a bit sticky, so have a damp cloth handy for your hands and tools. It doesn’t usually hinder propagation.
Aftercare & Troubleshooting
Once you see new leaf growth or feel a gentle tug when you lightly pull on the cutting (a sign of root development!), your plant is on its way!
- Transplant carefully: If you used water propagation, wait until the roots are about an inch long before carefully transplanting them into your well-draining potting mix. Water them in gently.
- Gradual acclimatization: If you used a plastic bag or dome, slowly start to open it up over a few days to allow your new plant to adjust to the ambient humidity.
- Keep it consistently moist, but not soggy: Young plants need consistent moisture. Water when the top inch of soil feels dry.
- Common issues: The biggest culprit for failure is rot. If your cutting turns mushy, black, or falls over completely, it’s likely due to overwatering or poor drainage. If you see this, don’t despair! Just start again with fresh cuttings and a well-draining mix. Another sign of stress might be yellowing leaves, which can sometimes indicate not enough light, or too much water.
A Little Encouragement
There you have it! Propagating Asclepias pumila is a wonderfully rewarding journey. Don’t be discouraged if your first few attempts aren’t perfect. Gardening is all about learning and experimenting. Enjoy the process, marvel at the tiny roots that form, and soon you’ll have more of these delightful plants to share and to welcome even more pollinators into your garden. Happy propagating!
Resource:
https://identify.plantnet.org/k-world-flora/species/Asclepias%20pumila%20(A.Gray)%20Vail/data