Well hello there, fellow plant lover! I’m so glad you’ve stopped by. Today, we’re diving into the wonderfully rewarding world of propagating Trichomanes ankersii, or as many of us lovingly call it, the Miniature Bristle Fern.
Why You’ll Love Propagating This Fern
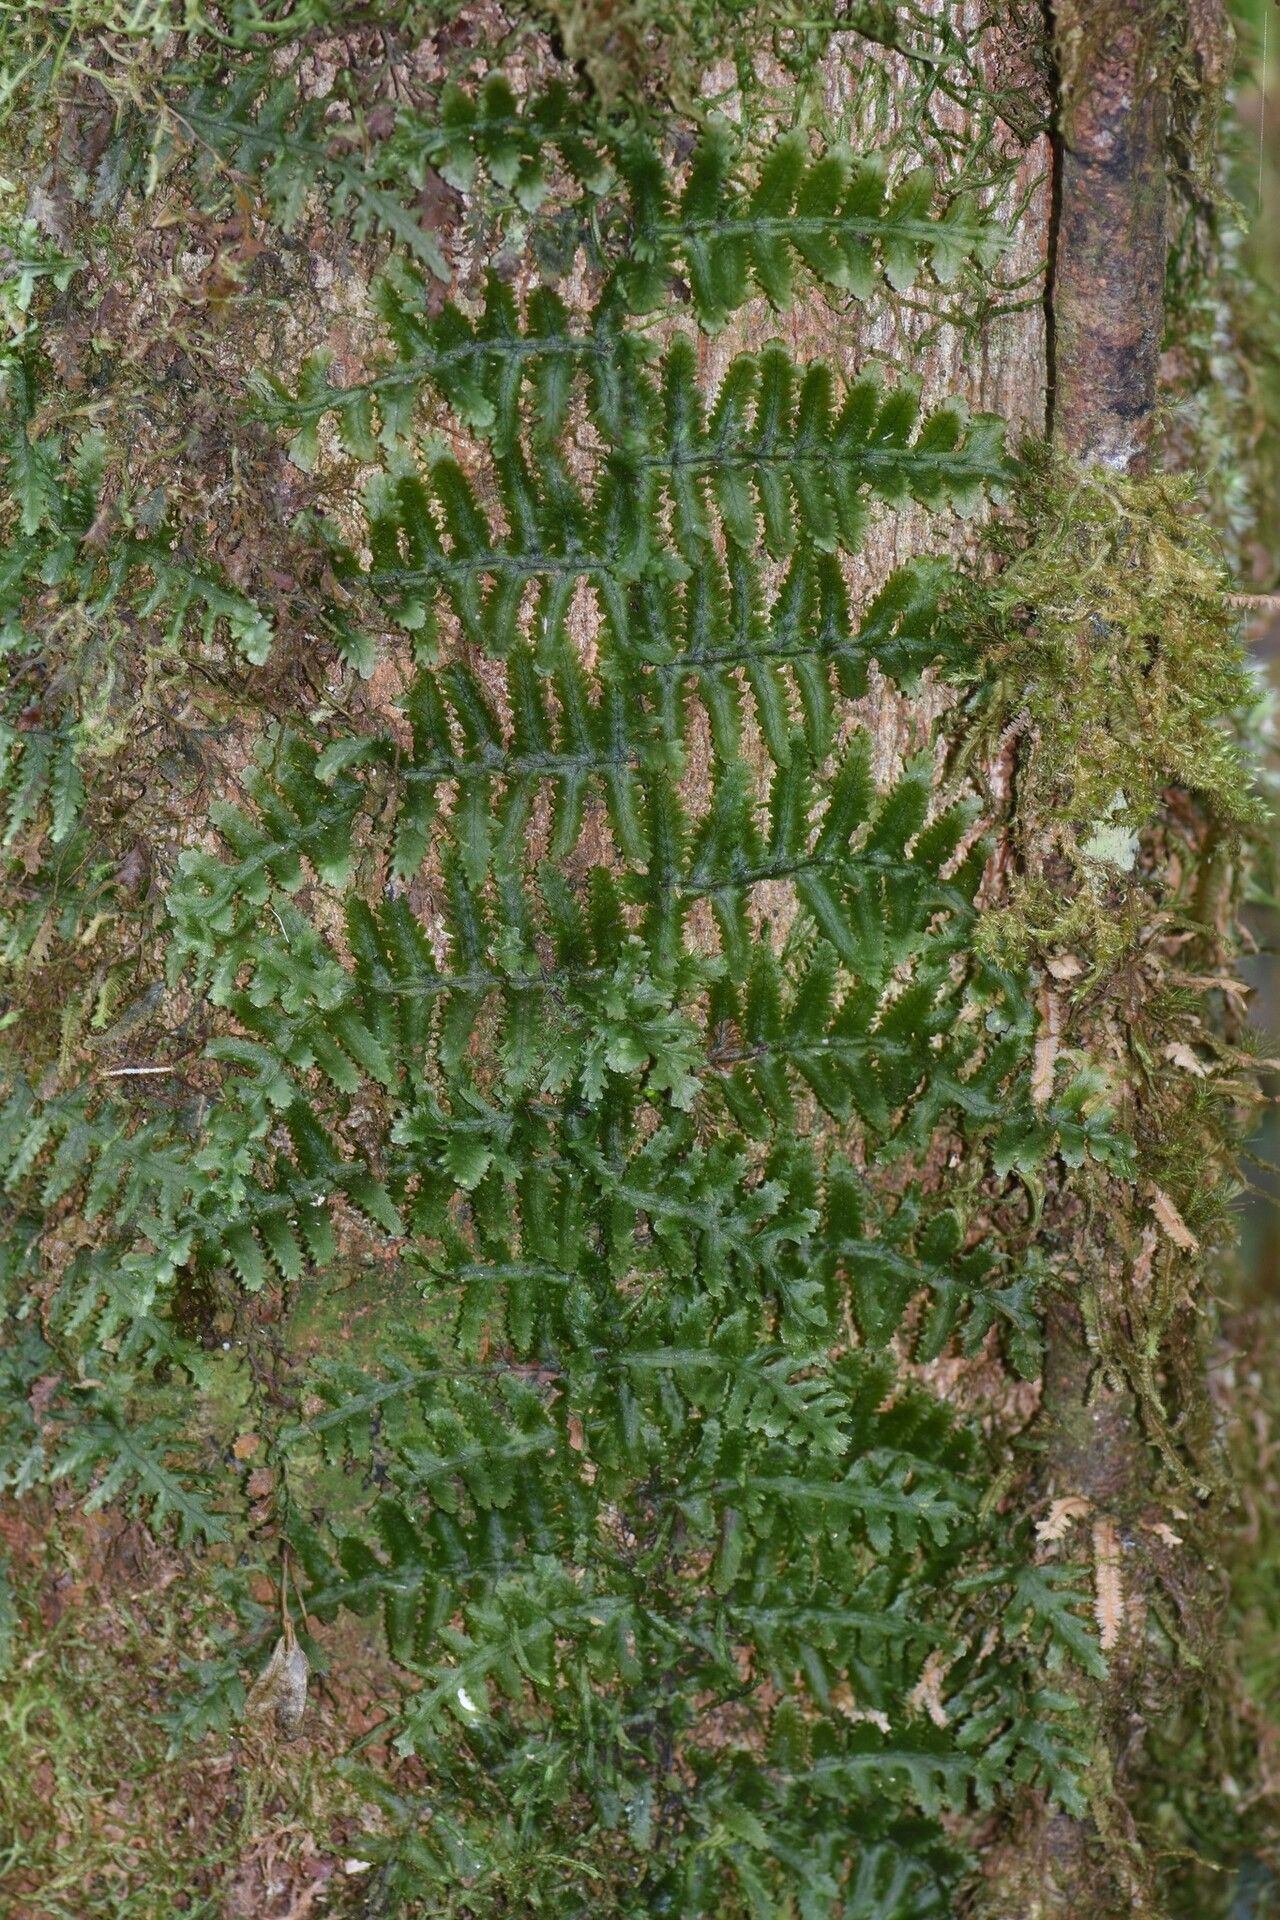
There’s something magical about creating new life from an existing plant, isn’t there? Trichomanes ankersii is just one of those ferns that captivates with its delicate, airy fronds and its resemblance to a miniature, otherworldly forest. Propagating it, while it has its nuances, is a fantastic way to share this beauty or simply expand your own lush indoor jungle. For beginners, I’d say it’s moderately challenging. It’s not a “stick it in water and forget it” kind of plant, but with a little attention, you’ll be rewarded with tiny green wonders.
When to Get Your Hands Dirty
The absolute best time to propagate Trichomanes ankersii is during its active growing season, which for most of us indoors means late spring through early summer. This is when the plant has the most energy to put into new growth, making your propagation efforts much more likely to succeed. You’re looking for healthy, vigorous new fronds that aren’t yet fully mature.
What You’ll Need for Success
Gathering your supplies beforehand makes the whole process so much smoother. Here’s what I always have on hand:
- Clean, sharp pruning shears or a sharp knife: For making precise cuts without bruising the plant.
- A good quality propagation mix: This should be very airy and well-draining. I often use a blend of coco coir, perlite, and a bit of sphagnum moss. Avoid heavy potting soil.
- Small pots or propagation trays: Clean ones, please!
- Rooting hormone (optional but helpful): A powder or gel can give cuttings a good start.
- A clear plastic bag or dome: To create a humid environment.
- A mister or spray bottle: For keeping things consistently moist.
- A heat mat (highly recommended): Though not strictly essential, it can significantly speed up the process.
Bringing New Ferns to Life
There are a couple of ways we can encourage Trichomanes ankersii to put down roots.
Method 1: Division (My Favorite for This Fern)
This is hands-down my preferred method for Trichomanes ankersii because it’s quite forgiving and yields a larger plant from the get-go.
- Gently remove the parent plant from its pot.
- Inspect the root ball. You’re looking for natural divisions, places where the plant has branched out.
- Carefully tease apart the roots with your fingers. If they are very tightly bound, you can use a clean knife or even two forks to help separate them. Try to ensure each division has a good portion of roots and at least one healthy frond.
- Pot up each division into its own small pot filled with your propagation mix.
- Water thoroughly and place in a warm spot with bright, indirect light.
Method 2: Stem/Rhizome Cuttings
This method can be a bit trickier for Trichomanes ankersii as it’s a delicate plant, but it’s certainly doable with patience.
- Identify a healthy, mature stem with at least one or two fronds.
- Using your sharp shears, make a clean cut just below a node (where a frond emerges from the rhizome). You want a piece that is a few inches long.
- Remove any lower fronds that might rot if they touch the growing medium.
- Dip the cut end into rooting hormone (if using).
- Gently insert the cut end into your prepared, slightly damp propagation mix.
- Mist the cutting lightly.
The “Secret Sauce” – My Insider Tips
Here are a few little tricks I’ve learned over the years that can make a real difference:
- Humidity is King: This fern demands high humidity. Once you’ve potted up your division or cutting, immediately cover the pot with a clear plastic bag or dome. This creates that steamy microclimate it craves. Open it for a few minutes each day to allow for air circulation and prevent fungal issues.
- Bottom Heat is Your Friend: A gentle warmth from below can really encourage root development. Placing your pots on a heated propagator mat set to around 70-75°F (21-24°C) will significantly speed up the process.
- Patience with Water: If you’re attempting water propagation (which I find less successful with this particular fern), ensure that leaves definitely do not touch the water. They will rot. Only the cut stem should be submerged.
Aftercare and Nipping Problems in the Bud
Once roots start to form – you’ll see new growth emerging, or you might carefully peek at the drainage holes – it’s time for slightly different care.
Continue to keep the humidity high. Gradually acclimate your new plant to slightly lower humidity over a week or two by opening the bag or dome a little more each day. Water when the top layer of the propagation mix feels dry to the touch, but don’t let it sit in soggy conditions.
The biggest culprit for failure with delicate ferns is rot. If you see mushy, black stems or leaves, it’s usually a sign of too much moisture and not enough air circulation. In this case, you’ll want to discard the affected parts and try to improve airflow around the remaining healthy sections. Overwatering is the most common mistake, so err on the side of slightly too dry rather than too wet.
Go Forth and Propagate!
Propagating Trichomanes ankersii is a journey, and like any journey, it’s about enjoying the process. Be patient, observe your little charges closely, and don’t be discouraged if your first attempt isn’t a runaway success. Every plant is a learning experience, and the reward of a baby fern unfurling its fronds is truly something special. Happy growing!
Resource: