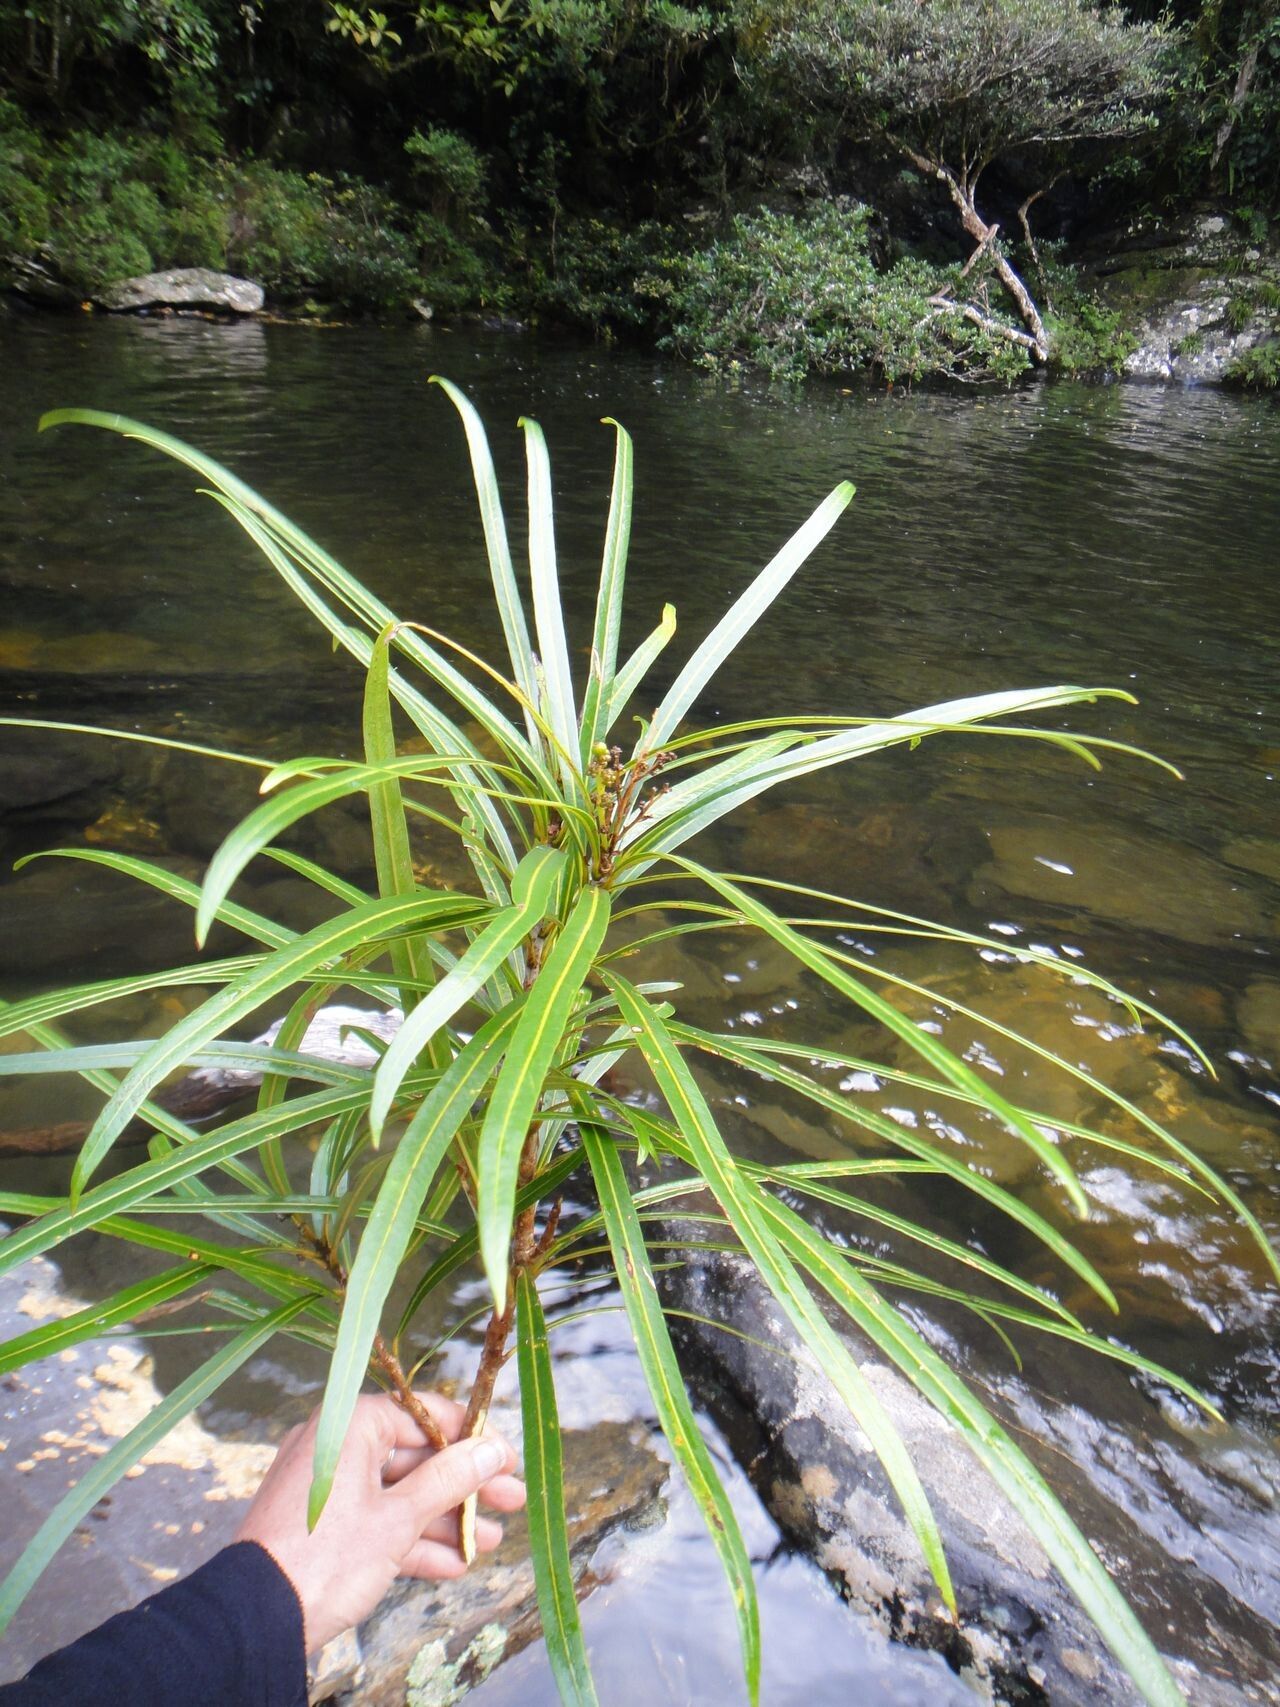
Hello, fellow plant lovers! Today, I’m thrilled to dive into a plant that has brought so much joy to my garden and home: Meryta rivularis, also known as the Puka tree or Mock Orange. Its glossy, dark green leaves and upright habit make it a fantastic statement piece, and the reward of creating new life from an existing plant is simply unmatched. If you’re a beginner, you’ll be delighted to know that propagating Meryta rivularis is quite approachable. Let’s get our hands a little dirty!
The Best Time to Start
For the highest success rate, I always recommend starting your propagation efforts in the late spring or early summer. This is when the plant is actively growing, and the new shoots are robust and full of energy. You’re essentially tapping into the plant’s natural growth spurt, which gives your cuttings the best chance to establish themselves.
Supplies You’ll Need
Before we get started, let’s gather our tools. Having everything ready will make the process much smoother.
- Sharp pruning shears or a clean knife: For making clean cuts.
- Rooting hormone powder or gel: This isn’t strictly necessary, but it can give your cuttings a significant boost.
- Well-draining potting mix: A good blend of potting soil, perlite, and a bit of coarse sand works wonders. Or, a specialist seedling and cutting mix is perfect.
- Small pots or seed trays: Clean containers that will hold your cuttings.
- Plastic bags or a propagator: To create a humid environment.
- Gloves (optional): If you prefer to keep your hands clean.
- Water: For a quick soak of your cuttings before planting.
Propagation Methods
I find that stem cuttings are the most successful and straightforward method for Meryta rivularis. Here’s how I do it:
- Select Your Cuttings: Look for healthy, new growth. These are typically lighter green and slightly softer than older stems. Aim for cuttings that are about 4 to 6 inches long. Make your cut just below a leaf node (where a leaf attaches to the stem). This is where the magic of rooting often begins.
- Prepare the Cuttings: Gently remove the lower leaves from your cutting, leaving just a few at the top. This prevents them from rotting when buried in the soil. If your cuttings are very long, you can even snip off about half of the remaining leaves to reduce water loss.
- Apply Rooting Hormone (Optional but Recommended): Dip the cut end of the stem into rooting hormone powder or gel. Tap off any excess. This encourages faster and stronger root development.
- Pot Them Up: Fill your small pots or seed trays with your well-draining potting mix. Make a small hole in the center with your finger or a pencil.
- Plant the Cuttings: Insert the prepared cutting into the hole, ensuring the leaf nodes where you removed the lower leaves are below the soil surface. Gently firm the soil around the stem.
- Water and Cover: Water the soil thoroughly until it’s moist but not waterlogged. Then, cover the pot loosely with a plastic bag or place it in a propagator. This traps humidity, which is crucial for cuttings to root. You can use skewers or chopsticks to keep the plastic from touching the leaves.
The “Secret Sauce” (Pro Tips)
After years of trial and error, I’ve picked up a few tricks that really help my cuttings thrive:
- Don’t Drown the Leaves: If you’re doing water propagation (which can work for Meryta, though I prefer soil), make absolutely sure that no leaves are submerged in the water. Only the stem should be in contact with the water. Leaves in the water will rot and can take your whole cutting down with them.
- Bottom Heat is Your Friend: If you want to really speed things up, especially if you’re propagating a bit earlier or later in the season, use bottom heat. A simple seedling heat mat placed under your pots or propagator can make a remarkable difference in encouraging root development. It mimics the warmth of spring!
- Patience with the Parent Plant: When taking cuttings, I always try to ensure I’m not taking too much from any one branch. A healthy parent plant will recover faster and continue to look good.
Aftercare & Troubleshooting
Once your cuttings are potted, place them in a bright spot with indirect light. Avoid direct sunlight, as it can scorch the young leaves. Keep the soil consistently moist but not soggy.
You’ll know your cuttings have rooted when you see new leaf growth or when you gently tug on the cutting and feel some resistance. This usually takes anywhere from 4 to 8 weeks.
The most common problem you might encounter is rot. This happens if the soil is too wet, or if there isn’t enough airflow. If you see wilting or mushy stems,Unfortunately, that cutting is probably lost. Remove it promptly to prevent it from affecting others. Sometimes, a lack of growth can just mean the cutting hasn’t developed roots yet, so don’t despair too quickly!
A Encouraging Closing
Propagating plants is a beautiful way to connect with nature and grow your garden for free. Embrace the process, enjoy the learning curve, and be patient. Watching those tiny roots emerge and eventually flourish into a new plant is a truly rewarding experience. Happy propagating!
Resource:
https://identify.plantnet.org/k-world-flora/species/Meryta%20rivularis%20Lowry/data