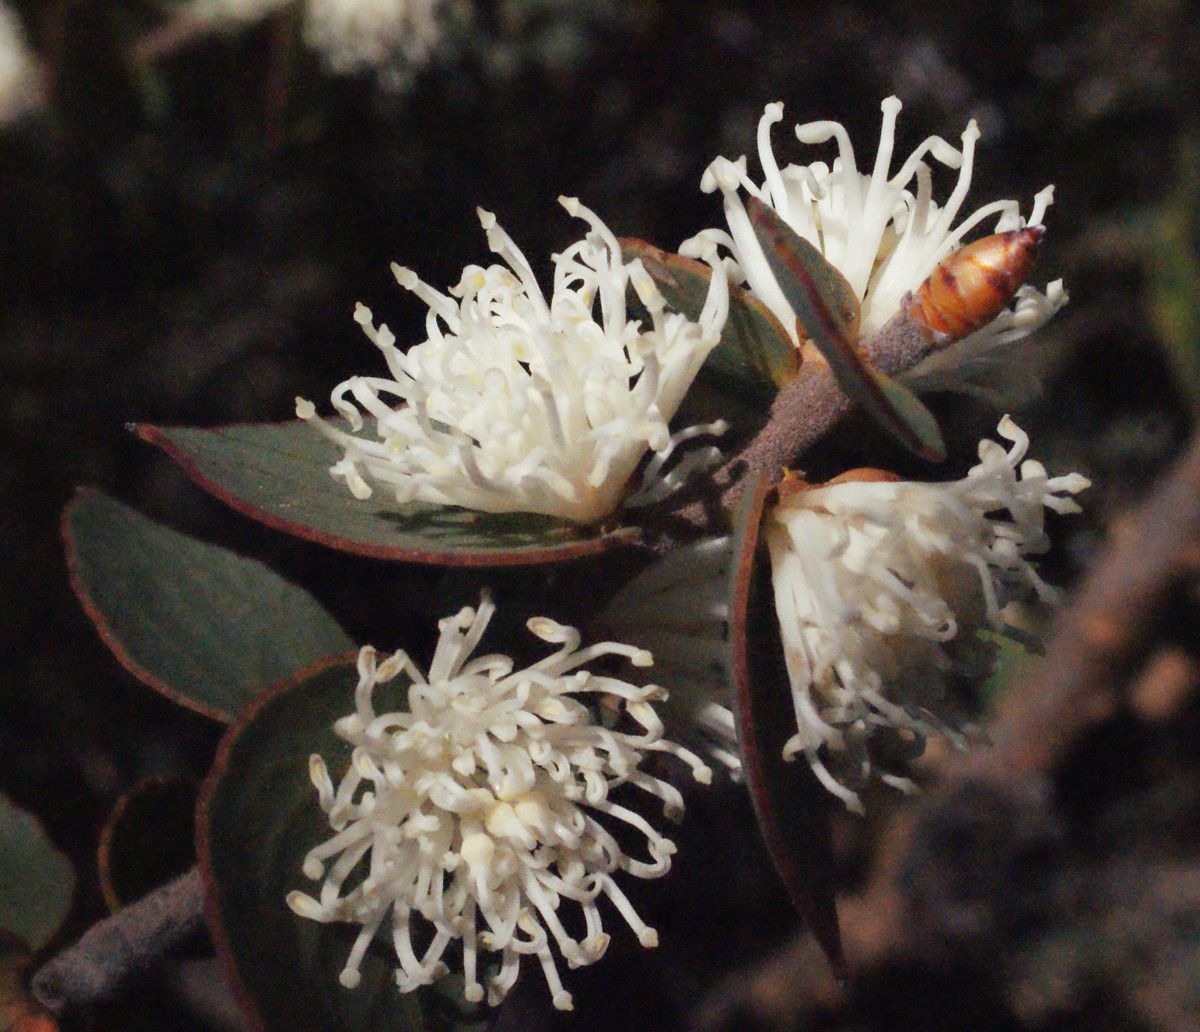
Oh, Hakea ruscifolia! If you’re looking for a plant that brings a bit of architectural beauty and lovely little white flowers to your garden, this is a wonderful choice. Sometimes called the “Firewood Banksia” (though it’s not a Banksia, confusion happens!), its evergreen foliage is a joy year-round, and then come those delicate blooms. Propagating it yourself is incredibly rewarding. You get to watch new life sprout from a piece of your existing plant, and honestly, it’s not nearly as daunting as some folks make it out to be. For beginners, I’d say it’s moderately easy, with a little care and attention.
The Best Time to Start
The sweet spot for propagating Hakea ruscifolia is generally in late spring to early summer. This is when the plant is actively growing, and those semi-hardwood cuttings have a great chance of taking root. You’re looking for growth that’s not brand new and soft, but also not old and woody. Think of it as that perfect stage where the stem is firm but still a bit flexible.
Supplies You’ll Need
Here’s what I always have on hand:
- Sharp pruning shears or a clean knife: For making precise cuts.
- Potting mix: A well-draining mix is key. I like a blend of perlite, coarse sand, and a little peat moss or coco coir. You can also buy specific succulent or seed-starting mixes.
- Small pots or seed trays: Clean ones, please!
- Rooting hormone: This isn’t strictly essential, but it gives your cuttings a real boost.
- Plastic bags or a propagator: To create a humid environment.
- Watering can with a fine rose: For gentle watering.
- Labels: So you don’t forget what you planted where!
Propagation Methods
We’ll focus on the most reliable method for Hakea ruscifolia: stem cuttings.
- Take Your Cuttings: On a mild day in late spring or early summer, select healthy, non-flowering shoots. Using your clean pruners or knife, take cuttings that are about 10-15 cm long. Make a clean cut just below a leaf node (that little bump where a leaf attaches to the stem).
- Prepare the Cuttings: Gently remove the lower leaves from the cutting, leaving just a few at the top. This prevents them from rotting once planted. If your cuttings are a bit floppy, you can cut the remaining leaves in half to reduce water loss.
- Apply Rooting Hormone: Dip the cut end of each prepared cutting into rooting hormone powder or gel. Tap off any excess.
- Potting Up: Fill your small pots or tray with your well-draining potting mix. Make a hole in the center of the mix with a pencil or your finger.
- Plant the Cuttings: Insert the prepared cutting into the hole, making sure the hormone-coated part is covered by the soil. Gently firm the soil around the base of the cutting.
- Water Gently: Water the soil thoroughly but gently, until you see water draining from the bottom of the pot.
- Create Humidity: Cover the pots with a clear plastic bag or place them in a propagator. This keeps the humidity high, which is crucial for cuttings to root before they dry out. Make sure the leaves don’t touch the plastic. You can use stakes to prop the bag up if needed.
- Find a Warm Spot: Place your pots in a bright location, but out of direct, harsh sunlight. A warm windowsill or a heated propagator is ideal.
The “Secret Sauce” (Pro Tips)
- Bottom Heat is Your Friend: I can’t stress this enough. If you can, use a heat mat under your pots. This little bit of warmth from below encourages root development much faster than just ambient room temperature.
- Air Circulation is Key: While you want humidity, don’t let the cuttings sit in stagnant, damp air for too long. Ventilate the plastic bag or propagator for a few minutes each day. This helps prevent fungal diseases from setting in.
- Don’t Rush the “Pull Test”: When you think they might be rooted, give a cutting a very gentle tug. If there’s resistance, you’ll feel it. If it comes out easily, it hasn’t rooted yet. It can take several weeks, sometimes even a couple of months, so patience is a virtue here!
Aftercare & Troubleshooting
Once you feel that resistance when you gently pull a cutting, or you see new little leaves starting to unfurl, congratulations! It’s time for a little adjustment. Gradually acclimate your new plants to normal conditions by removing the plastic bag for longer periods each day over a week or so. Continue to water them when the top inch of soil feels dry.
The most common problem you might encounter is rot. If you see your cuttings turning mushy and black, or developing fuzzy grey mold, it’s usually a sign of too much moisture and not enough air circulation. It’s a good idea to discard any affected cuttings to prevent it from spreading. Sometimes, if caught early, you can try to save a cutting by removing the rotted section and replanting it in fresh, drier mix.
A Encouraging Closing
Propagating plants is a slow dance with nature, and with Hakea ruscifolia, it’s a journey worth taking. Don’t be discouraged if your first few attempts don’t all succeed – every gardener has plants that refuse to cooperate! The satisfaction of nurturing a new life from a tiny cutting is truly unparalleled. So, grab your secateurs, get your hands a little dirty, and enjoy the process. Happy propagating!
Resource:
https://identify.plantnet.org/k-world-flora/species/Hakea%20ruscifolia%20Labill./data