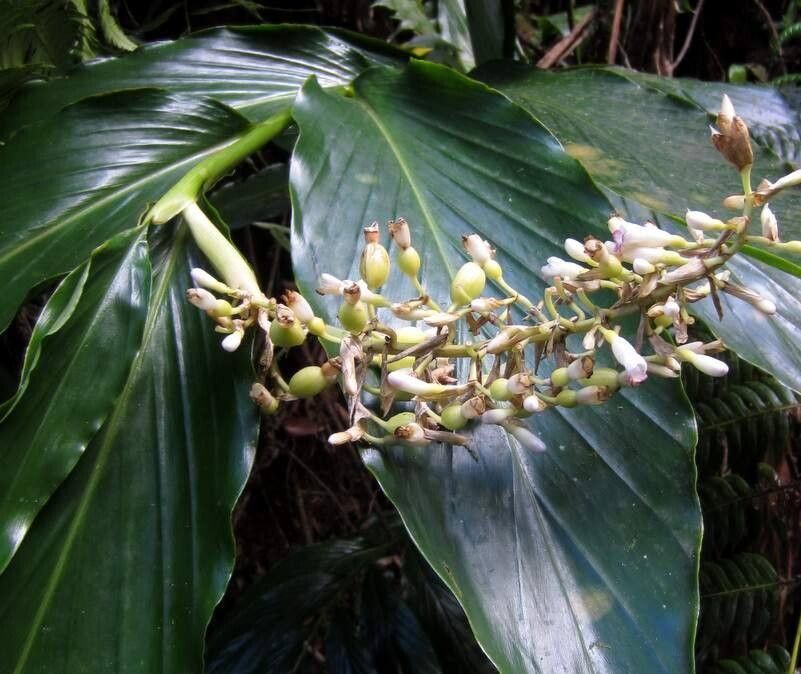
Oh, hello there! Let’s chat about a truly unique plant I adore: Renealmia pyramidalis. If you’ve ever swooned over its architectural beauty – those striking, upright flower spikes that resemble miniature pagodas, often a vibrant orange or red – then you’re in for a treat. Growing more of these beauties from your existing ones is incredibly rewarding, and honestly, it’s not as intimidating as it might seem. While it has its nuances, I’d say it’s a manageable project, especially if you’re willing to get your hands a little dirty.
The Best Time to Start
Like many plants that enjoy a good growth spurt, spring and early summer are your golden ticket for propagating Renealmia pyramidalis. The days are getting longer, the sun has a bit more warmth, and your established plant will be full of vigor, ready to share its energy. This is when cuttings are most likely to root and divisions will bounce back with gusto. Aim for after the plant has finished its flowering cycle; this way, you’re not taking away from its precious energy reserves when it’s focused on bloom production.
Supplies You’ll Need
Gathering your tools beforehand makes the whole process so much smoother! Here’s what I usually have on hand:
- Sharp Pruning Shears or a Clean Knife: For making clean cuts. Sterilize them with rubbing alcohol before you start.
- Rooting Hormone (Optional but Recommended): A powder or gel can give your cuttings a helpful boost.
- Well-Draining Potting Mix: I often use a blend of equal parts peat moss or coco coir, perlite, and a little compost. The key is aeration!
- Small Pots or Seed Trays: With drainage holes, of course.
- Clear Plastic Bags or Domes: To create a humid environment for cuttings.
- Watering Can with a Fine Rose: For gentle watering.
- Labels and a Marker: Essential for keeping track of your new babies!
- If dividing: A sturdy trowel or even your hands can work.
Propagation Methods
Renealmia pyramidalis is a forgiving plant, and you can have success with a couple of methods.
Division
This is probably the most straightforward way to multiply your Renealmia. They tend to form clumps over time, and separating these clumps is like giving your plant a haircut and getting new ones in the process.
- Gently Remove from Pot: Carefully take your established plant out of its container. If it’s root-bound, this might take a little coaxing.
- Examine the Base: Look for natural divisions at the base of the plant. You’ll see where new stems are emerging from the existing rhizomes.
- Separate the Divisions: With a clean, sharp knife or trowel, carefully cut or pull apart the clump into smaller sections. Each section should have at least one healthy stem and some roots.
- Pot Up: Pot each division into its own container filled with your well-draining potting mix. Make sure the rhizome is just at or slightly below the soil surface.
- Water Gently: Water thoroughly to settle the soil.
Stem Cuttings
This method is a bit more involved but very effective for increasing your numbers.
- Take Cuttings: In spring or early summer, select a healthy, non-flowering stem. Using your sterilized shears, make a clean cut just below a leaf node. Aim for cuttings that are about 4-6 inches long and have at least two leaf nodes.
- Prepare the Cutting: Remove the lower leaves from the cutting, leaving just a couple of leaves at the top. If you’re using rooting hormone, dip the cut end into it now.
- Plant the Cutting: Fill small pots with your well-draining mix. Make a hole with your finger or a pencil and insert the cutting so that the bottom leaf node is buried in the soil. This is where new roots will form.
- Create Humidity: Water gently, then cover the pot with a clear plastic bag or place it under a clear dome. This is crucial to keep the humidity high and prevent the cutting from drying out. You can prop the bag up with stakes so it doesn’t touch the leaves.
- Provide Light and Warmth: Place the pots in a brightly lit location, but out of direct, harsh sunlight. A little bit of bottom heat, like a seedling heat mat, can significantly speed up root development.
The “Secret Sauce”
Here are a couple of tricks I’ve learned over the years that really make a difference:
- Think “Air Layering” for Divisions: When separating divisions, if a rhizome is particularly stubborn to break cleanly, you can actually use a bit of carefully applied gentle pressure, almost like “air layering”, encouraging a natural break point along a weakened section. It’s like understanding the plant’s own growth lines.
- Don’t Over-Water New Cuttings: This is a big one! While humidity is key, soggy soil is the enemy. The small cavities in perlite in your mix help wick away excess moisture while still keeping things humid. Err on the side of caution; it’s better to be slightly too dry than too wet when roots are trying to form.
Aftercare & Troubleshooting
Once your divisions are potted or your cuttings have developed roots (you can test gently by tugging, or you’ll see new leaf growth), it’s time for a little TLC.
- Transition Gradually: If you’ve covered your cuttings, gradually remove the plastic bag or dome over a week or two. This helps them acclimate to lower humidity without shock.
- Watering: Keep the soil consistently moist but not waterlogged. As the root system develops, you can water more thoroughly, allowing the top inch of soil to dry out between waterings.
- Light: Continue to provide bright, indirect light. Avoid direct sun, which can scorch young foliage.
- Feeding (Later): Wait until you see good new growth (new leaves emerging) before you start a very dilute feeding schedule. A balanced liquid fertilizer at half strength is a good start.
The most common sign of trouble you’ll see is rot. This usually happens if the soil stays too wet or if the humidity is too high without enough air circulation. If a cutting turns mushy and black, unfortunately, it’s likely a goner. Don’t be discouraged! Just pull it out, assess your conditions, and try again. Sometimes, a stem cutting simply fails to root; this can be due to the cutting being too old, too young, or just not having the right conditions.
Get Growing!
Propagating Renealmia pyramidalis is such a satisfying journey. It’s about patience, observation, and a little bit of horticultural magic. Don’t get discouraged if your first attempt isn’t perfect. Every gardener learns from experience, and you’ll quickly develop a feel for what your plant needs. Enjoy the process, and soon you’ll have even more of these spectacular plants to admire! Happy propagating!
Resource:
https://identify.plantnet.org/k-world-flora/species/Renealmia%20pyramidalis%20(Lam.)%20Maas/data