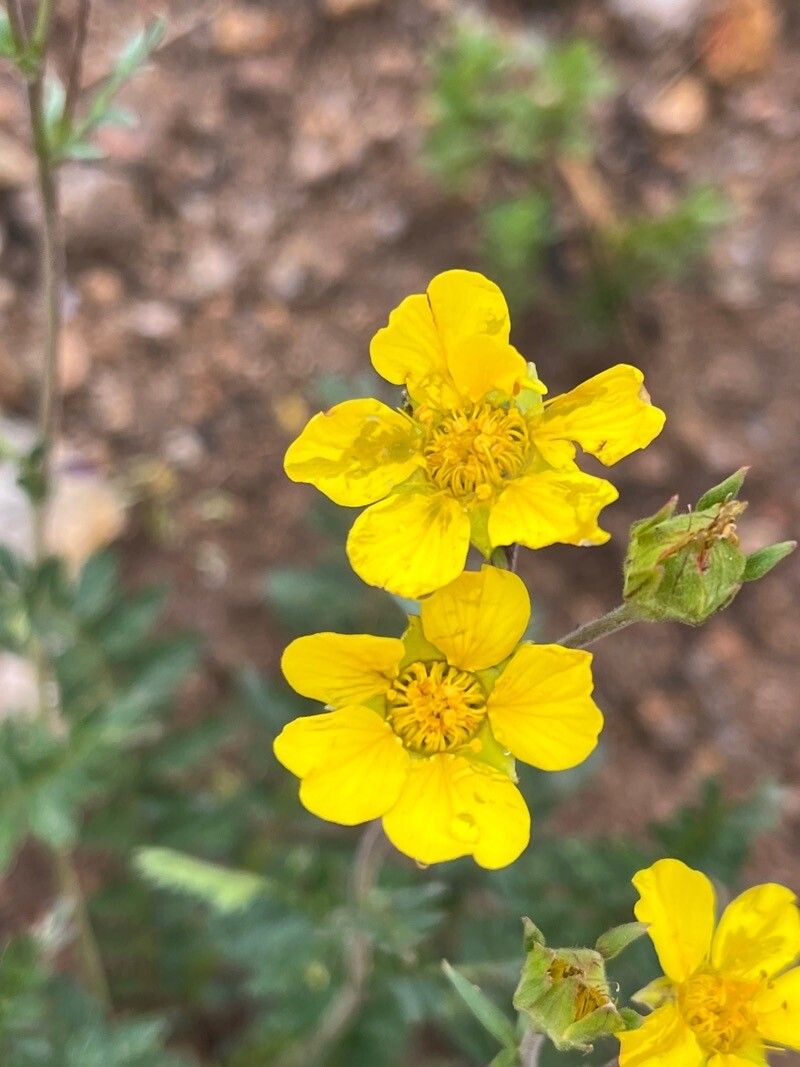
Oh, Potentilla drummondii! What a delightful subject. These little beauties, with their cheerful yellow flowers, can bring such a splash of sunshine to any garden. If you’ve admired a particularly robust specimen and thought, “I wish I had more of those!”, you’re in luck! Propagating them is a wonderfully rewarding way to expand your collection, and it’s not nearly as intimidating as you might think. In fact, for most home gardeners, it’s a really accessible project.
The Best Time to Start
My favorite time to get started with propagating Potentilla drummondii is in late spring or early summer. This is when the plant is in its active growing phase. You’ll find the stems are still flexible and have plenty of energy to put into developing roots. Harvesting cuttings while they’re growing vigorously gives them the best shot at success.
Supplies You’ll Need
Gathering your supplies beforehand makes the whole process smoother. Here’s what I like to have on hand:
- Sharp Pruning Shears or a Garden Knife: Cleanliness is key here, so make sure they’re sterilized.
- Rooting Hormone (Optional but Recommended): This is a powder or gel that encourages root development.
- Potting Mix: A good blend for cuttings is crucial. I prefer a mix of peat moss, perlite, and a little bit of sand. You want something that drains well but still holds some moisture. For a ready-made option, look for a seed starting or cutting mix.
- Small Pots or Trays: Clean containers with drainage holes are a must.
- Clear Plastic Bag or Dome: This creates a humid environment, which is vital for cuttings.
- Watering Can with a Fine Rose: Gentle watering is essential.
- Labels: Don’t forget to label your cuttings with the date and variety!
Propagation Methods
Potentilla drummondii is most commonly propagated by stem cuttings, and I find this method to be the most straightforward and successful.
- Take Your Cuttings: Look for healthy, current-season stems that are semi-hardwood and at least 4-6 inches long. They should be pliable but not so soft that they wilt immediately. You want to make your cut just below a leaf node. This is where roots are most likely to form. Gently remove the lower leaves, leaving just a few at the top.
- Prepare the Cuttings: If you’re using rooting hormone, dip the cut end of each stem into the powder or gel, tapping off any excess. This step isn’t strictly necessary, but it often speeds up the rooting process.
- Plant Your Cuttings: Fill your small pots or trays with your prepared potting mix. Moisten the mix thoroughly but ensure it’s not soggy. Make a small hole in the soil with a pencil or your finger, and gently insert the prepared cutting. It’s best to plant 2-3 cuttings per pot to increase your chances. Firm the soil gently around the base of each cutting to ensure good contact.
- Create a Humid Environment: Water the soil again very gently. Then, cover the pots with a clear plastic bag (propped up with stakes so it doesn’t touch the leaves) or place them in a propagator with a lid. This traps humidity, mimicking the conditions the cutting needs to survive while it establishes roots.
- Find a Suitable Spot: Place the pots in a bright location that doesn’t get direct, scorching sunlight. A warm spot is good, but avoid placing them on a heat mat unless you find they’re taking a very long time – sometimes too much heat can cook tender cuttings.
The “Secret Sauce” (Pro Tips)
Here are a few things I’ve learned over the years that can really boost your success rate:
- Don’t Let the Leaves Touch the Water: If you were to try water propagation (which is possible but I find less reliable for Potentilla), you must ensure that leaves aren’t submerged. They will rot very quickly and potentially take your cutting with them. Stick to soil for best results!
- Consider Bottom Heat: While not always essential, placing your pots on a gentle heat mat designed for propagation can make a noticeable difference, especially if your home tends to be on the cooler side. It encourages root development from below.
- Don’t Be Afraid to Take More Than You Think You Need: Not every cutting will make it, and that’s perfectly okay! Taking a few extra ensures you’ll have a good number of successful plants in the end. Think of it as hedging your bets!
Aftercare & Troubleshooting
Once your cuttings have roots – and you can gently tug on them to feel resistance, or you might even see roots poking out of the drainage holes – it’s time for a little more TLC. Start by gradually acclimatizing them to lower humidity. Open the plastic bag for a few hours each day, increasing the time over a week or so. You can then remove the bag entirely. Water them when the top inch of soil feels dry.
The most common issue you might encounter is rot. This usually happens if the soil is too wet or the humidity is too high for too long, and you’ll see the stem turn black and mushy at the soil line. If you spot rot, sadly, that cutting is a goner, but don’t despair! It’s a learning curve, and often just a matter of adjusting your watering and ventilation. Wilting can also happen if the cutting hasn’t rooted yet and is struggling to take up water – the humidity dome usually helps prevent this.
A Encouraging Closing
Propagating plants is a bit like a gardening meditation. It requires patience, observation, and a gentle touch. Don’t feel discouraged if your first attempts aren’t perfect! Each experience teaches you something new. Enjoy the process of nurturing these little bits of life, and soon you’ll have a whole garden full of your favorite Potentilla drummondii to share. Happy propagating!
Resource:
https://identify.plantnet.org/k-world-flora/species/Potentilla%20drummondii%20Lehm./data