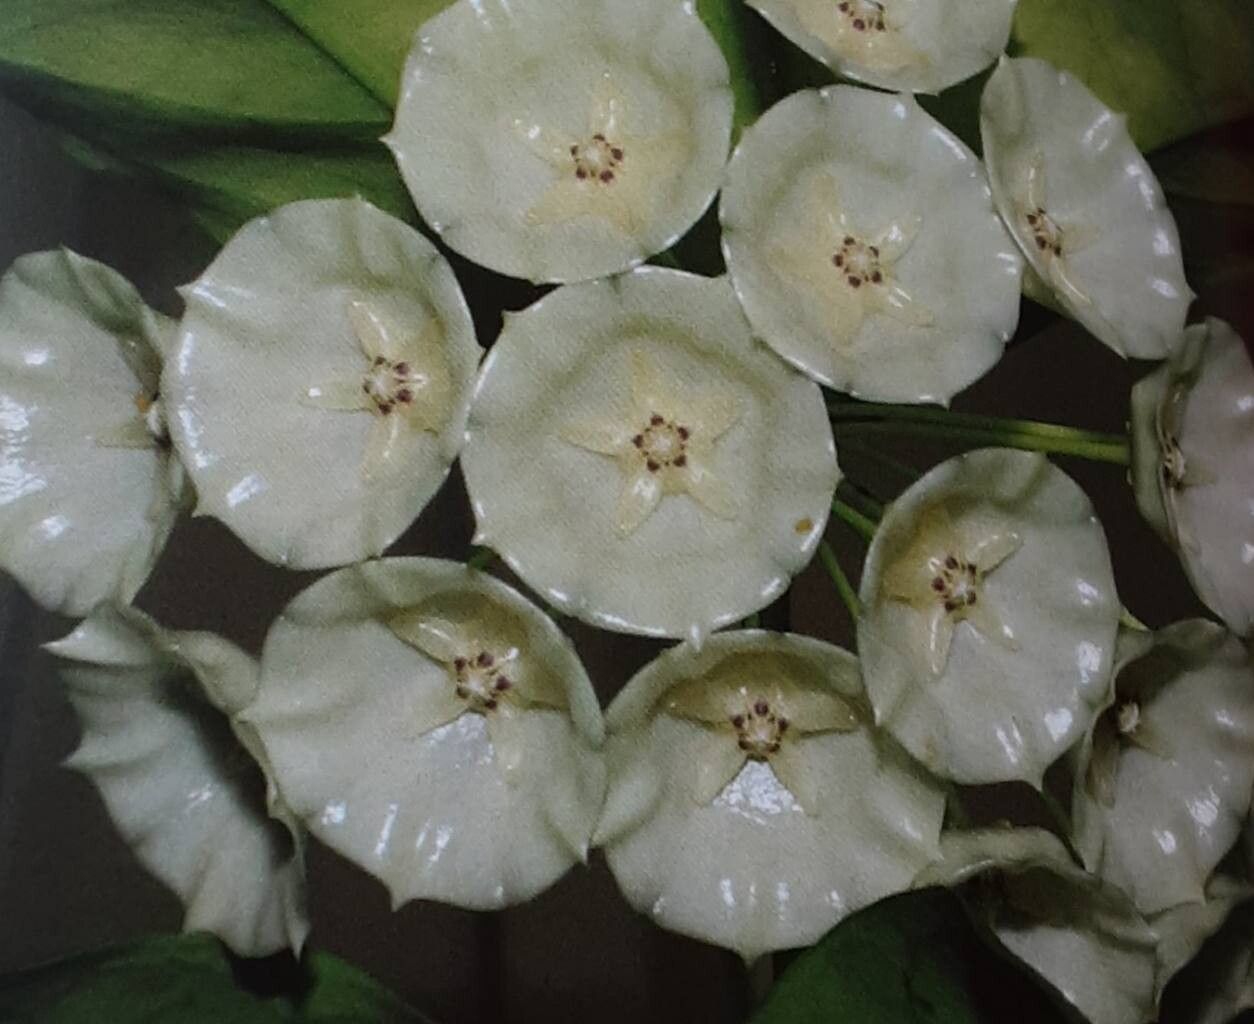
Oh, Hoya campanulata! Isn’t it just a darling? Those creamy, bell-shaped blooms with their lovely speckles always make my heart skip a beat. And the way they dangle! It’s no wonder so many of us fall head over heels for this Hoya. If you’re thinking about propagating it, you’re in for a treat. Sharing a piece of this beauty with friends, or simply growing your own collection, is incredibly satisfying. Now, is campanulata a walk in the park for a total newbie? Honestly, it’s leaning towards moderately easy, but with a little care and understanding, anyone can have success.
The Best Time to Start
For Hoya campanulata, like most Hoyas, spring and early summer are your golden windows. Think April through June. This is when the plant is actively growing and has the most energy to put into rooting. You’ll want to take cuttings from healthy, mature stems – branches that have already flowered or are showing good new growth are perfect. Avoid taking cuttings from a plant that’s stressed or hasn’t been happy recently.
Supplies You’ll Need
Gathering your tools beforehand makes the whole process smoother. Here’s what I usually have on hand:
- Sharp Pruning Shears or a Clean Knife: Sterilize them with rubbing alcohol before you start.
- Rooting Hormone (Optional but Recommended): I prefer powder formulas for cuttings.
- Well-Draining Potting Mix: A blend of perlite, orchid bark, and a bit of peat moss works wonderfully. You can also find commercial Hoya mixes.
- Small Pots or Propagation Trays: Clean ones, of course!
- Clear Plastic Bags or Domes: To create a humid environment.
- Watering Can or Spray Bottle: For gentle watering.
- Label and Marker: To keep track of your cuttings!
Propagation Methods
I find stem cuttings to be the most reliable for Hoya campanulata. Here’s my go-to:
Stem Cuttings
- Select Your Cutting: Look for a healthy stem that has at least two to three leaf nodes. A node is the little bump on the stem where a leaf grows from. This is where the magic (roots!) will happen.
- Make the Cut: Using your sterilized shears, make a clean cut just below a leaf node. You want your cutting to be about 4-6 inches long.
- Prepare the Cutting: Gently remove the lower leaves from the bottom node. You want to expose that node so it can access the soil or water. Leave at least one or two healthy leaves at the top.
- Apply Rooting Hormone (Optional): Dip the cut end into your rooting hormone, tapping off any excess.
- Plant Your Cutting: Fill your small pot with your well-draining mix, moisten it slightly, then make a small hole with your finger or a pencil. Gently insert the cut end into the soil, ensuring the leaf node is buried. Pat the soil gently around the cutting to hold it in place.
- Create Humidity: Water the soil lightly. Then, cover the pot with a clear plastic bag, using a skewer or small stakes to keep the bag from touching the leaves. Alternatively, use a propagation dome.
The “Secret Sauce” (Pro Tips)
After years of playing with plants, a few things really do make a difference with Hoyas:
- Don’t Submerge Leaves: If you opt for water propagation (which I sometimes do with Hoya campanulata, though soil is typically better for long-term health), never let the leaves touch the water. Only the stem node should be submerged. Leaves in water are a fast track to rot.
- Bottom Heat is Your Friend: Hoyas love a little warmth, especially when they’re trying to root. If you have a heat mat designed for seedlings, placing your pot on it can significantly speed up root development. It’s like giving them a cozy spa treatment from below!
- Be Patient with Leaves: Sometimes, after taking a cutting, a leaf might yellow and drop. Don’t panic! As long as the stem node is healthy and you’re maintaining humidity, it’s often just the plant shedding a leaf it doesn’t need to support while it roots itself.
Aftercare & Troubleshooting
Once your cutting is planted, keep it in a warm spot with bright, indirect light. Avoid direct sun, which can scorch those young leaves. Mist the inside of the plastic bag or dome daily to maintain high humidity and water gently only when the top inch of soil feels dry.
You’ll know your cutting is rooting when you see new leaf growth or feel a gentle tug of resistance when you carefully try to move the stem. This can take anywhere from a few weeks to a couple of months.
The biggest culprit for failure? Rot. If your stem turns black and mushy, it’s likely rotted. This is usually due to overwatering, poor drainage, or not enough airflow. If you see this happening, it’s best to discard the cutting and start fresh with a drier mix and a bit more air circulation. Yellowing leaves without new growth can sometimes mean it’s not getting enough light or is too dry.
A Encouraging Closing
Propagating Hoya campanulata is a journey. Don’t be discouraged if your first attempt isn’t perfect. Every plant is a little different, and so is every growing environment. The joy is in the process, the learning, and the eventual reward of a new plant that you helped bring to life. So grab your shears, get your hands dirty, and enjoy watching those little roots emerge! Happy propagating!
Resource:
https://identify.plantnet.org/k-world-flora/species/Hoya%20campanulata%20Blume/data