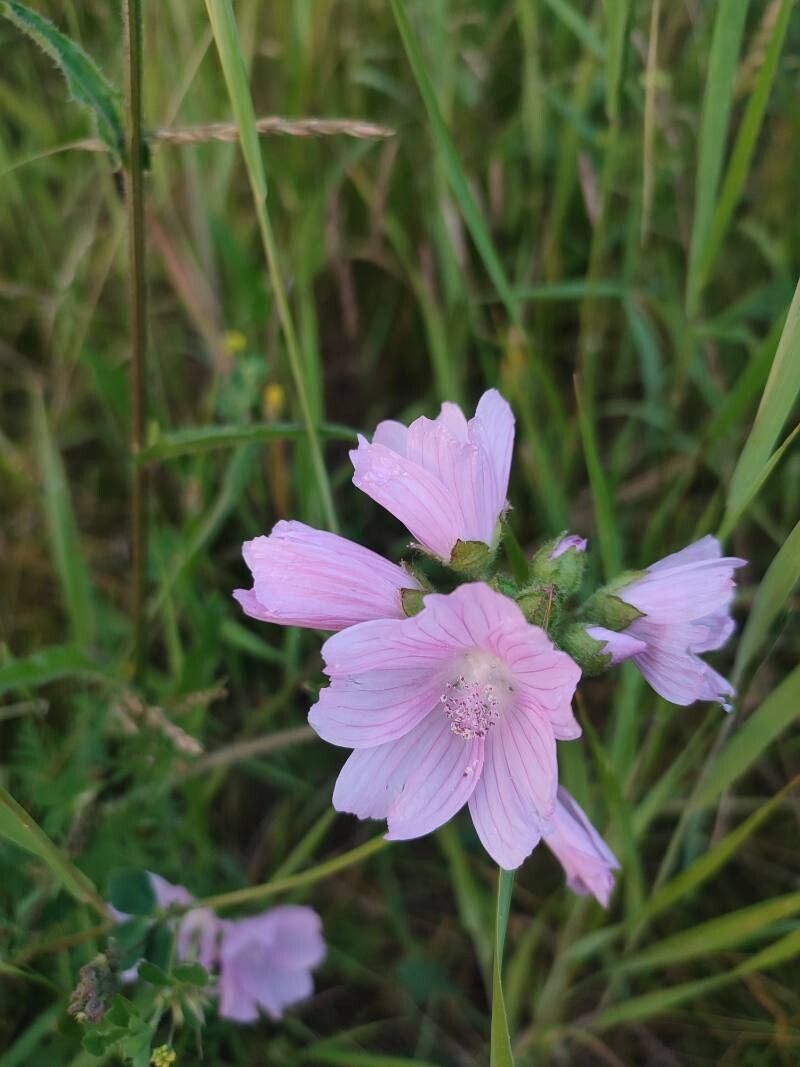
Well hello there, fellow garden enthusiasts! If you’ve ever been captivated by the delicate, charming blooms of Malva tournefortiana, you’re in for a treat. This beauty, often called a Lavatera or Tree Mallow, offers such a lovely splash of color and a wonderfully informal, cottage-garden feel. Propagating it yourself is a fantastic way to fill your garden with even more of these cheerful flowers, or to share a little bit of that joy with friends. Honestly, for those who are relatively new to the world of plant propagation, Malva tournefortiiiana is a pretty good starting point. She’s not overly fussy, which always makes my heart happy.
The Best Time to Start
For the highest success rate, I find that starting new Malva tournefortiana is best done in late spring or early summer. This is when the plant is actively growing, and the cuttings have plenty of energy to put into developing roots. You’re looking for new, but not overly soft, growth. Think of it as having a bit of backbone, but still flexible.
Supplies You’ll Need
Gathering your supplies before you begin makes the whole process so much smoother. Here’s what I usually have on hand:
- Sharp pruning shears or a clean, sharp knife: For making clean cuts.
- Rooting hormone powder or gel: This is a little boost for your cuttings.
- Small pots or seedling trays: Clean and with drainage holes, of course!
- A good quality propagation mix or seed-starting mix: Something that drains well is crucial. I often mix about equal parts peat moss or coco coir with perlite or coarse sand.
- Plastic bags or a propagator lid: To create a humid environment.
- Watering can with a fine rose: For gentle watering.
- Labels: So you don’t forget what you’ve planted!
Propagation Methods
Malva tournefortiana is quite adaptable, and I find two methods work particularly well for me:
Stem Cuttings
This is my go-to method for increasing my stock.
- Take your cuttings: Select healthy stems that are about 4-6 inches long. Using your sharp shears or knife, make a clean cut just below a leaf node (where a leaf attaches to the stem). Remove any lower leaves, leaving only the top two or three.
- Prepare the cuttings: Dipping the cut end into rooting hormone will significantly increase your chances of success. Just a light coating is all that’s needed.
- Plant your cuttings: Fill your small pots or trays with your propagation mix. Make a small hole in the center with your finger or a pencil. Gently insert the cutting into the hole, ensuring the nodes where you removed the leaves are below the surface of the soil.
- Firm the soil: Gently firm the soil around the base of each cutting.
- Water gently: Water thoroughly but gently, ensuring the soil is evenly moist.
- Create the ‘greenhouse’ effect: Place the pots in a plastic bag, or cover them with a propagator lid. This traps humidity, which is vital for cuttings to root. Make sure the leaves aren’t touching the inside of the bag if possible.
- Provide warmth and light: Place your cuttings in a bright location, out of direct sunlight. If you have a heat mat, placing the pots on it can speed up rooting, but it’s not strictly necessary.
Water Propagation
This method is super satisfying as you can watch the roots develop!
- Take cuttings as above: Again, about 4-6 inches long with lower leaves removed.
- Place in water: Put the cuttings in a clean jar or glass, ensuring the leaf nodes are submerged, but the leaves themselves are not touching the water. This prevents rot.
- Change the water: Change the water every few days to keep it fresh and oxygenated.
- Watch for roots: Within a few weeks, you should start to see little white roots appearing.
- Pot up once roots are established: Once the roots are about an inch long, carefully transplant them into pots filled with your propagation mix, treating them like the stem cuttings.
The “Secret Sauce” (Pro Tips)
Here are a couple of things I’ve learned over the years that make a real difference:
- Cleanliness is king! Always make sure your tools and pots are sparkling clean. Fungus and bacteria are the enemy of young plantlets, and a clean start goes a long way to preventing issues.
- Bottom heat works wonders, but don’t scorch! While not essential, a gentle bottom heat from a propagator or even a sunny windowsill that doesn’t get too hot can really encourage root development, especially in cooler weather. Just make sure the soil isn’t drying out too quickly.
Aftercare & Troubleshooting
Once you see new growth appearing at the top of your cuttings, that’s a fantastic sign that roots have formed!
- Acclimate them slowly: Gradually begin to expose your new plants to dryer air by opening the plastic bag or propagator lid for increasing periods each day over a week.
- Water consistently: Keep the soil consistently moist but not waterlogged. As they grow stronger, you can start to water a little less frequently, allowing the top inch of soil to dry out.
- Potting up: Once the roots have filled their initial pots, you can transplant them into slightly larger pots with a good quality potting mix.
The most common problem you might encounter is rot. If your cuttings look limp, mushy, or black at the base, it’s usually a sign of too much moisture and insufficient drainage or airflow. If this happens, unfortunately, they’re usually past saving. Don’t be disheartened, though! Just try again, ensuring better drainage and perhaps a slightly less humid environment once roots start to form.
A Encouraging Closing
Propagating plants is a journey, and sometimes it takes a little practice. Be patient with your Malva tournefortiana cuttings. Don’t get discouraged by the occasional failure; every gardener has them! The joy of watching a tiny cutting transform into a beautiful, blooming plant is truly rewarding. So grab your secateurs and get sowing – happy propagating, everyone!
Resource:
https://identify.plantnet.org/k-world-flora/species/Malva%20tournefortiana%20L./data