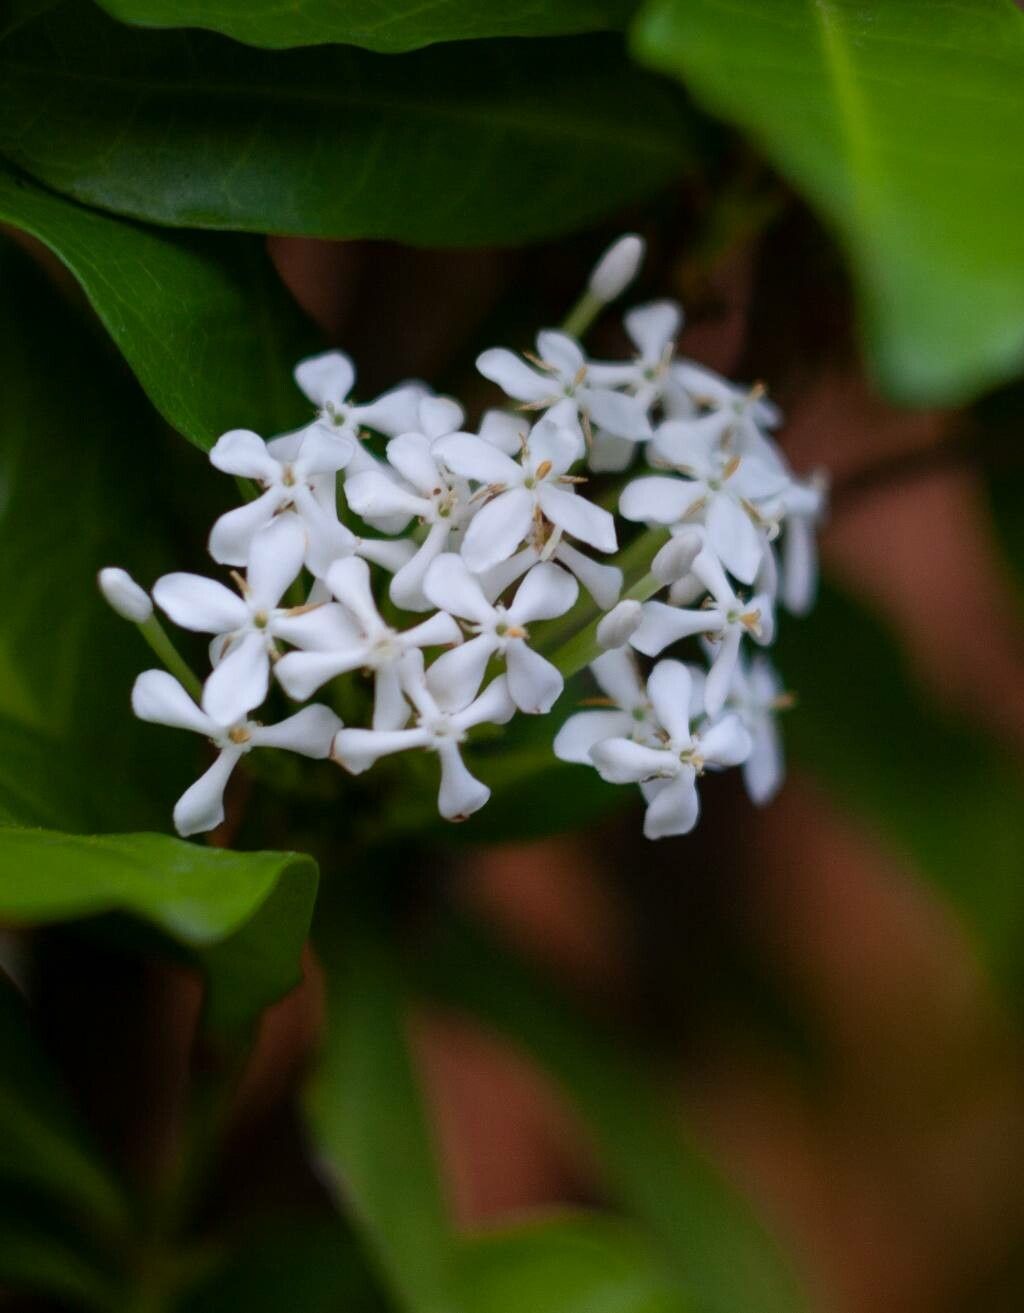
Oh, Ixora vieillardii! If you’re looking for a tropical beauty that truly adds a pop of color, you’ve found it. Those vibrant clusters of flowers, often in fiery reds, oranges, or yellows, are simply stunning. And the best part? Growing your own from cuttings is incredibly rewarding. I’ve found it to be moderately easy to propagate, making it a fun project for most gardeners, even those just dipping their toes into plant parenthood.
The Best Time to Start
For the highest success rate with Ixora, I always recommend starting in late spring or early summer. This is when the plant is actively growing, meaning it has plenty of energy to put into developing new roots. You want to harvest from stems that have new growth but aren’t too old and woody. Think of it as taking cuttings from a “happy” and vigorous plant.
Supplies You’ll Need
Gathering your supplies beforehand makes the whole process much smoother. Here’s what I usually have on hand:
- Clean, sharp pruning shears or a clean knife: Essential for making clean cuts and preventing disease.
- Small pots or a propagation tray: Whatever you have that will hold your cuttings.
- Well-draining potting mix: A mix of perlite, peat moss, and coco coir works wonders. You can also find specific seed-starting or propagation mixes.
- Rooting hormone powder or gel: This isn’t strictly necessary for Ixora, but it can give your cuttings a significant boost, especially if you’re new to it.
- Plastic bags or a propagator lid: To create a humid environment.
- Water: For watering and, if you choose, water propagation.
- Labels and a marker: To keep track of your projects!
Propagation Methods
I’ve had the most success with stem cuttings for Ixora. Here’s how I do it:
- Take your cuttings: Using your clean shears, select a healthy, semi-hardwood stem that has new growth. Look for a stem that’s about 4-6 inches long. Make your cut just below a leaf node (where a leaf attaches to the stem). This is where roots are most likely to form.
- Prepare the cuttings: Gently remove the lower leaves, leaving just a few at the top. If the leaves are large, I like to pinch them in half to reduce water loss through transpiration.
- Apply rooting hormone (optional but recommended): Dip the cut end of the stem into your rooting hormone. Tap off any excess.
- Plant your cuttings: Fill your small pots or propagation tray with your moistened potting mix. Make a small hole in the center with a pencil or your finger, and insert the cut end of your Ixora cutting. Gently firm the soil around the stem to ensure good contact.
- Create humidity: Water your cuttings gently. Then, I like to cover the pots with a clear plastic bag or place them under a propagator lid to maintain high humidity. Make sure the leaves don’t touch the plastic too much, as this can encourage rot.
- Place in bright, indirect light: Find a warm spot with bright, indirect light. Avoid direct sunlight, which can scorch the delicate cuttings.
The “Secret Sauce” (Pro Tips)
Over the years, I’ve learned a few tricks that seem to make a real difference:
- The bottom heat is a game-changer, especially if you’re propagating in slightly cooler weather. Placing your pots on a heat mat designed for seedlings will encourage root development much faster. You can often find these affordably online.
- Don’t be tempted to waterlogged your cuttings. While they need moisture, consistently soggy soil is the quickest way to invite rot. I prefer to feel the soil, and if the top inch feels dry, that’s when I’ll water.
- Airflow is your friend. Even though we create a humid environment, good air circulation helps prevent fungal diseases. If you’re using a plastic bag, gently open it for a few minutes each day to allow for some air exchange.
Aftercare & Troubleshooting
Once you see signs of new growth (tiny leaves unfurling or, even better, resistance when you gently tug on the cutting), you’re on the right track! This means roots have begun to form. At this point, you can gradually acclimate your new plants to lower humidity by opening the bag or propagator lid a little more each day. Continue to keep them in bright, indirect light and water them as needed.
The most common issue you might encounter is rot. If your cuttings turn black and mushy, or develop a fuzzy mold, it’s usually a sign of too much moisture and not enough airflow. Unfortunately, rot is difficult to recover from, so prevention is key. Be extra vigilant about watering and ensuring good drainage.
A Encouraging Closing
Propagating plants is a journey, and while not every cutting will make it, the successes are so incredibly rewarding. Be patient with your Ixora cuttings. It can take anywhere from 4–8 weeks to see significant root development, so don’t get discouraged if you don’t see results immediately. Enjoy the process, learn from each step, and soon you’ll have beautiful new Ixora plants to add to your collection or share with fellow garden lovers. Happy propagating!
Resource:
https://identify.plantnet.org/k-world-flora/species/Ixora%20vieillardii%20Guillaumin/data