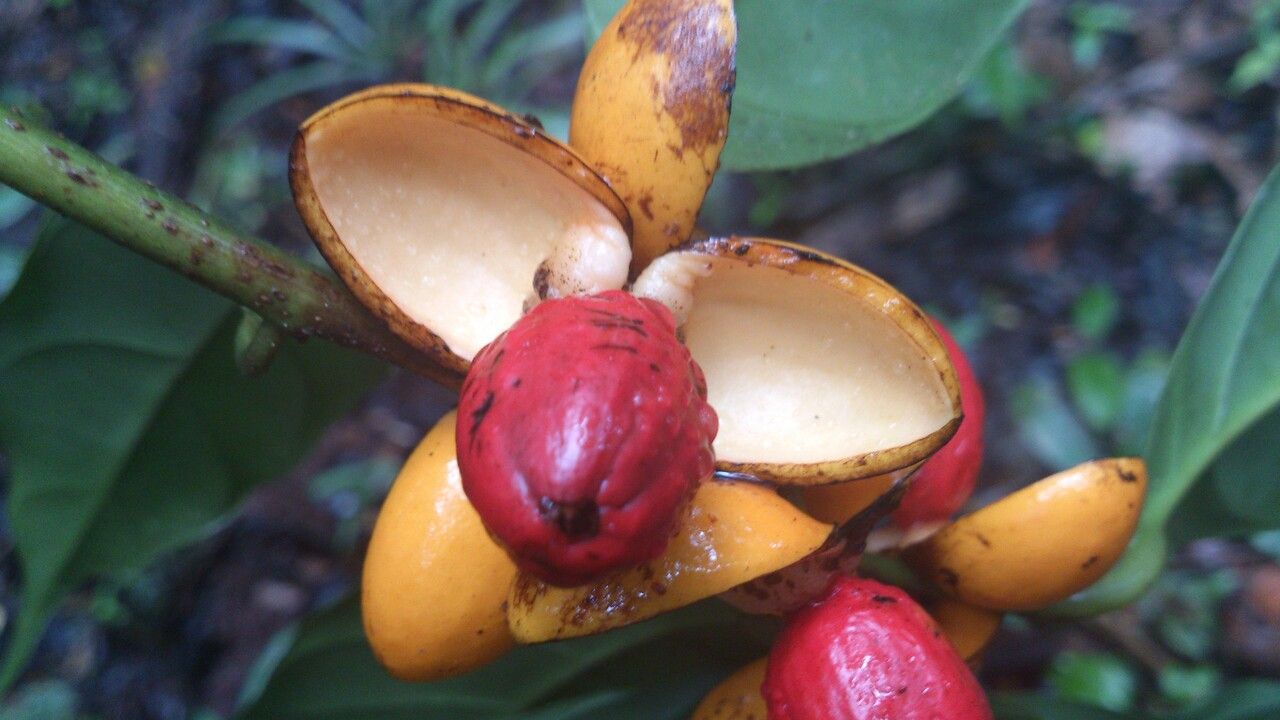
Oh, hello there! So glad you stopped by. Today, we’re diving into the wonderful world of propagating Compsoneura mexicana. If you’ve ever seen this beauty, you know it’s got this unique charm, with its glossy leaves and delicate growth habit. It really adds a touch of understated elegance to any space. Being able to create more of these plants from a single mother is incredibly satisfying, like bottling a little bit of that green magic. Now, for those of you just starting out with propagation, I’d say Compsoneura mexicana falls into the “moderately rewarding” category. It’s not as stubborn as some, but it does appreciate a little know-how.
The Best Time to Start
For the highest chance of success with your Compsoneura mexicana, aim for the early to mid-spring. This is when the plant is really hitting its stride, energized by lengthening days and warmer temperatures. Actively growing stems will have more vigor to push out roots.
Supplies You’ll Need
Before we get our hands dirty, let’s gather our tools. Having everything ready makes the process so much smoother:
- Sharp, clean pruning shears or a hobby knife. Sterilize them with rubbing alcohol.
- A well-draining potting mix. I like a blend of perlite, peat moss, and regular potting soil, or even a bark-based orchid mix works wonders.
- A rooting hormone. Gel or powder forms are both great.
- A clear plastic bag or a propagator lid. This will create a humid environment.
- Small pots or propagation trays.
- A spray bottle filled with water.
Propagation Methods
I find stem cuttings to be the most reliable way to propagate Compsoneura mexicana. Here’s how I do it:
- Select Your Cuttings: Look for healthy, non-flowering stems on your mature plant. You want pieces that are at least 4-6 inches long. Make sure each cutting has at least two or three sets of leaves.
- Make the Cut: Using your sterilized shears, make a clean cut just below a leaf node. This is a crucial spot where roots are most likely to form.
- Prepare the Cutting: Gently remove the lower leaves from the cutting, leaving just one or two at the very top. This prevents them from rotting when they’re in the soil or water.
- Apply Rooting Hormone: Dip the cut end of the stem into your rooting hormone, ensuring it’s well-coated. Tap off any excess.
- Plant Your Cuttings: Fill your small pots with the pre-moistened potting mix. Make a small hole with your finger or a pencil, and carefully insert the cutting. Gently firm the soil around the stem.
- Create a Humid Environment: Water the soil lightly, just enough to settle it around the cutting. Then, cover the pot with a clear plastic bag, securing it with a rubber band, or place it under a propagator lid. This is key to keeping the moisture in.
A lot of people ask about water propagation. You can do it with Compsoneura, but I find it’s less successful than soil. If you do, just make sure the leaf nodes are submerged, not the leaves themselves.
The “Secret Sauce” (Pro Tips)
Now, for a few little tricks I’ve picked up over the years that can really boost your success:
- Bottom Heat is Your Friend: If you have a heat mat, place your pots on it. This gentle warmth encourages root development from below, much like the spring soil warming up naturally. It makes a noticeable difference!
- Don’t Overwater Your Cuttings: It’s tempting to keep them constantly soggy, but that’s a fast track to rot. The soil should feel consistently moist but not waterlogged. The humidity from the cover will do a lot of the work in keeping the leaves hydrated.
- Be Patient with the Leaf Nodes: Even if you don’t see leaves emerge immediately, check the base of the stem. Roots are often slow to appear, and you might only discover them when you gently tug the cutting and feel resistance.
Aftercare & Troubleshooting
Once you see new leaf growth or feel a good amount of resistance when you tug, it’s a sign your cutting has rooted! Gradually acclimate your new plant to normal humidity by opening the plastic bag a little more each day for about a week. Continue to keep the soil moist.
The most common problem you might encounter is rot. This usually happens if the environment is too wet or not airy enough. The stem will turn mushy and brown. If you see signs of rot, unfortunately, that cutting is likely lost. Prevention is much easier than cure here, so focus on that well-draining mix and that happy medium of moisture.
A Encouraging Closing
Propagating plants is a journey, not a race. There will be successes and, inevitably, a few little setbacks. Don’t get discouraged! Each attempt teaches you something new. Enjoy the process of nurturing these tiny beginnings; there’s such a unique joy in watching a new life unfold right before your eyes. Happy propagating!
Resource:
https://identify.plantnet.org/k-world-flora/species/Compsoneura%20mexicana%20(Hemsl.)%20Janovec/data