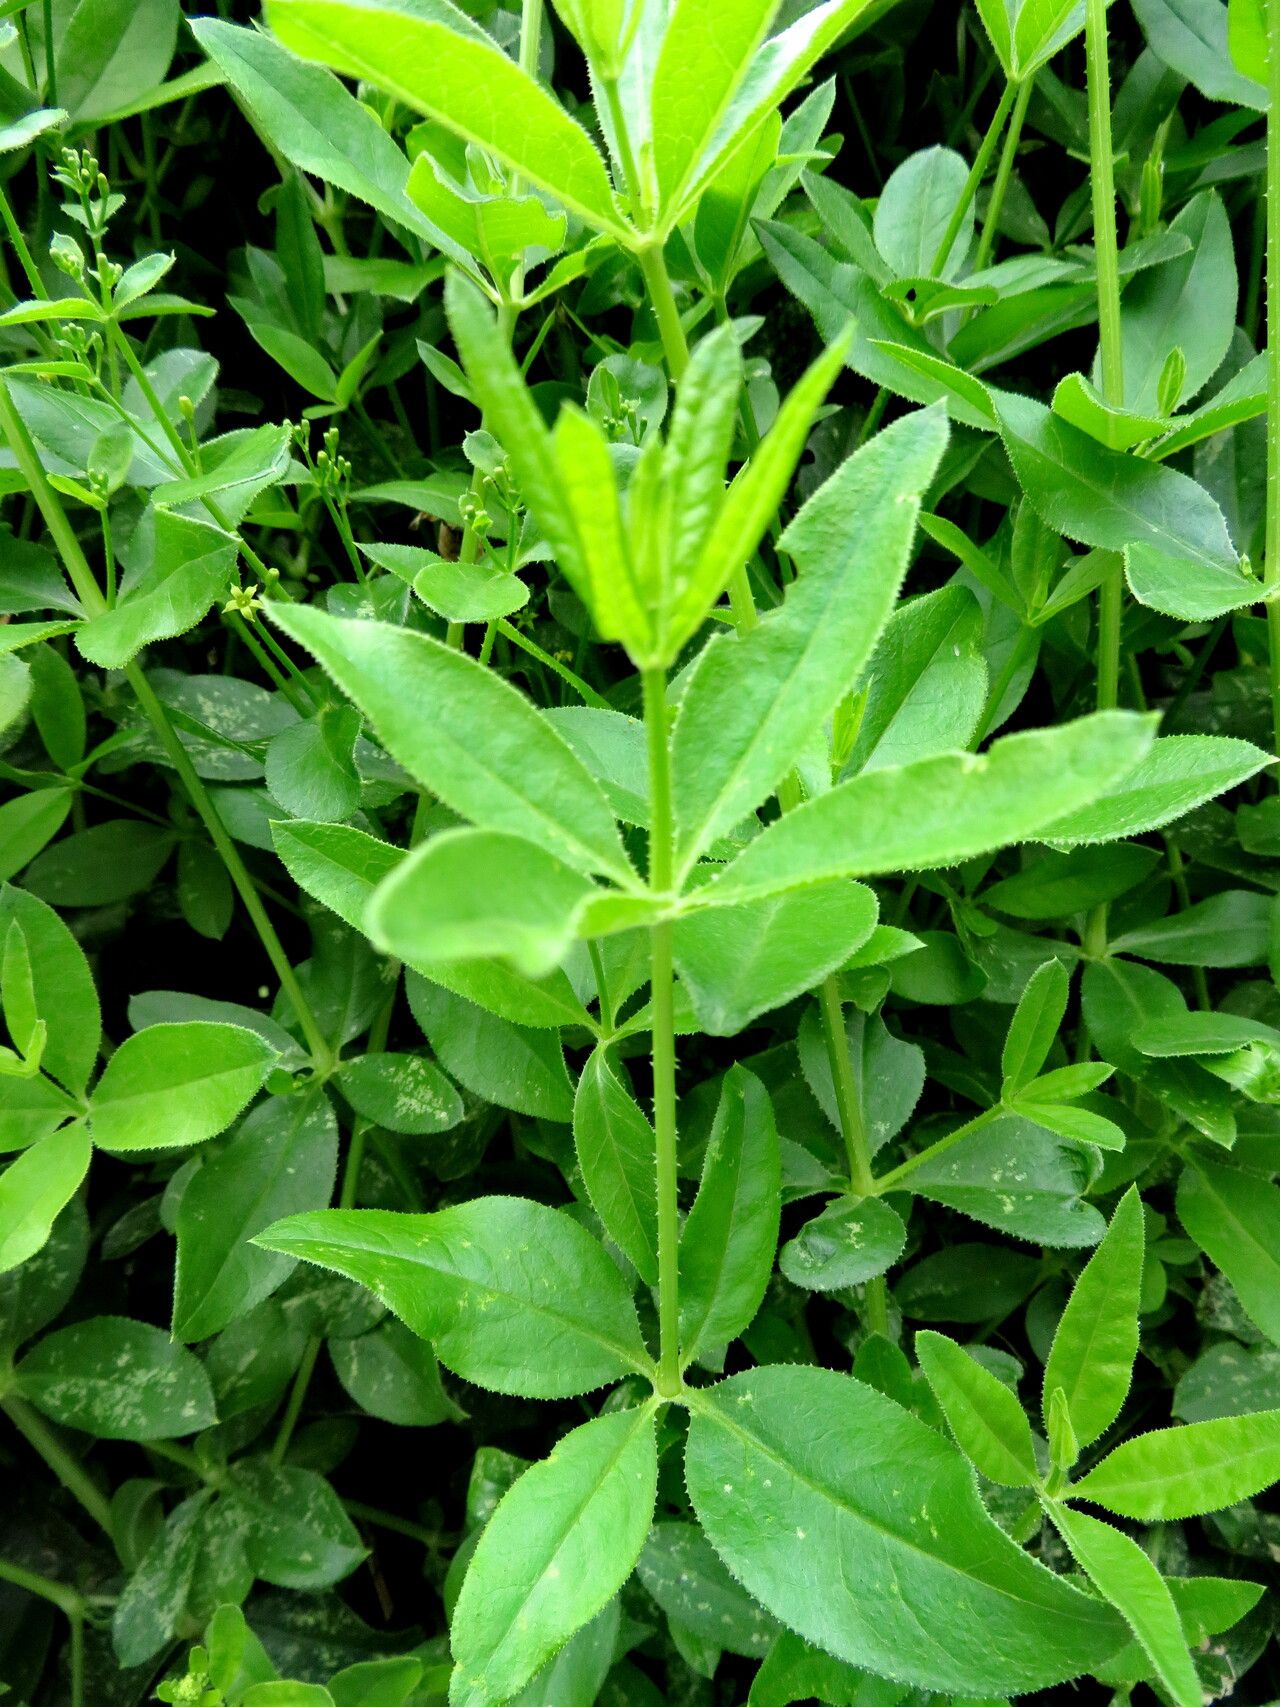
Hello fellow garden enthusiasts! It’s so lovely to connect with you today. We’re going to dive into the wonderful world of Rubia tinctorum, a plant that brings a beautiful blush to our gardens and a touch of history to our crafts. If you’re not familiar, this is the Madder plant, historically cultivated for its vibrant red dye derived from its roots. Growing it yourself feels like a little bit of magic, and propagating it is a deeply rewarding journey.
Now, for the honest truth: propagating Rubia tinctorum can be a tad tricky for absolute beginners, but don’t let that deter you! With a little patience and these tips, you’ll be well on your way to success. It’s a plant that rewards your care.
The Best Time to Start
For the highest success rate with Rubia tinctorum, I find that early spring is absolutely ideal. Think of it as waking up the plant after its winter slumber. You want to catch it when it’s brimming with new energy and ready to grow. Alternatively, you can also have success with cuttings taken in mid-summer, after the initial flush of growth has had a chance to mature a bit.
Supplies You’ll Need
Gathering your tools before you start makes the whole process smoother. Here’s what I usually have on hand:
- Sharp pruning shears or a clean knife: For taking clean cuts.
- Rooting hormone (optional but recommended for cuttings): A powder or gel to encourage root development.
- Well-draining potting mix: A good blend for me is 50% perlite and 50% peat moss or coco coir. You can also use a seed-starting mix.
- Small pots or trays: Clean containers with drainage holes are essential.
- Watering can with a fine rose: To gently water without disturbing your precious new plants.
- Labels and a permanent marker: To keep track of what you’ve propagated.
- A propagator or plastic bag: To create a humid environment for cuttings.
- A warm location: Access to bright, indirect light and a consistent temperature.
Propagation Methods
Rubia tinctorum can be propagated in a couple of ways, but I find division and stem cuttings to be the most reliable for home gardeners.
Division
This is perhaps the most straightforward method, especially if you already have a mature plant.
- Wait for dormancy: The best time to divide is when the plant is dormant, usually in early spring before new growth emerges.
- Carefully unearth your plant: Gently dig up the entire root ball from its pot or garden bed.
- Inspect the roots: Look for distinct sections or clumps that have their own crown of stems.
- Gently separate: Use your hands or a clean trowel to carefully pull the root ball apart into smaller divisions. Each division should have at least one bud or growing point and a healthy portion of roots.
- Pot up your divisions: Plant each division into a pot filled with your well-draining potting mix. Ensure the crown is just at or slightly above the soil surface.
- Water gently: Water thoroughly, and then keep the soil consistently moist but not soggy.
Stem Cuttings
This method takes a little more finesse but is a great way to multiply your plants.
- Take your cuttings: In early spring or mid-summer, select healthy, non-flowering stems that are about 4-6 inches long.
- Make a clean cut: Using your sharp pruning shears or knife, make a clean cut just below a leaf node (the point where a leaf attaches to the stem).
- Prepare the cutting: Remove the lower leaves from the cutting, leaving just a couple of leaves at the top. This helps prevent rot and reduces water loss.
- Apply rooting hormone (optional): Dip the cut end of the stem into rooting hormone, tapping off any excess.
- Insert into potting mix: Make a small hole with a pencil or your finger in your prepared potting mix. Insert the cutting, firming the soil gently around it.
- Induce humidity: Water the potting mix gently. Then, cover the pot with a plastic bag or place it in a propagator. This creates a humid microclimate that cuttings love.
- Provide warmth and light: Place the covered pot in a warm location with bright, indirect light. Avoid direct sun, which can scorch the cuttings.
The “Secret Sauce” (Pro Tips)
Over the years, I’ve picked up a few tricks that seem to make all the difference.
- For stem cuttings, bottom heat is your friend! Placing your propagator or pots on a heated seed-mat can dramatically speed up root formation. It mimics the warmth of spring soil and encourages those roots to get going.
- Don’t let those top leaves touch the water. If you’re doing any kind of propagation where leaves might end up submerged (though we try to avoid it with cuttings), any contact with water can lead to rot. Keep them high and dry!
- Be patient with Rubia tinctorum. It’s not the fastest rooter, so don’t be tempted to constantly check if roots have formed. Give it time; they will show up eventually.
Aftercare & Troubleshooting
Once you see signs of new growth, it’s a good indication that roots have formed.
- Gradually acclimatize: If you’ve used a plastic bag or propagator, slowly start to open it over a few days to let the new plant get used to the ambient humidity.
- Water wisely: Keep the soil consistently moist, but never waterlogged. Overwatering is one of the quickest ways to invite root rot, which is often indicated by wilting, yellowing leaves, and a mushy stem base.
- Monitor for pests: Keep an eye out for common indoor pests like spider mites or mealybugs, especially in humid environments.
An Encouraging Closing
Creating new life from an existing plant is one of the most fulfilling aspects of gardening. It’s a process that teaches us patience, observation, and a deep connection to the natural world. Don’t get discouraged if your first attempt isn’t perfect. Each plant and each cutting is a learning experience. So, grab your tools, get your hands dirty, and enjoy the beautiful, slow unfolding of your new Rubia tinctorum plants. Happy propagating!
Resource:
https://identify.plantnet.org/k-world-flora/species/Rubia%20tinctorum%20L./data