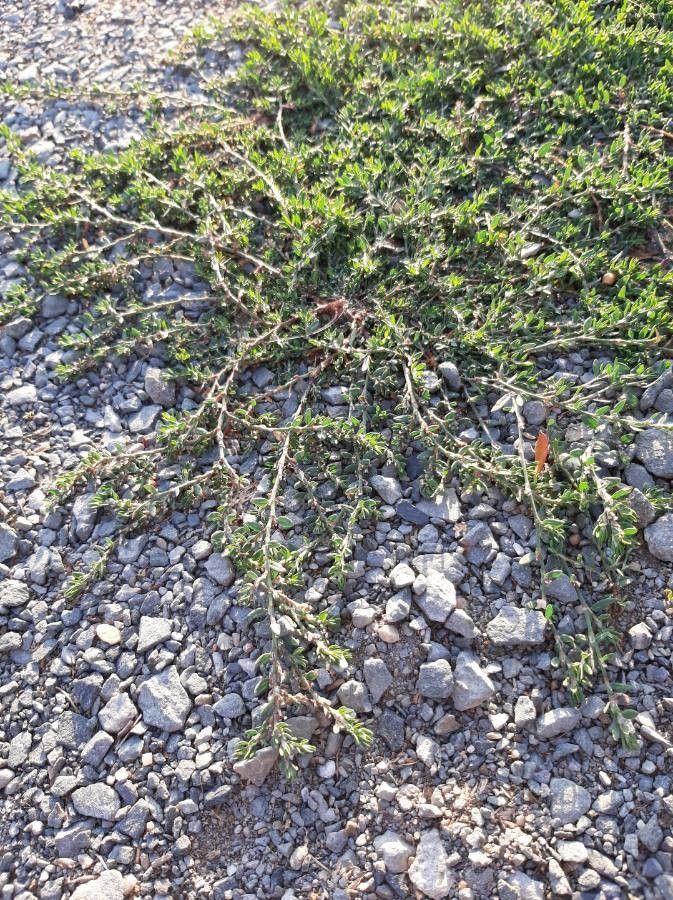
Oh, Polygonum aviculare! You know, the humble yet resilient Knotweed that pops up in all sorts of places, looking so cheerful and steadfast. I’ve always had a soft spot for this one. It has a certain understated beauty, doesn’t it? And the best part? It’s incredibly rewarding to propagate. Don’t worry if you’re new to this; Polygonum aviculare is wonderfully forgiving, making it a fantastic choice for beginners wanting to expand their plant collection.
The Best Time to Start
For the highest success rate, I find spring is your absolute best bet. That’s when the plant is really waking up and has plenty of energy. Look for new, but not overly woody, growth. You can also have good luck with cuttings taken in early summer, as long as you can provide consistent moisture. Trying it in the dead of winter will likely lead to disappointment, so let’s wait for that warmth and sunshine.
Supplies You’ll Need
Here’s a little rundown of what you might want to have on hand:
- Sharp pruning shears or a clean knife.
- A well-draining potting mix. I usually go for a blend of perlite, peat moss, and a bit of compost.
- Small pots or trays for your cuttings.
- Optional: Rooting hormone (gel or powder).
- Optional: A plastic bag or propagation dome to create humidity.
- A watering can with a fine rose.
Propagation Methods
Polygonum aviculare is a breeze to propagate, and I usually rely on two main methods: stem cuttings and division.
Stem Cuttings
This is my go-to method because it’s so quick and effective.
- Take your cuttings: Select healthy, non-flowering stems that are about 4-6 inches long. Using your clean shears, make a clean cut just below a leaf node (the point where a leaf attaches to the stem).
- Prepare the cuttings: Gently remove the lower leaves. You want to leave just a couple of leaves at the very top. If you’re using rooting hormone, dip the cut end into it now.
- Plant your cuttings: Fill your small pots with your prepared potting mix. Make a small hole in the center with your finger or a pencil. Insert the cut end of your stem into the hole, ensuring the node from which you removed the leaves is buried in the soil. Gently firm the soil around the stem.
- Water and cover: Water thoroughly. If you’re aiming for higher humidity, you can pop a plastic bag over the pot (make sure it doesn’t touch the leaves) or use a propagation dome.
Division
If you’ve got a mature plant already, dividing it is a fantastic way to get several new plants at once.
- Prepare for division: Water your Polygonum aviculare plant a day or two before you plan to divide it. This helps reduce transplant shock.
- Excavate and divide: Carefully dig up the entire plant. You’ll see it naturally forms clumps. Use your hands or a clean knife to gently pull apart or cut the root ball into smaller sections. Each section should have at least a few healthy shoots and some roots.
- Replant: Pot up your divisions into new pots filled with well-draining soil. Water them in well and place them in a semi-shaded spot for a few weeks to recover.
The “Secret Sauce” (Pro Tips)
Here are a couple of things I’ve learned over the years that really make a difference:
- Avoid the mush: When you’re watering your cuttings, make sure the leaves don’t sit in puddles of water. This is a surefire way to invite rot. A good watering from the base is best.
- A little warmth goes a long way: If you can, placing your pots on a heat mat designed for seedlings can significantly speed up root development. It mimics that nice, warm soil you find in spring.
Aftercare & Troubleshooting
Once you see new growth emerging from your cuttings, that’s a good sign roots are forming! You can gently tug on a cutting; if there’s resistance, it’s rooted.
- Gradual acclimatization: If you used a plastic bag or dome, start gradually introducing your rooted cuttings to normal air by opening it a little each day.
- Watering: Keep the soil consistently moist, but not waterlogged. As the plants grow stronger, you can water them a bit more like mature plants.
- Common problems: The biggest enemy here is rot. If your cuttings turn black and mushy, it’s usually due to too much moisture and not enough air circulation. If you see a white fuzzy mold, remove the affected cutting immediately and improve air flow for the others. Don’t panic if a cutting doesn’t make it; it’s part of the learning process!
A Encouraging Closing
Propagating Polygonum aviculare is more about patience and observation than anything else. Enjoy watching those tiny roots develop, and celebrate each new plant you create! You’ve got this.
Resource:
https://identify.plantnet.org/k-world-flora/species/Polygonum%20aviculare%20L./data